Salta al contenuto principale
Nokia G22 Screen Assembly Replacement

Nokia G22 Screen Assembly Replacement

Manuel Haeussermann

Manuel Haeussermann e 7 altri collaboratori

Ultimo aggiornamento il May 9, 2024

1 - 2 ore
Moderato
Guida In Evidenza
Guida OEM

Introduzione

Vai al passo 1

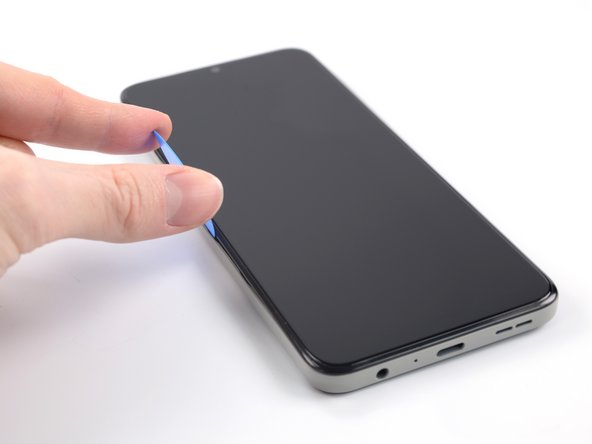
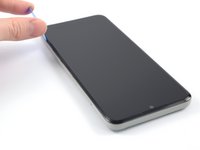
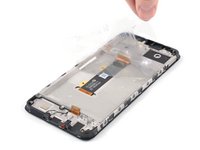
Use this guide to replace a broken screen on your Nokia G22.

This guide is written for the genuine Nokia G22 screen assembly. The assembly consists of the screen and midframe together as one part. Make sure you have the right part before you begin this repair.

Note: This procedure requires you to transfer all of your phone's internals to the new screen assembly.

For your safety, discharge the battery below 25% before disassembling your phone. This reduces the risk of fire if the battery is accidentally damaged during the repair. If your battery is swollen, take appropriate precautions.

Cosa ti serve

Kit di riparazione

Questo kit contiene tutti i ricambi e gli strumenti necessari per completare questa guida.

Ricambi

Strumenti

Mostra di più…

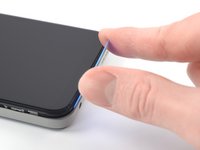
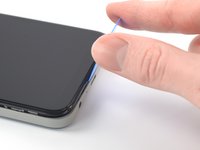
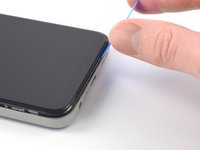
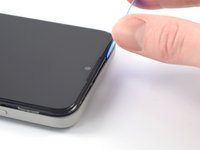
  1. Nokia G22 Screen Assembly Replacement, Eject the SIM card tray: passo 1, immagine 1 di 3 Nokia G22 Screen Assembly Replacement, Eject the SIM card tray: passo 1, immagine 2 di 3 Nokia G22 Screen Assembly Replacement, Eject the SIM card tray: passo 1, immagine 3 di 3
    • Insert a SIM eject tool, bit, or a straightened paper clip into the small hole on the SIM card tray on the upper left edge of the phone.

    • Press firmly to eject the tray.

  2. Nokia G22 Screen Assembly Replacement, Remove the SIM card tray: passo 2, immagine 1 di 3 Nokia G22 Screen Assembly Replacement, Remove the SIM card tray: passo 2, immagine 2 di 3 Nokia G22 Screen Assembly Replacement, Remove the SIM card tray: passo 2, immagine 3 di 3
    • Remove the SIM card tray.

    • When installing either a SIM card or a microSD card, make sure they're in the correct orientation and sitting completely flush with the edges of the tray before reinserting the tray into the phone.

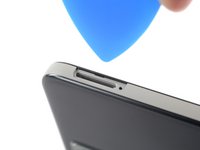
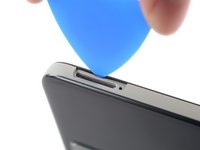
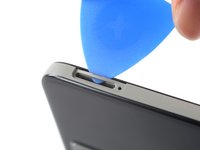
  3. Nokia G22 Screen Assembly Replacement, Insert an opening pick: passo 3, immagine 1 di 3 Nokia G22 Screen Assembly Replacement, Insert an opening pick: passo 3, immagine 2 di 3 Nokia G22 Screen Assembly Replacement, Insert an opening pick: passo 3, immagine 3 di 3
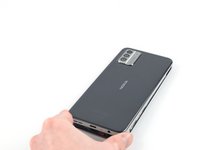
    • The back cover of the phone is held in place by plastic clips.

    • Insert an opening pick under the small notch in the SIM card tray slot.

  4. Nokia G22 Screen Assembly Replacement, Release the plastic clips: passo 4, immagine 1 di 3 Nokia G22 Screen Assembly Replacement, Release the plastic clips: passo 4, immagine 2 di 3 Nokia G22 Screen Assembly Replacement, Release the plastic clips: passo 4, immagine 3 di 3
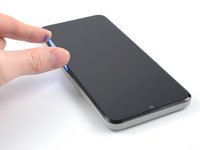
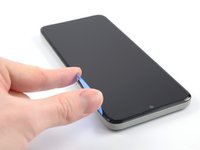
    • Position the opening pick at a steep downward angle between the back cover and the screen assembly.

    • Slide the opening pick down the left edge of the phone to release the plastic clips.

  5. Nokia G22 Screen Assembly Replacement: passo 5, immagine 1 di 3 Nokia G22 Screen Assembly Replacement: passo 5, immagine 2 di 3 Nokia G22 Screen Assembly Replacement: passo 5, immagine 3 di 3
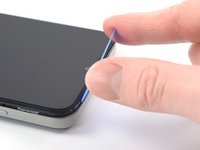
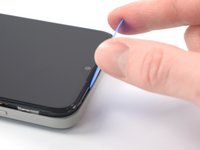
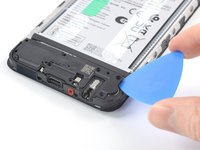
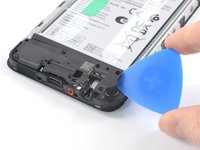
    • Turn the opening pick around the corner and continue to slide it along the bottom edge to release the plastic clips.

  6. Nokia G22 Screen Assembly Replacement: passo 6, immagine 1 di 3 Nokia G22 Screen Assembly Replacement: passo 6, immagine 2 di 3 Nokia G22 Screen Assembly Replacement: passo 6, immagine 3 di 3
    • Slide the opening pick up the right edge to continue releasing the plastic clips.

  7. Nokia G22 Screen Assembly Replacement: passo 7, immagine 1 di 3 Nokia G22 Screen Assembly Replacement: passo 7, immagine 2 di 3 Nokia G22 Screen Assembly Replacement: passo 7, immagine 3 di 3
    • Slide the opening pick along the top edge to release the remaining plastic clips.

    • Don't try to fully remove the back cover just yet, as it's still connected to the phone.

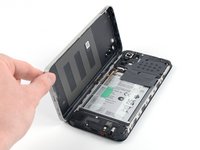
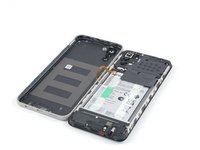
  8. Nokia G22 Screen Assembly Replacement, Flip open the back cover: passo 8, immagine 1 di 3 Nokia G22 Screen Assembly Replacement, Flip open the back cover: passo 8, immagine 2 di 3 Nokia G22 Screen Assembly Replacement, Flip open the back cover: passo 8, immagine 3 di 3
    • With the phone laying screen-side down, carefully lift the right edge of the back cover, opening it like a book.

    • Take care not to strain or tear the attached fingerprint reader cable during this procedure.

    • Lay the back cover next to the phone.

  9. Nokia G22 Screen Assembly Replacement, Unfasten the fingerprint reader bracket: passo 9, immagine 1 di 1
    • Use a Phillips screwdriver to remove the 3.8 mm‑long screw securing the fingerprint reader bracket.

  10. Nokia G22 Screen Assembly Replacement, Remove the fingerprint reader bracket: passo 10, immagine 1 di 2 Nokia G22 Screen Assembly Replacement, Remove the fingerprint reader bracket: passo 10, immagine 2 di 2
    Attrezzo utilizzato in questo passaggio:
    Tweezers
    $4.99
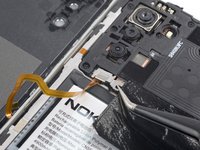
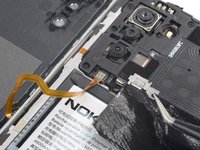
    • Use a pair of tweezers or your fingers to remove the fingerprint reader bracket.

    • Take care not to puncture the battery with your tool—a punctured or bent battery may leak dangerous chemicals or cause a fire.

    • During reassembly, make sure to align the fingerprint reader bracket correctly and push the small metal edge back into its recess under the motherboard cover.

  11. Nokia G22 Screen Assembly Replacement, Disconnect the fingerprint reader: passo 11, immagine 1 di 3 Nokia G22 Screen Assembly Replacement, Disconnect the fingerprint reader: passo 11, immagine 2 di 3 Nokia G22 Screen Assembly Replacement, Disconnect the fingerprint reader: passo 11, immagine 3 di 3
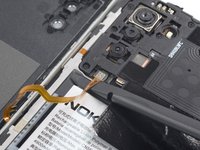
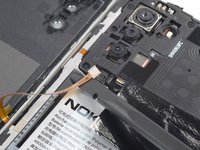
    • Use the flat end of a spudger to disconnect the fingerprint reader by prying the connector straight up from its socket.

    • To re-attach press connectors like this one, carefully align and press down on one side until it clicks into place, then repeat on the other side. Do not press down on the middle. If the connector is misaligned, the pins can bend and cause permanent damage.

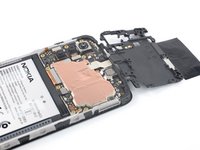
    • Remove the back cover.

    why is the reattach tip for press connectors on the first tip... we are working backwards put it on the last one you remove.. also very lazy not to just make a resemble instructions it really wouldn't of been that hard

    kougrah - Replica

  12. Nokia G22 Screen Assembly Replacement, Unfasten the motherboard cover: passo 12, immagine 1 di 1
  13. Nokia G22 Screen Assembly Replacement, Pry up the motherboard cover: passo 13, immagine 1 di 3 Nokia G22 Screen Assembly Replacement, Pry up the motherboard cover: passo 13, immagine 2 di 3 Nokia G22 Screen Assembly Replacement, Pry up the motherboard cover: passo 13, immagine 3 di 3
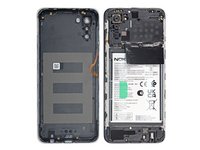
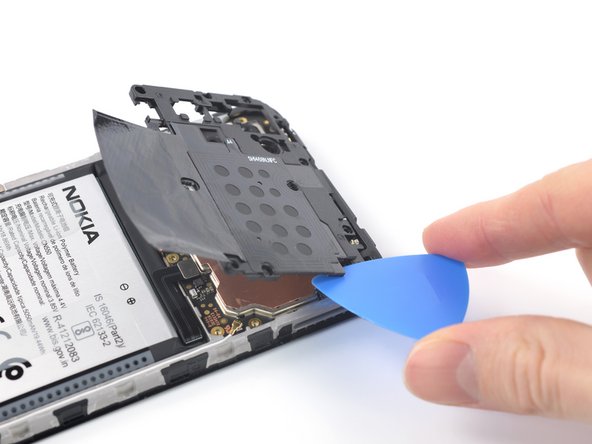
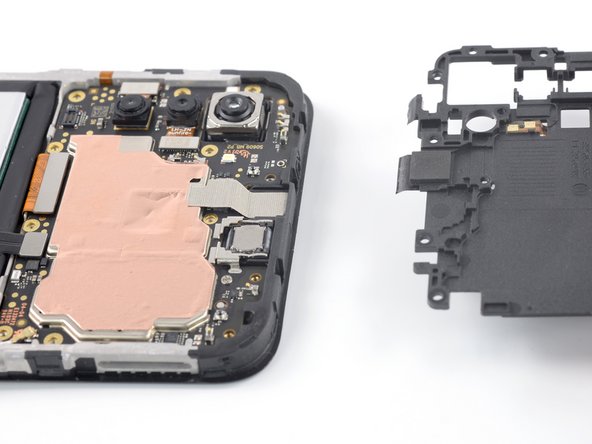
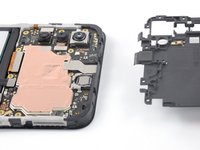
    • The motherboard cover is further held in place by plastic clips.

    • Insert an opening pick under the right edge of the motherboard cover to release its plastic clips.

    • Flip the motherboard cover over the top edge of the phone.

  14. Nokia G22 Screen Assembly Replacement, Remove the motherboard cover: passo 14, immagine 1 di 3 Nokia G22 Screen Assembly Replacement, Remove the motherboard cover: passo 14, immagine 2 di 3 Nokia G22 Screen Assembly Replacement, Remove the motherboard cover: passo 14, immagine 3 di 3
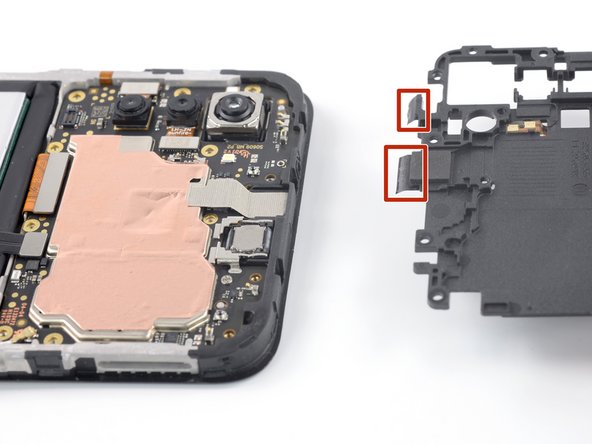
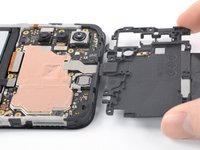
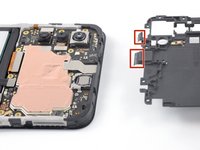
    • The motherboard cover has two short adhesive tapes wrapped around the top edge and onto the frame.

    • Pull the motherboard cover away from the frame to separate the adhesive tape and remove it.

    • During reassembly, fold the adhesive strips onto the frame after snapping the motherboard cover back in place.

  15. Nokia G22 Screen Assembly Replacement, Disconnect the battery cable: passo 15, immagine 1 di 2 Nokia G22 Screen Assembly Replacement, Disconnect the battery cable: passo 15, immagine 2 di 2
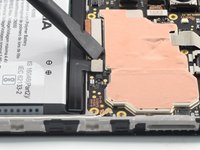
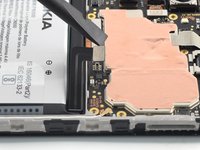
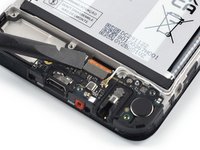
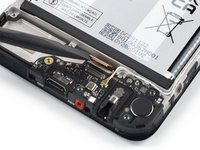
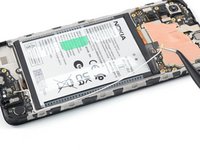
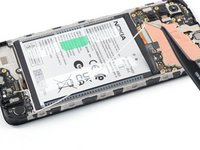
    • Use the flat end of a spudger to disconnect the battery cable by prying the connector straight up from its socket.

  16. Nokia G22 Screen Assembly Replacement, Unfasten the loudspeaker: passo 16, immagine 1 di 1
  17. Nokia G22 Screen Assembly Replacement, Pry up the loudspeaker: passo 17, immagine 1 di 2 Nokia G22 Screen Assembly Replacement, Pry up the loudspeaker: passo 17, immagine 2 di 2
    • Insert an opening pick underneath the right edge of the loudspeaker.

    • Twist the opening pick to release loudspeaker from the plastic clips holding it in place.

  18. Nokia G22 Screen Assembly Replacement, Remove the loudspeaker: passo 18, immagine 1 di 1
    • Use your fingers or a pair of tweezers to remove the loudspeaker.

  19. Nokia G22 Screen Assembly Replacement, Disconnect the display cable: passo 19, immagine 1 di 2 Nokia G22 Screen Assembly Replacement, Disconnect the display cable: passo 19, immagine 2 di 2
    • Use the flat end of a spudger to disconnect the display cable by prying the connector straight up from its socket.

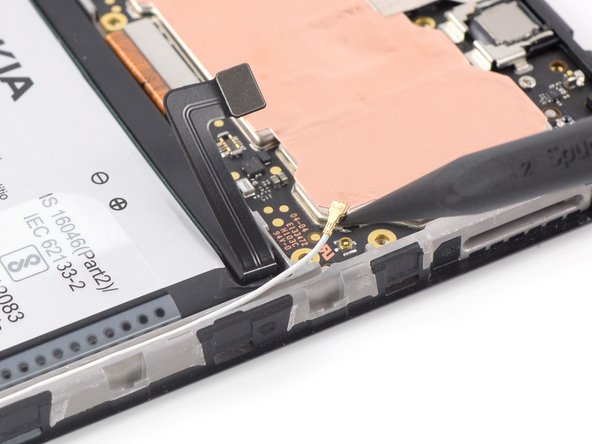
  20. Nokia G22 Screen Assembly Replacement, Disconnect the antenna cable: passo 20, immagine 1 di 2 Nokia G22 Screen Assembly Replacement, Disconnect the antenna cable: passo 20, immagine 2 di 2
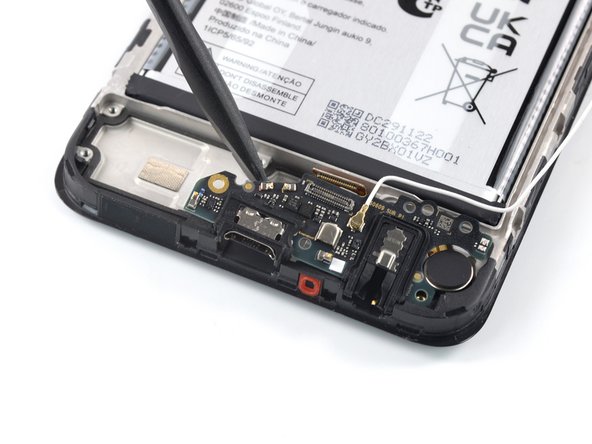
    • Use the pointed end of a spudger to disconnect the antenna cable by prying the connector straight up from its socket on the motherboard.

  21. Nokia G22 Screen Assembly Replacement, Unseat the antenna cable: passo 21, immagine 1 di 3 Nokia G22 Screen Assembly Replacement, Unseat the antenna cable: passo 21, immagine 2 di 3 Nokia G22 Screen Assembly Replacement, Unseat the antenna cable: passo 21, immagine 3 di 3
    Attrezzo utilizzato in questo passaggio:
    Tweezers
    $4.99
    • Use a pair of tweezers or your fingers to lift the antenna cable out of its recess in the frame.

    • During reassembly, connect the antenna cable to the motherboard before reseating the antenna cable into its recess.

  22. Nokia G22 Screen Assembly Replacement, Unfasten the charging port assembly: passo 22, immagine 1 di 1
    • Use a Phillips screwdriver to remove the 2.8 mm‑long screw securing the charging port assembly.

  23. Nokia G22 Screen Assembly Replacement, Pry up the charging port assembly: passo 23, immagine 1 di 2 Nokia G22 Screen Assembly Replacement, Pry up the charging port assembly: passo 23, immagine 2 di 2
    • Insert the flat end of a spudger underneath the top edge of the charging port assembly.

    • Pry up the charging port assembly by twisting the spudger until you can grip it with your fingers.

  24. Nokia G22 Screen Assembly Replacement, Remove the charging port assembly: passo 24, immagine 1 di 1
    • Remove the charging port assembly.

    Müsste hier nicht noch das (Antennen?-)Kabel von der Ladeanschluss-Baugruppe getrennt werden? In Schritt 25 ist es bereits entfernt, wird aber nicht erwähnt.

    Haebbaerrt - Replica

    Hallo Haebbaerrt, danke für deine Anmerkung! Die Ladeanschluss-Baugruppe wird beim Tausch der Displayeinheit übertragen. Wir empfehlen, das Kabel mit der Ladeanschluss-Baugruppe verbunden zu lassen, da dies die Positionierung des Kabels beim Wiedereinbau erleichtert.

    Manuel Haeussermann - Replica

  25. Nokia G22 Screen Assembly Replacement, Remove the vibration motor: passo 25, immagine 1 di 3 Nokia G22 Screen Assembly Replacement, Remove the vibration motor: passo 25, immagine 2 di 3 Nokia G22 Screen Assembly Replacement, Remove the vibration motor: passo 25, immagine 3 di 3
    Attrezzo utilizzato in questo passaggio:
    Tesa 61395 Tape
    $5.99
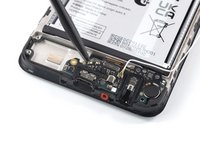
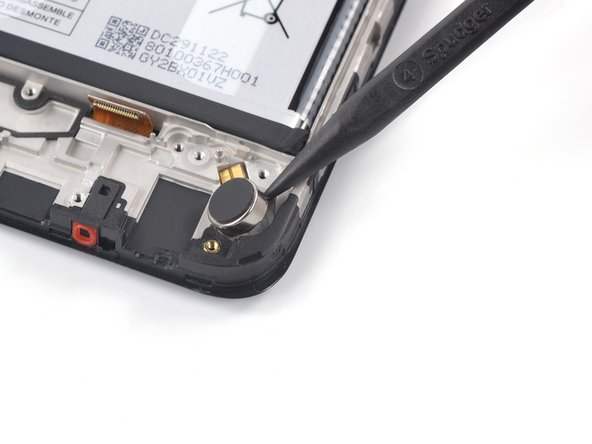
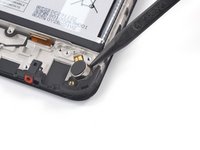
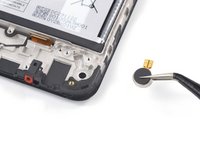
    • The vibration motor is held in place with mild adhesive.

    • Insert the pointed end of a spudger into the small recess on the upper right side of the vibration motor.

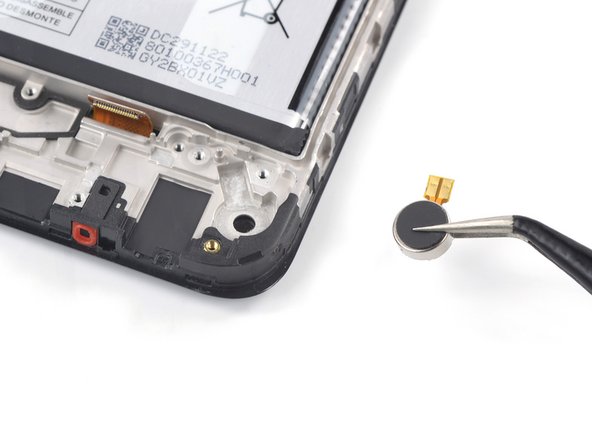
    • Pivot the spudger up to pry up the vibration motor off of the adhesive securing it underneath.

    • Use a pair of tweezers or your fingers to remove the vibration motor.

    • During reassembly, you can reuse the old adhesive if it's still sticky. If not, replace it with new custom cut adhesive, such as Tesa Tape.

    Je spudger gaat hierbij kapot, het plastic puntje is niet sterk genoeg om de trilmotor los te krijgen (bij een 1 jaar oude telefoon), een metalen stuk gereedschap is nodig. je zou voorzichtig de pincet kunnen gebruiken (niet verbuigen!) op dezelfde manier.

    Luctor et Emergo - Replica

  26. Nokia G22 Screen Assembly Replacement, Disconnect the display cable: passo 26, immagine 1 di 2 Nokia G22 Screen Assembly Replacement, Disconnect the display cable: passo 26, immagine 2 di 2
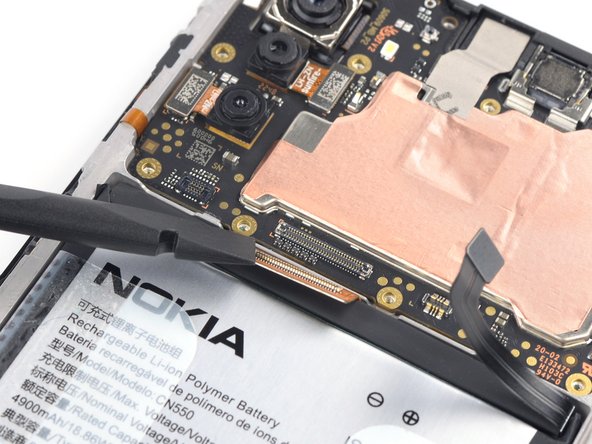
    • Use the flat end of a spudger to disconnect the display cable by prying the connector up from its socket.

    Bij het opnieuw monteren van een nieuw scherm, kan deze kabel te lang zijn, enige druk is nodig om de connector op zijn plek te houden. Het kan handig zijn de batterij pas te plaatsen als deze connector netjes op zijn plek zit. m.a.w. deze handleiding in omgekeerde volgorde volgen voor assemblage moet je stap 37-35 even overslaan tot stap 15

    Luctor et Emergo - Replica

  27. Nokia G22 Screen Assembly Replacement, Unfasten the motherboard: passo 27, immagine 1 di 1
    • Use a Phillips screwdriver to remove the 2.8 mm‑long screw securing the motherboard.

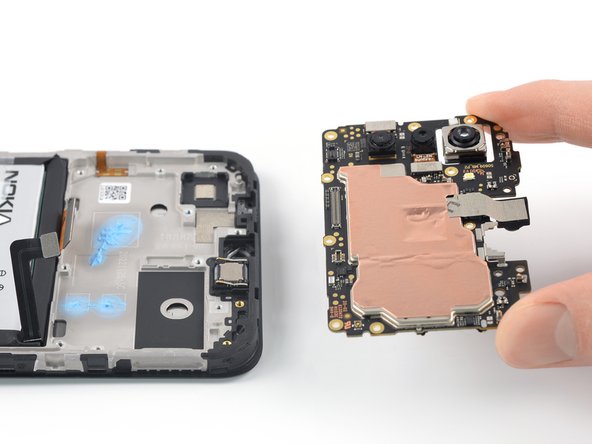
  28. Nokia G22 Screen Assembly Replacement, Pry up the motherboard: passo 28, immagine 1 di 2 Nokia G22 Screen Assembly Replacement, Pry up the motherboard: passo 28, immagine 2 di 2
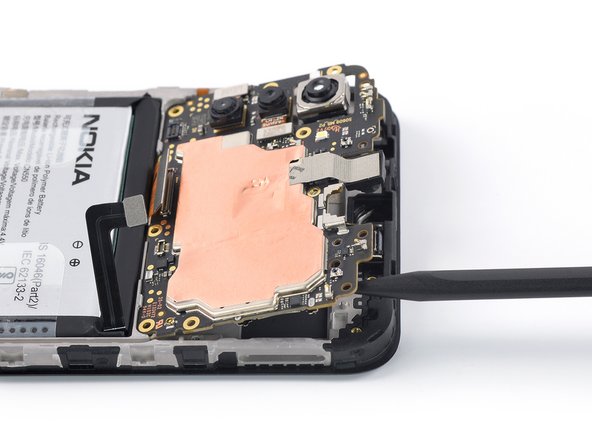
    • Insert the pointed end of a spudger underneath the top right corner of the motherboard.

    • Pry the motherboard up until you can grip it with your fingers.

  29. Nokia G22 Screen Assembly Replacement, Remove the motherboard: passo 29, immagine 1 di 2 Nokia G22 Screen Assembly Replacement, Remove the motherboard: passo 29, immagine 2 di 2
    • Remove the motherboard.

    • During reassembly apply small beads of thermal paste to the marked areas on the new screen assembly. See this generic guide for detailed steps on how to prepare the motherboard and apply the paste.

  30. Nokia G22 Screen Assembly Replacement, Remove the earpiece speaker: passo 30, immagine 1 di 3 Nokia G22 Screen Assembly Replacement, Remove the earpiece speaker: passo 30, immagine 2 di 3 Nokia G22 Screen Assembly Replacement, Remove the earpiece speaker: passo 30, immagine 3 di 3
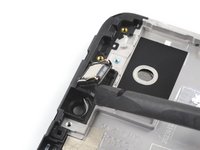
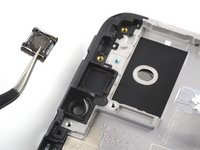
    • The earpiece speaker is secured to the frame with mild adhesive.

    • Insert the flat end of a spudger underneath the bottom left corner of the earpiece speaker and pry it out of its recess.

    • Remove the earpiece speaker.

    • During reassembly, make sure the gold contact springs on the earpiece speaker are facing up and closer to the bottom edge of the phone before readhering it to the frame.

  31. Nokia G22 Screen Assembly Replacement, Remove the camera bracket: passo 31, immagine 1 di 3 Nokia G22 Screen Assembly Replacement, Remove the camera bracket: passo 31, immagine 2 di 3 Nokia G22 Screen Assembly Replacement, Remove the camera bracket: passo 31, immagine 3 di 3
    Attrezzo utilizzato in questo passaggio:
    Tweezers
    $4.99
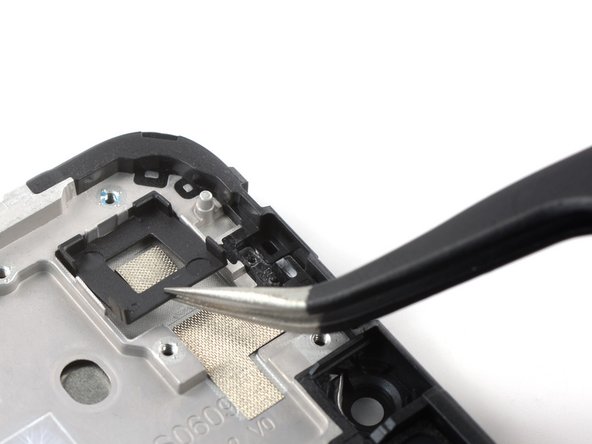
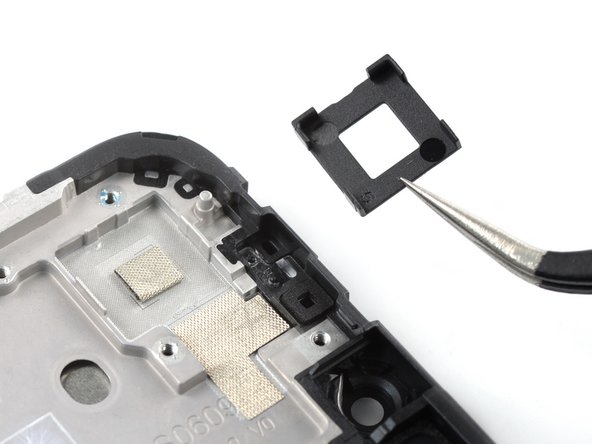
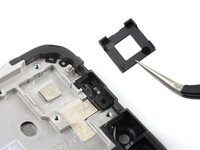
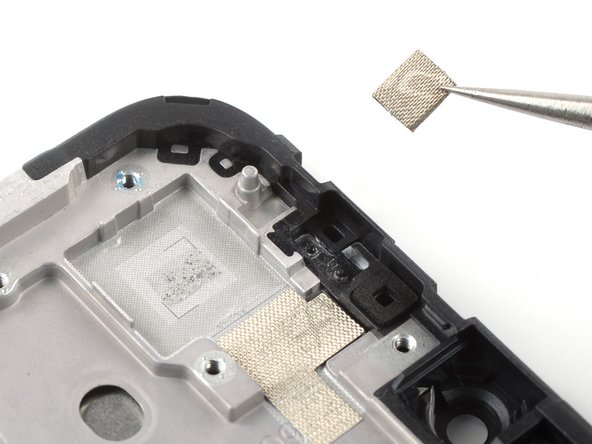
    • If your new screen assembly comes with a camera bracket you can skip this step. If not you’ll need to transfer the bracket or apply a new one.

    • Use a pair of tweezers to remove the black camera bracket.

    • The camera bracket is held in place with mild adhesive.

    • During reassembly, transfer the old camera bracket or install a new bracket for the new screen assembly.

  32. Nokia G22 Screen Assembly Replacement, Remove the foam pad: passo 32, immagine 1 di 3 Nokia G22 Screen Assembly Replacement, Remove the foam pad: passo 32, immagine 2 di 3 Nokia G22 Screen Assembly Replacement, Remove the foam pad: passo 32, immagine 3 di 3
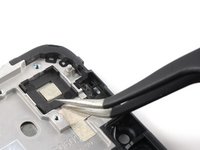
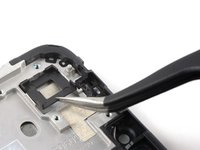
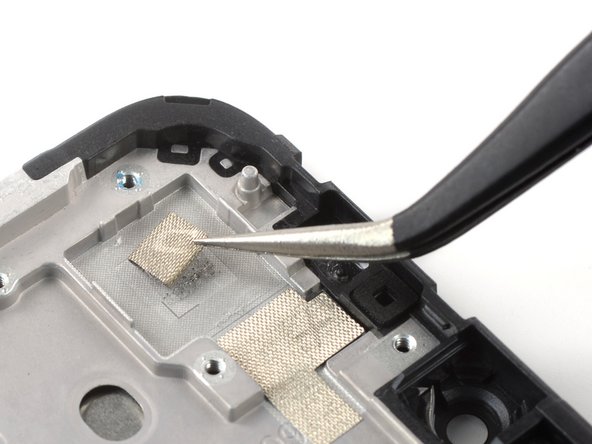
    • If your new screen assembly comes with a foam pad you can skip this step. If not you’ll need to transfer the old pad or apply a new one.

    • Use a pair of tweezers to carefully peel the foam off of the frame to remove it.

    • The foam pad in the camera recess is held in place with mild adhesive.

    • During reassembly, transfer the old foam pad or install a new one for the new screen assembly. You can install the camera bracket first to help orient the foam pad.

  33. Nokia G22 Screen Assembly Replacement, Loosen the battery tabs: passo 33, immagine 1 di 2 Nokia G22 Screen Assembly Replacement, Loosen the battery tabs: passo 33, immagine 2 di 2
    • Be extra careful to not puncture, bend, or deform the battery during the next few steps—a damaged battery may leak dangerous chemicals or cause a fire.

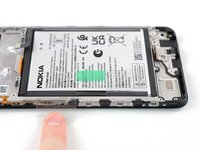
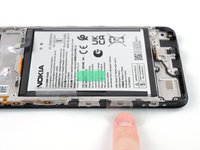
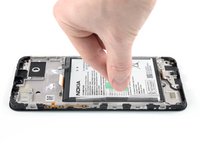
    • Use your fingers to peel the two outer adhesive tabs off of the battery.

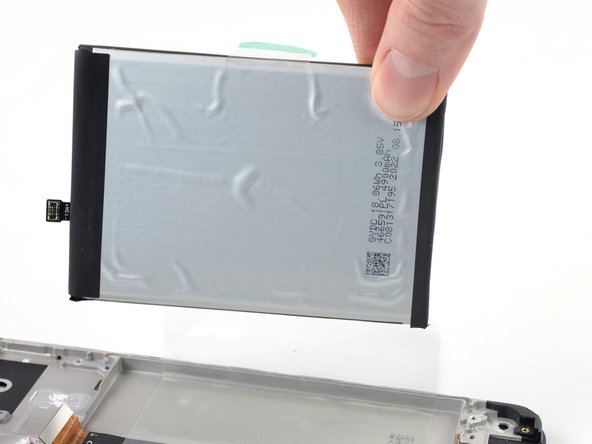
  34. Nokia G22 Screen Assembly Replacement, Lift out the battery: passo 34, immagine 1 di 3 Nokia G22 Screen Assembly Replacement, Lift out the battery: passo 34, immagine 2 di 3 Nokia G22 Screen Assembly Replacement, Lift out the battery: passo 34, immagine 3 di 3
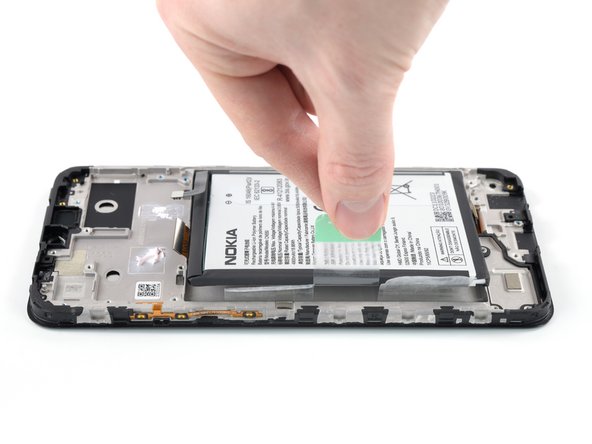
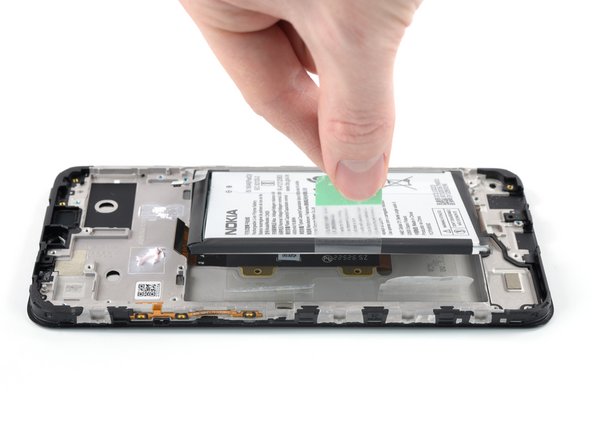
    • The battery in the Nokia G22 is secured with adhesive. A pull tab is provided to separate the adhesive and remove the battery.

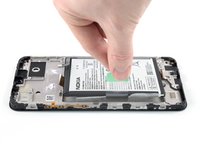
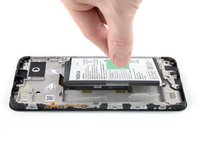
    • Use your fingers to peel the center green pull tab off of the battery.

    • Using one hand to hold the phone down, use your other hand to slowly and steadily lift the center green pull tab up to separate the adhesive securing the battery underneath.

    • If the green pull tab should rip, you can use the outer tabs to pull out the battery including the adhesive film underneath. Be aware that therefore this will take more time and probably some heat to soften the adhesive.

    • If you have any difficulties with stubborn battery adhesive, you can contact "Nokia phones support".

  35. Nokia G22 Screen Assembly Replacement, Remove the battery: passo 35, immagine 1 di 3 Nokia G22 Screen Assembly Replacement, Remove the battery: passo 35, immagine 2 di 3 Nokia G22 Screen Assembly Replacement, Remove the battery: passo 35, immagine 3 di 3
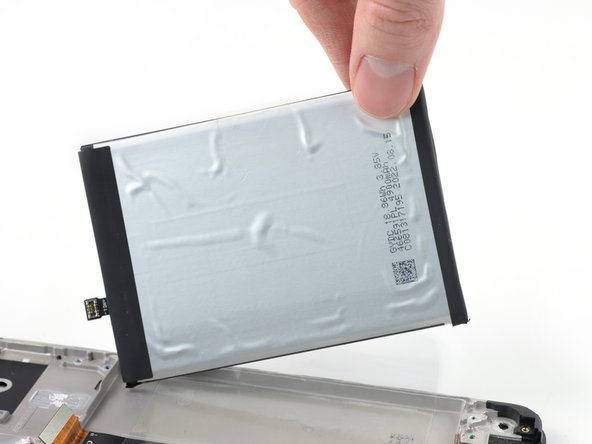
    • Peel the battery off of the adhesive film and remove it.

  36. Nokia G22 Screen Assembly Replacement, Remove the battery adhesive film: passo 36, immagine 1 di 3 Nokia G22 Screen Assembly Replacement, Remove the battery adhesive film: passo 36, immagine 2 di 3 Nokia G22 Screen Assembly Replacement, Remove the battery adhesive film: passo 36, immagine 3 di 3
    • Grab the bottom right edge of the leftover adhesive film and pull it towards the top of the phone with steady force to remove it.

    • During reassembly, follow these instructions to apply a new battery adhesive film:

    • Remove the battery adhesive film from its liners and apply it to the battery.

    • Align the bottom edge of the battery (the edge without adhesive) with the bottom edge of the recess.

    • Lower the battery with its film down and press firmly to secure it in place.

    LET OP! in omgekeerde volgorde volgen voor assemblage moet je stap 38-35 (plaatsen batterij) even overslaan tot stap 15

    Luctor et Emergo - Replica

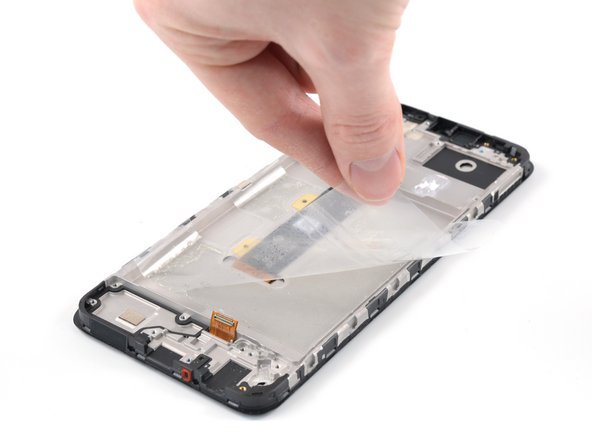
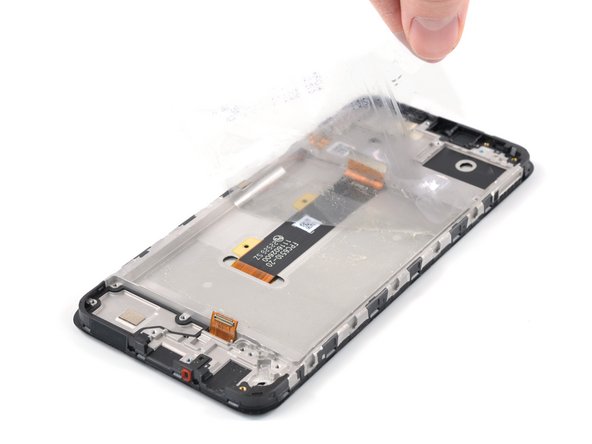
  37. Nokia G22 Screen Assembly Replacement, Only the screen assembly remains: passo 37, immagine 1 di 1
    • Only the screen assembly remains.

    • During reassembly, compare your new replacement assembly to the original part:

    • If your part comes with battery adhesive pre-installed, remove its plastic liners before continuing to the previous step.

    • If your part has no battery adhesive, remove the clear liner on the pre-cut battery adhesive and apply the sticky section to the battery well. Remove the opaque liner before continuing to the previous step.

    • If you're reusing your original battery, carefully inspect it for any signs of physical damage. If it's bent, creased, dented or scratched, replace it with a new battery. Installing a damaged battery is a safety hazard.

    LET OP! in omgekeerde volgorde volgen voor assemblage moet je stap 38-35 (plaatsen batterij) even overslaan tot stap 15

    Luctor et Emergo - Replica

    How do you remove the screen from casing.

    Chris Agius - Replica

    Hi Chris Agius,

    This guide is written for the genuine Nokia G22 screen assembly. The assembly consists of the screen and midframe together as one part, so you don't need to remove the screen from the midframe, but instead transfer parts to a new screen assembly.

    Manuel Haeussermann -

    be aware: I got a replacement part where the button strip was missing and it's very hard to get it off the old screen intact. also, this step is missing from the tutorial

    fipster - Replica

    Hi fipster,

    The genuine replacement part offered by iFixit should include the button strip. If you bought the part from us and didn't receive a part including the buttons, please contact eustore@ifixit.com for EU orders or support@ifixit.com for Non-EU orders to get it sorted out.

    Manuel Haeussermann -

Conclusione

To reassemble your device, follow these instructions in reverse order.

Take your e-waste to an R2 or e-Stewards certified recycler.

Repair didn’t go as planned? Try some basic troubleshooting, or ask our Answers community for help.

Altre 13 persone hanno completato questa guida.

Team

iFixit Membro di iFixit

Staff

120 Membri

20.036 Guide realizzate

12Commenti sulla guida

Vous marquez "Il est possible de remplacer uniquement l'écran, mais cela nécessite une procédure différente". Pouvez-vous svp me donner le lien pour changer juste l'écran ?

Merci !

Emilie Talbot - Replica

Bonjour Emilie,

Nous ne proposons malheureusement pas de guide pour le changement d'écran seul. La procédure est plus complexe et potentiellement plus risquée car la séparation du châssis et de l'écran nécessite une certaine dextérité. Il y a toujours plusieurs possibilités de réparation mais nous recommandons plutôt d'opter pour cet écran complet fournit par Nokia, et donc de suivre les instructions du tuto ci-dessus.

Bonne journée,

Sandra

Sandra Auboy -

Bonjour,

Les étapes 30 et 31 ne sont pas nécessaire, l'écran neuf est livré avec la connectique neuve.

Les étapes 33 et 34 ne sont pas nécessaire, le support caméra et la mousse sont fournis neuf avec le kit et l'autocollant neuf.

Idem étape 38, le film plastique est fournis dans le kit, il faut mettre le film neuf sur l'écran avant de replacer la batterie.

Sinon, super tutoriel, le remplacement se fait sans soucis avec le kit d'outillage.

Antoine MONTUORO - Replica

Bonjour Antoine,

Merci de votre remarque ! Même si ces étapes ne sont effectivement pas indispensables comme vous l'avez souligné, nous avons préféré les conserver afin d'être le plus précis possible et pour que les utilisateurs n'oublient pas d'installer ces pièces lors du remontage !

À bientôt,

Sandra

Sandra Auboy - Replica

As someone who has never replaced a screen for a mobile phone before, this guide was incredibly helpful.

I would recommend a pen and some paper to mark down what steps you have taken so far and an organised as well as a labelled area for screws as they are very tiny and easy to lose.

19/10 I'd be confident to follow this guide again!

Bozzy Bozbourne - Replica

If you are replacing the screen and frame, be aware that many replacement screen/frame parts do not have the buttons for power and volume. These are an extra £10ish. Unfortunately, to fit them you have to remove the motherboard again.

MPS - Replica

Hi MPS,

The genuine replacement part offered by iFixit should include the buttons. If you bought the part from us and didn't receive a part including the buttons, please contact eustore@ifixit.com for EU orders or support@ifixit.com for Non-EU orders to get it sorted out.

Manuel Haeussermann -

These very clear instructions helped me fix a G22, thank you to the authors. This phone is surprisingly easy to repair, other manufacturers could learn a thing or two here. It took me around 75 minutes to do the job.

I strongly recommend to buy the screen kit, it contains the complete set for only a few euros more than the screen itself. You will need a replacement battery sticker foil for step 36 anyway, which costs a few euros itself. It is easy to break the original sticker, a new one can be easily placed on the original battery.

Roland Vaandrager - Replica

With these excellent instructions, repair tools, reading glasses and some patience, the screen replacement was indeed doable and now the phone is as good as new ... after all, the phone was only a month old when its screen was smashed against the pavement ;)

The ability to repair such vulnerable components is a very welcomed development in consumer electronics.

Mikko A - Replica

Desweiteren wird das Ersatzdisplay ohne Tasten-Flexleitung geliefert. Diese sollte auch vom alten Display übernommen werden.

Womit diese dann verklebt werden soll wurde leider auch nicht mitgeteilt.

Anleitung bitte vervollständigen!

Vielen Dank!

jenskönig - Replica

Hallo jenskönig,

Das Original-Ersatzteil aus dem iFixit Store sollte mit bereits vorinstallierten Tasten kommen. Falls du das Ersatzteil bei uns bestellt hast und dies nicht der Fall war, kontaktiere bitte unser Team unter eustore@ifixit.com, damit wir dir weiterhelfen können!

Manuel Haeussermann -

Great guide! I nearly missed step 27, making it hard to pry loose the mainboard :-)
Seems my old screen was already responding too slow or even didn't respond month before I broke it. Wonder how that has happened.

Would be nice if @Ifixit could flatten the delivery tariff for the EU.

Victor50 - Replica

Aggiungi Commento

Visualizza Statistiche:

Ultime 24 Ore: 4

Ultimi 7 Giorni: 45

Ultimi 30 Giorni: 249

Tutti i Tempi: 13,386