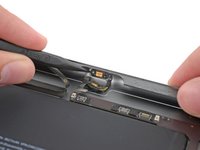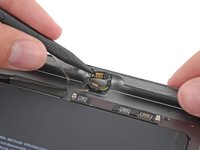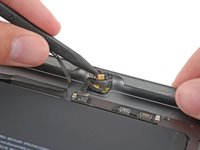
iPad 5 Wi-Fi Microphone Assembly Replacement
Introduzione
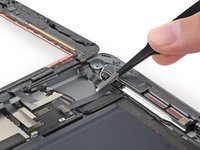
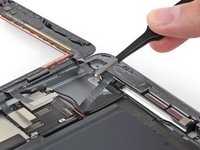
Vai al passo 1Use this guide to replace the dual microphone assembly in your iPad 5 Wi-Fi.
Be very careful when you isolate the battery using a battery blocker. The battery contacts are easily damaged, resulting in irreversible damage to the logic board. If you choose to complete the guide without isolating the battery, avoid using metal tools except when completely necessary (like when removing screws) to prevent shorting the battery and damaging sensitive circuit components.
Cosa ti serve
Ricambi
Strumenti
Mostra di più…
-
-
Heat an iOpener and apply it to the left edge of the device for two minutes.
-
-
-
While you're waiting for the adhesive to loosen, note the following areas that are sensitive to prying:
-
Front camera
-
Antennas
-
Display cables
-
-
Attrezzo utilizzato in questo passaggio:Clampy - Anti-Clamp$24.95
-
Pull the blue handle backwards to unlock the Anti-Clamp's arms.
-
Place an object under your iPad so it rests level between the suction cups.
-
Position the suction cups near the middle of the left edge—one on the top, and one on the bottom.
-
Hold the bottom of the Anti-Clamp steady and firmly press down on the top cup to apply suction.
-
-
-
Wait one minute to give the adhesive a chance to release and present an opening gap.
-
If your screen isn't getting hot enough, you can use a hair dryer to heat along the left edge of the iPad.
-
Insert an opening pick under the digitizer when the Anti-Clamp creates a large enough gap.
-
Skip the next step.
-
-
-
Once the screen is warm to touch, apply a suction handle to the left edge of the screen and as close to the edge as possible.
-
Lift the screen with the suction handle to create a small gap between the digitizer and the frame.
-
Insert an opening pick into the gap between the digitizer and the frame.
-
-
-
Insert a second opening pick into the gap you just created.
-
Slide the pick toward the bottom-left corner of the device to separate the adhesive.
-
Leave the pick in the bottom-left corner to prevent the adhesive from re-sealing.
-
-
-
Heat an iOpener and apply it to the top edge of the device for two minutes.
-
-
-
Rotate the pick around the top-left corner of the device to separate the adhesive.
-
-
-
Slide the opening pick along the top edge of the device, stopping just before you reach the front camera.
-
-
-
Heat an iOpener and apply it to the right edge of the device for two minutes.
-
-
-
Rotate the pick around the top-right corner of the device to separate the adhesive.
-
-
-
Insert a new opening pick and slide it to the middle of the iPad's right edge.
-
-
-
-
Heat an iOpener and apply it to the bottom edge of the device for two minutes.
-
-
-
Slide the bottom-left pick to the bottom-left corner to separate the adhesive.
-
Leave the pick in the bottom-left corner before moving to the next step.
-
-
-
Insert a new opening pick into the gap you just created on the bottom edge of the iPad.
-
Slide the pick over the antenna, stopping just before the home button.
-
Leave the pick to the left of the home button before continuing.
-
-
-
Heat an iOpener and apply it to the right edge of the device for two minutes.
-
-
-
While supporting the digitizer, slide an opening pick between the two display cables to separate the last of the adhesive.
-
-
-
Use the flat end of a spudger to pry the LCD out of its recess just enough to grab it with your fingers.
-
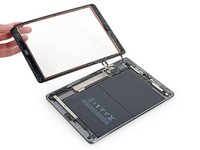
Flip the iPad LCD like a page in a book, lifting near the camera and turning it over the home button end of the rear case.
-
Lay the LCD on its face to allow access to the display cables.
-
-
-
Remove any tape covering the home button ribbon cable connector.
-
-
Attrezzo utilizzato in questo passaggio:Polyimide Tape$9.99
-
Remove the front panel assembly.
-
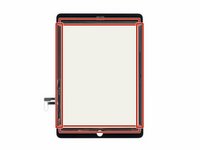
If you experience "ghost" or "phantom" touch input issues with your new display, this can be resolved by adding a layer of very thin insulating tape, such as Kapton (polyimide) tape, to the highlighted areas on the back of the panel. iFixit panels come with the proper insulation, and should not require the addition of any tape.
-
-
-
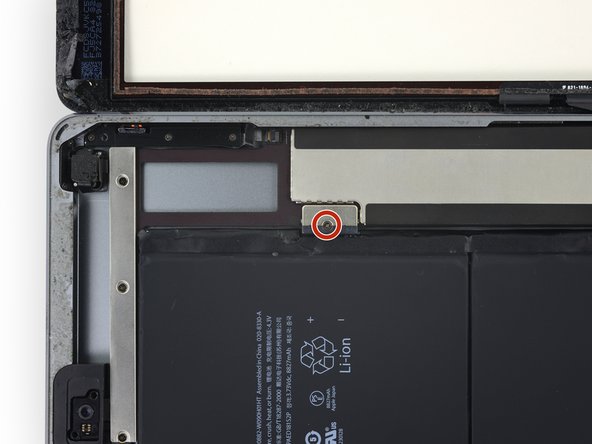
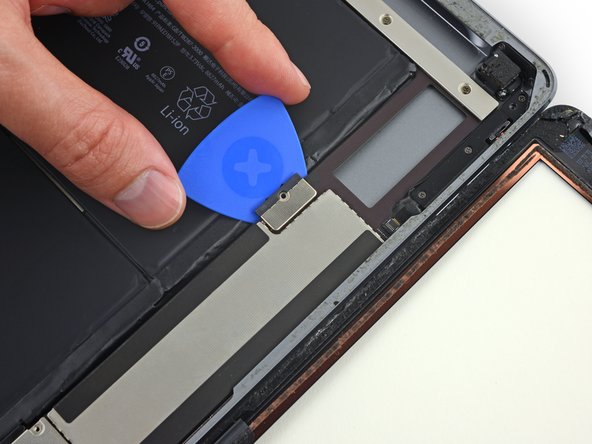
Remove the three 1.4 mm Phillips #000 screws securing the upper component cable bracket.
-
-
-
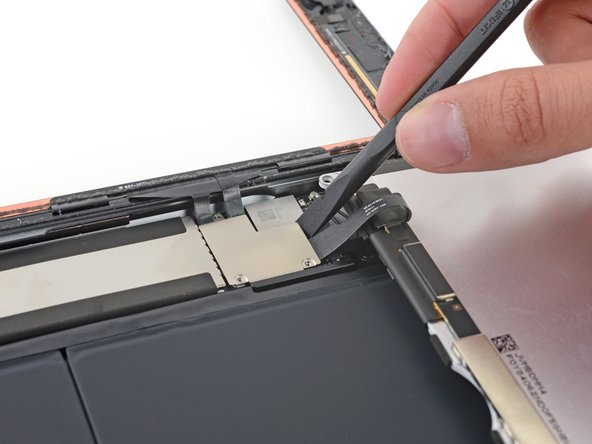
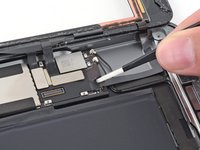
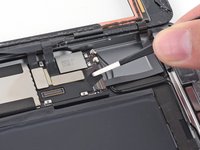
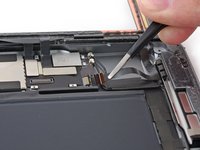
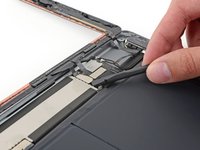
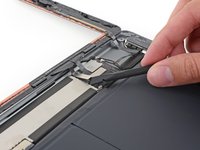
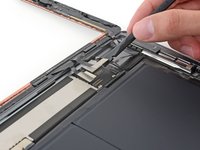
Use the flat end of a spudger to disconnect the front-facing camera connector from the logic board.
-
-
-
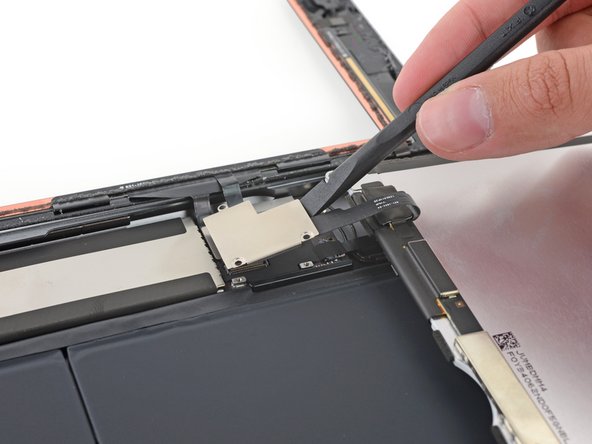
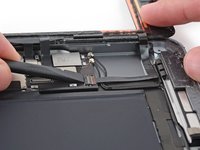
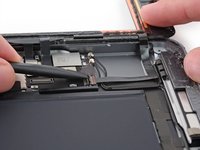
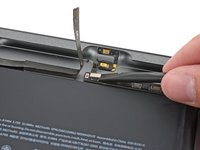
Use the flat end of a spudger to disconnect the headphone jack connector from the logic board.
-
Fold the headphone jack cable out of the way.
-
To reassemble your device, follow these instructions in reverse order.
To reassemble your device, follow these instructions in reverse order.
Annulla: non ho completato questa guida.
Altre 2 persone hanno completato questa guida.
Un commento
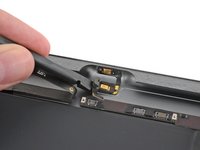
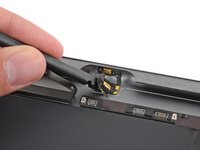
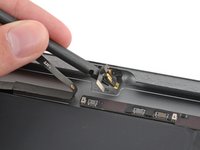
I was already planning to change my screen when I saw the issue with the microphone was the same problem I had. Glad I only had to open the iPad once and did the microphone at the same time. The microphone replacement doesn’t have extra foam pieces for under the camera, so take your time removing the camera and try not to rip the foam too much. You can see a small C-shaped piece of foam attached to the microphone assembly on the step for removing the microphone. I warmed up my iOpener and placed the old microphone on it to soften the adhesive on it and transferred it to the new microphone.


