
Xbox One Elite Controller (Model 1698) Trigger Assembly Replacement

Introduzione
Vai al passo 1If your triggers don't vibrate, your trigger rumble motors might be defective. Here are instructions to help you replace your trigger assembly, including the triggers and the trigger rumble motors. Use the Soldering Iron Guide to detach and reattach the wires of the rumble motors to the motherboard.
Cosa ti serve
Ricambi
Strumenti


Mostra di più…
-
-
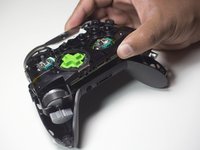
Turn over the controller so that the buttons face down.
-
Remove the battery cover carefully by sliding the cover up in the direction of the arrow.
-
-
-
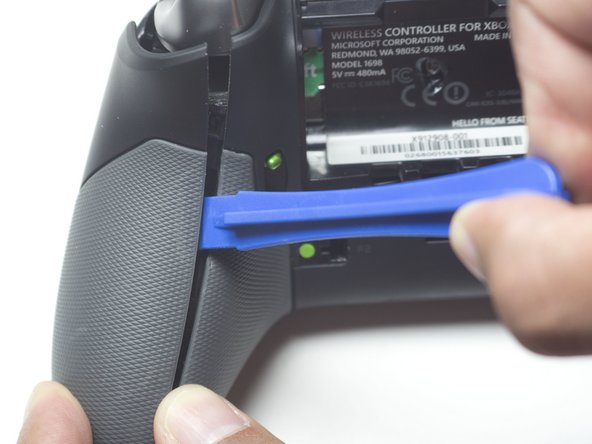
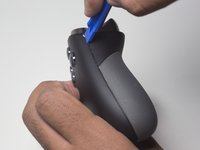
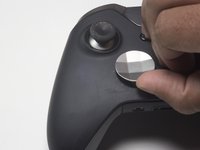
Remove each grip by inserting the plastic opening tool near the top of the controller.
-
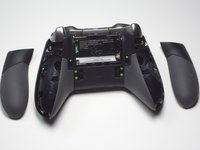
Guide the plastic opening tool along the entire seam and gently separate the grip from the controller in a prying motion as you go.
Had difficulty removing the grips. Found that both grips had a piece of double sided tape from the factory securing them as well.
-
-
-
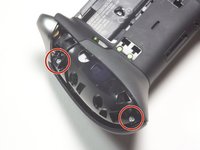
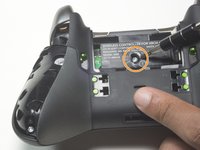
Remove the five 2.3 mm screws with the TR8 Torx Security screwdriver.
-
Use a TR8 Torx Security Screwdriver to puncture the sticker and remove the final screw.
Well, you actually need a T8 Torx screwdriver with a hole in the middle…
A TR8 is what you are referring to
-
-
-
Flip the controller so that the buttons are face up to prevent the vibration motors from falling out of the controller.
-
Remove the D-pad by lifting the bottom and pulling it up.
-
Remove the entire plastic faceplate by pulling it up gently.
-
Remove the thumbsticks by pulling them off from the top.
There’s a fifth screw behind the information sticker in battery compartment. This needs to be removed in order for the face plate to be separated from the controller.
-
-
-
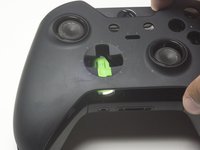
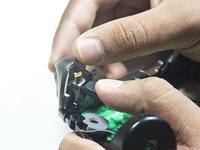
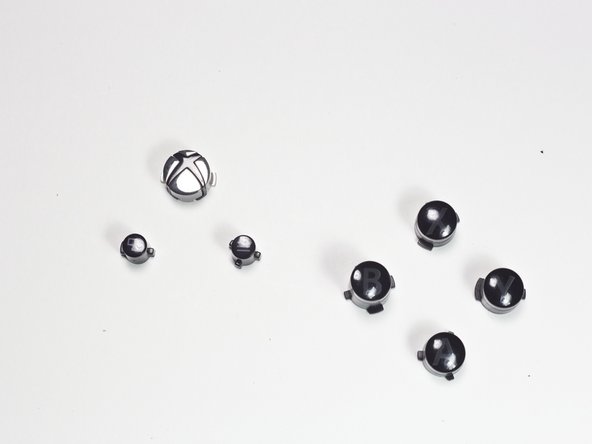
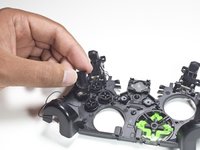
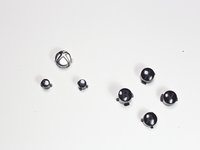
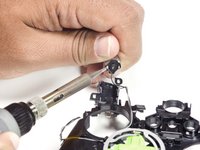
Remove the small black mode switch from the front of the controller.
-
Remove the backplate from the main assembly by pulling them apart.
What about the piece that is behind the mode switch? Does the button replacement kits come with that piece?
-
-
-
Attrezzo utilizzato in questo passaggio:Tweezers$4.99
-
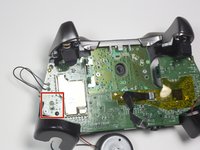
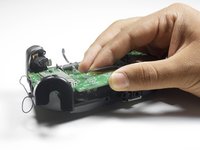
Use tweezers to unplug the ribbon cable on the side closest to the back cover by pulling the cable parallel to the surface of the circuit board.
Be sure to lift the black lever to release the cable!
I didn't do this when I removed it, luckily nothing bad happened. But I nearly ruined the pins as I tried to repeatedly shove the cable back into the slot. Then I tested the black piece to see if it was a lever and behold it was! Went in perfectly, but I wish this guide made it clear for amateurs like me.
Updated the guide to include:
To remove the cable, lift the black lever on the opposite side of the connector from the cable.
-
-
-
Mark each motor according to where it attaches. The rumble motors are different so they will not work if you switch them.
-
Turn over the controller so that the thumbsticks are facing down.
-
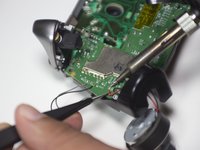
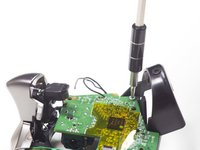
Use tweezers and a soldering iron (Soldering Iron Guide) to remove the black and red wires from the motherboard.
-
-
-
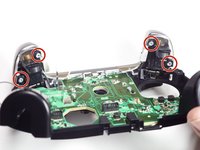
Use the T6 Torx screwdriver to remove the two T6 7mm screws located just above the rumble motor housing.
-
-
-
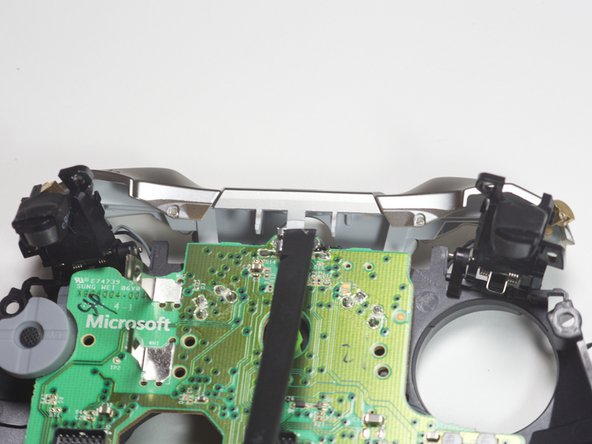
Use the soldering iron to desolder the four wires that connect the top and bottom mother board and remove them from the buttons.
If you’re careful, you can skip de-soldering the wires, and just lift the main board out of the way
-
-
-
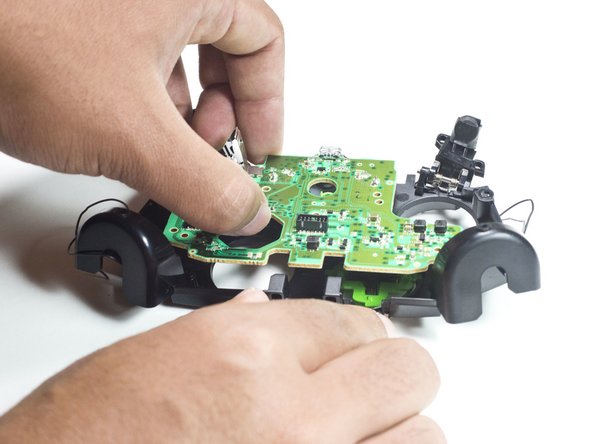
Remove the top motherboard by pulling it upwards.
-
Remove the small 9mm audio jack by gently lifting it from the motherboard.
As you can see in the second picture, there is a connector beneath the upper board. So you need to use a bit of force to lift the board off the main controller board. It's not as if the upper board comes loose after removing the screws.
-
-
-
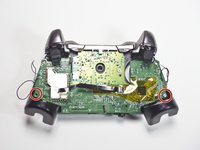
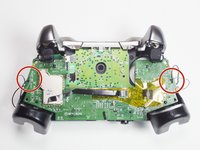
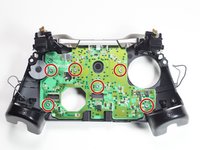
Use the T6 Torx Screwdriver to unscrew the six T6 7mm Torx screws that hold the bottom motherboard to the plastic frame of the controller.
-
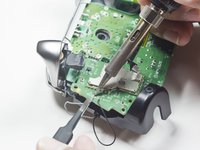
Use the plastic spudger to remove the silver assembly that holds the right and left bumpers, by lifting the plastic tab near the charging port of the Xbox.
-
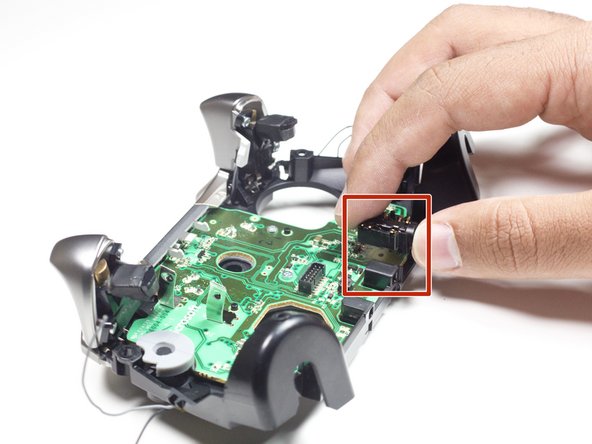
Slowly remove the bottom motherboard by pulling it up and towards yourself.
-
-
-
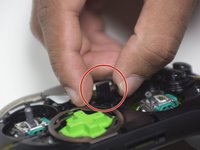
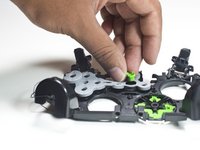
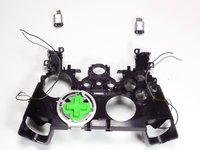
Remove the small green plastic piece by lifting it from the silicone holding it.
-
Remove the soft grey silicone piece that covers the buttons by pulling upwards on it.
that green piece is the sync button and goes under the silver top piece. That hole is for the screw from the battery compartment
-
-
-
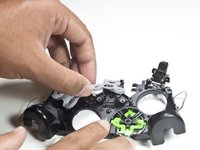
Lay controller so buttonholes face upwards and Xbox logo is furthest away from you.
-
Desolder the motor wires using the soldering iron. Use the Soldering Iron Guide to help you with desoldering.
-


To reassemble your device, follow these instructions in reverse order.
To reassemble your device, follow these instructions in reverse order.
Annulla: non ho completato questa guida.
Altre 11 persone hanno completato questa guida.

Team

Cal Poly, Team S18-G4, Forte Fall 2017 Membro di Cal Poly, Team S18-G4, Forte Fall 2017
CPSU-FORTE-F17S18G4
4 Membri
24 Guide realizzate
2Commenti sulla guida
where can i get the magnets at? also would i need electrical tape for the magnets to stay in place?
Thank you very much for putting this here in 2024.
It's harder to find parts to Elite Series 1 and get recent information about these things about Elite Series 1.
I personally dislike Elite Series 2.