
Sony RM-LVR1 LCD Screen Replacement

Introduzione
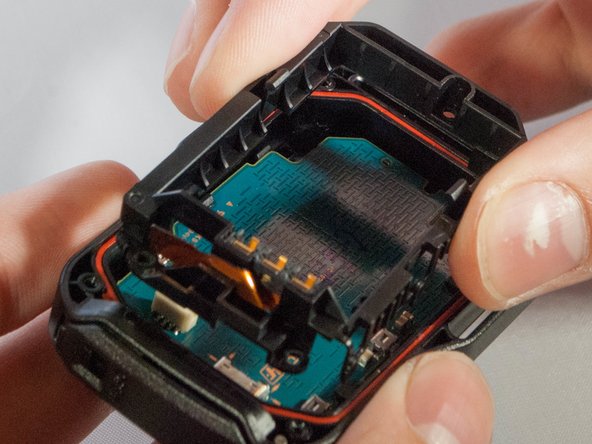
Vai al passo 1This guide will teach you step by step how to replace your LCD screen.
Cosa ti serve


-
-
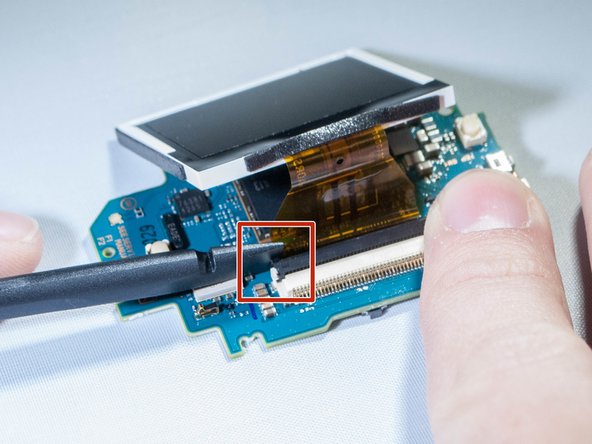
Use a Phillips #00 screwdriver to remove the four (4) screws on the back of the device.
-
If the screws strips or is previously stripped, refer to the stripped screw repair guide.
-
-
-
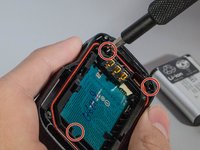
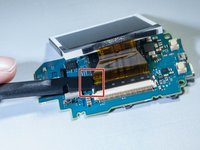
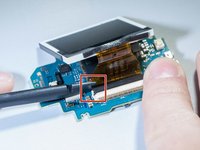
Unscrew the 3 (three) screws holding the bracket in place.
-
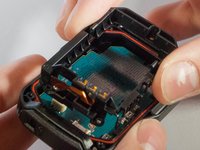
Then remove the bracket by prying one end up.
-
-


To reassemble your device, follow these instructions in reverse order.
To reassemble your device, follow these instructions in reverse order.
Annulla: non ho completato questa guida.
Un'altra persona ha completato questa guida.
Preparati per le riparazioni future
Acquista tutti


Team

Eastern Washington University, Team S2-G2, Crane Fall 2017 Membro di Eastern Washington University, Team S2-G2, Crane Fall 2017
EWU-CRANE-F17S2G2
3 Membri
6 Guide realizzate
4Commenti sulla guida
Hi
I cant find an replacement lcd.
Could anybody help me where to get one?
Cheers
Sven
any link to the replacement LCD please?