
MacBook Pro 13" Retina Display Mid 2014 Fan Replacement

Introduzione
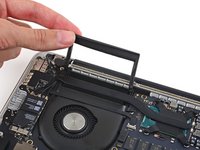
Vai al passo 1Use this guide to replace the fan.
Don't forget to follow our thermal paste application guide before you reinstall your heat sink.


-
Attrezzo utilizzato in questo passaggio:Magnetic Project Mat$19.95
-
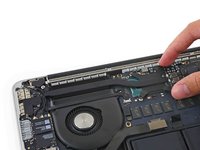
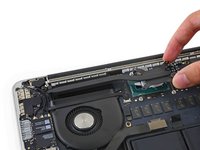
Remove the following ten screws securing the lower case to the upper case:
-
Two 2.3 mm P5 Pentalobe screws
-
Eight 3.0 mm P5 Pentalobe screws
-
-
-
-
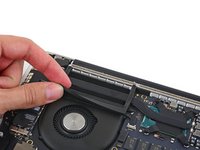
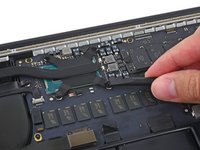
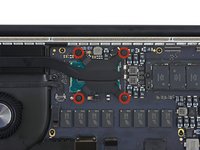
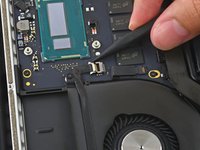
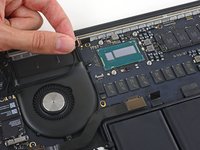
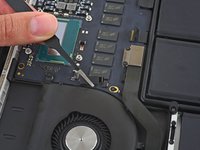
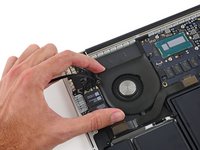
Use the tip of a spudger to push on either side of the the iSight camera cable connector to walk it out of its socket on the logic board.
-


To reassemble your device, follow these instructions in reverse order.
To reassemble your device, follow these instructions in reverse order.
Annulla: non ho completato questa guida.
Altre 28 persone hanno completato questa guida.


4 Commenti
Very clear guide, and highly informative photos. It might be useful to add that the PL5 screws on the back of the case do not insert vertically. These insert at a slight angle and attempting to insert them straight will cause cross treading.
Simple and clear step by step instructions.
What is the use of the four foam stickers in step 9? Mine don’t stick anymore after taking out.
A mi me ha pasado lo mismo. Supongo que sirve para ejercer una pequeña presión sobre los tornillos. Yo le he puesto unas pegatinas, recortadas, de las que se usan para tope de muebles, para que no rocen, y creo que hacen el apaño.