Salta al contenuto principale
Unisciti alla Community delle riparazioni - Crea un account
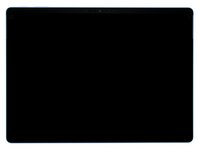
Microsoft Surface Pro 11 Screen Replacement

Cosa ti serve

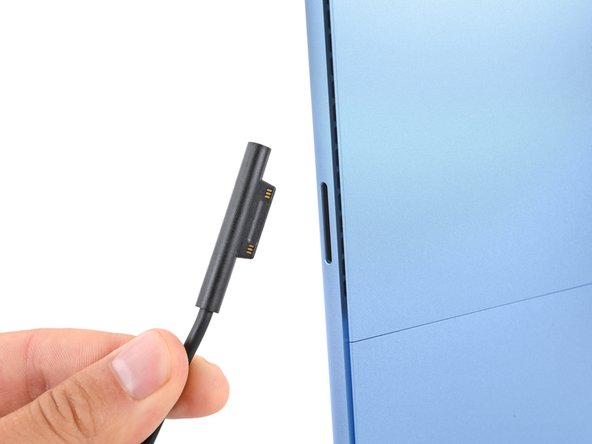
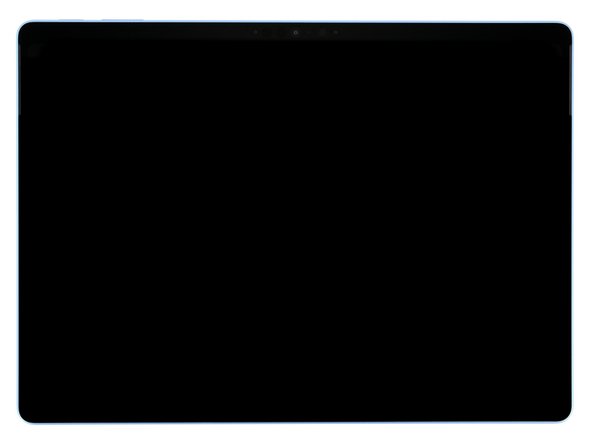
  1. Microsoft Surface Pro 11 Screen Replacement, Before you begin: passo 1, immagine 1 di 3 Microsoft Surface Pro 11 Screen Replacement, Before you begin: passo 1, immagine 2 di 3 Microsoft Surface Pro 11 Screen Replacement, Before you begin: passo 1, immagine 3 di 3
    • Before starting this repair, allow your Surface Pro's battery to drain below 25%. A charged battery may catch fire if damaged.

    • Unplug all cables and fully shut down your tablet.

    Chiedi a FixBot
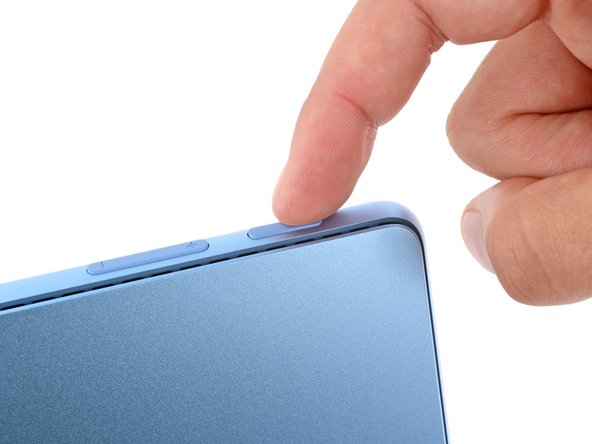
  2. Microsoft Surface Pro 11 Screen Replacement, Open the kickstand: passo 2, immagine 1 di 3 Microsoft Surface Pro 11 Screen Replacement, Open the kickstand: passo 2, immagine 2 di 3 Microsoft Surface Pro 11 Screen Replacement, Open the kickstand: passo 2, immagine 3 di 3
    • Lay your Surface Pro screen side down and open the kickstand to about a 90‑degree angle.

    Chiedi a FixBot
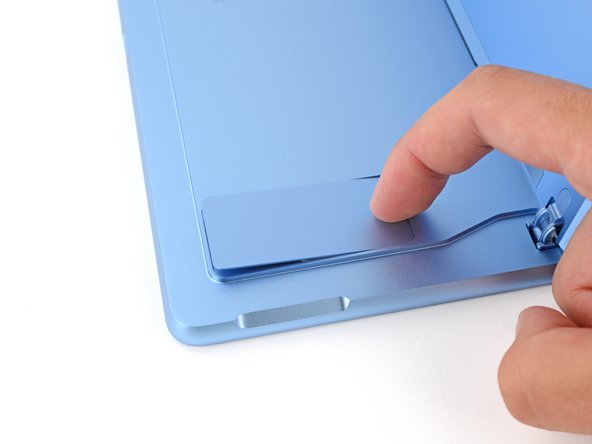
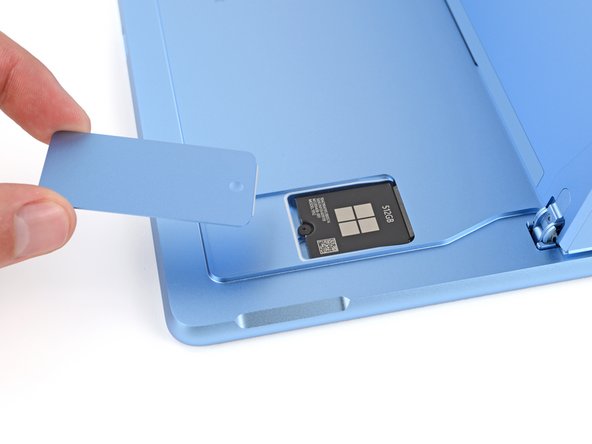
  3. Microsoft Surface Pro 11 Screen Replacement, Remove the SSD door: passo 3, immagine 1 di 3 Microsoft Surface Pro 11 Screen Replacement, Remove the SSD door: passo 3, immagine 2 di 3 Microsoft Surface Pro 11 Screen Replacement, Remove the SSD door: passo 3, immagine 3 di 3
    • Use your finger to firmly press down on the SSD door indent until the door pops up.

    • Remove the SSD door.

    Chiedi a FixBot
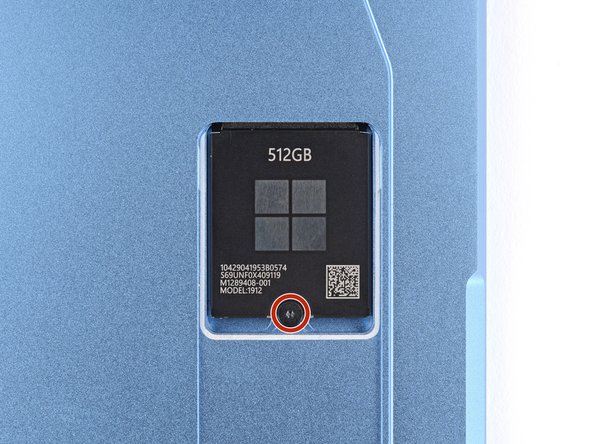
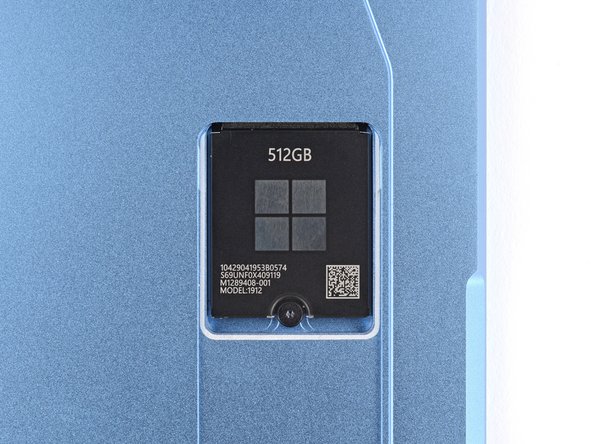
  4. Microsoft Surface Pro 11 Screen Replacement, Remove the SSD screw: passo 4, immagine 1 di 2 Microsoft Surface Pro 11 Screen Replacement, Remove the SSD screw: passo 4, immagine 2 di 2
    • Use a Torx Plus 3IP screwdriver to remove the 2.4 mm‑long screw securing the SSD.

    • Removing the SSD also functions as a battery disconnect and should be done before all major repairs.

    Chiedi a FixBot
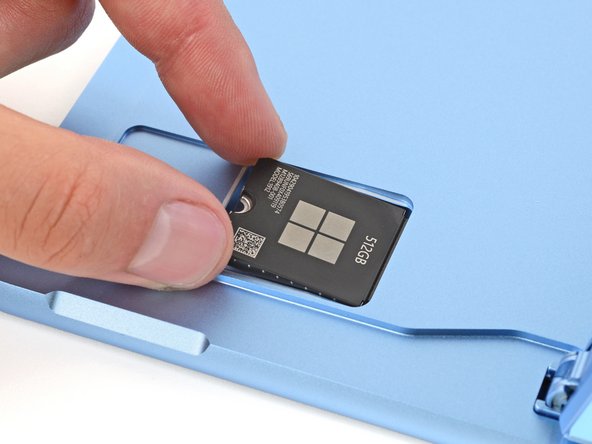
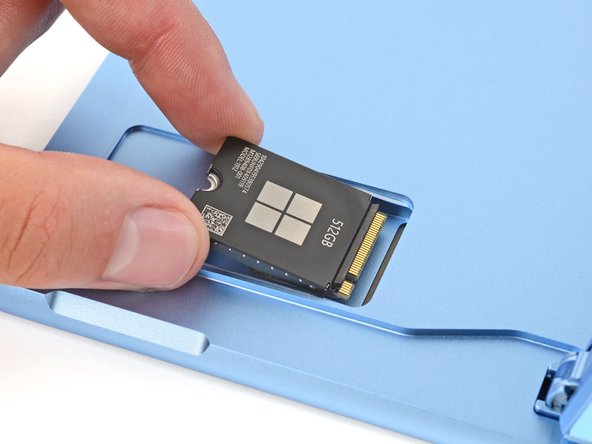
  5. Microsoft Surface Pro 11 Screen Replacement, Remove the SSD: passo 5, immagine 1 di 3 Microsoft Surface Pro 11 Screen Replacement, Remove the SSD: passo 5, immagine 2 di 3 Microsoft Surface Pro 11 Screen Replacement, Remove the SSD: passo 5, immagine 3 di 3
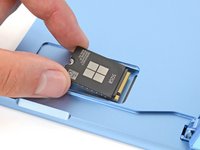
    • Don't pull up at a sharp angle, or you may damage the SSD and its socket.

    • Use the flat end of a spudger to gently lift the notched edge of the SSD enough that you can grip the bottom corners with your fingers.

    • Use your fingers or tweezers to pull the SSD straight out of its socket and remove it.

    • During reassembly, getting the SSD fully inserted in its socket can be tricky. If you're having trouble, hold the SSD in place and use the flat end of a spudger to push on the notched edge.

    Chiedi a FixBot
  6. Microsoft Surface Pro 11 Screen Replacement, Adhesive information: passo 6, immagine 1 di 3 Microsoft Surface Pro 11 Screen Replacement, Adhesive information: passo 6, immagine 2 di 3 Microsoft Surface Pro 11 Screen Replacement, Adhesive information: passo 6, immagine 3 di 3
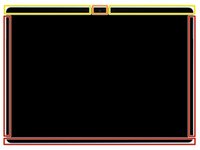
    • When separating the screen from the frame, don't insert your tool more than the following measurements on the given edges. Otherwise, you may damage your device's internals.

    • 2 mm on the left, right, and bottom edges

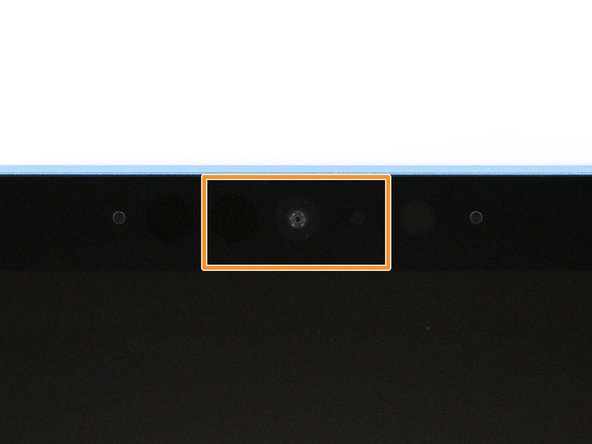
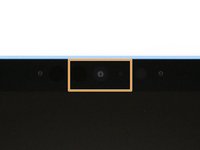
    • Don't insert your tool at all near the front facing camera on the top edge

    • 8 mm along the top edge (everywhere besides the front facing camera area)

    Chiedi a FixBot
  7. Microsoft Surface Pro 11 Screen Replacement, Heat the right edge: passo 7, immagine 1 di 1
    • Mild adhesive secures the perimeter of the screen to the frame. Heating the screen will soften the adhesive, making it easier to separate.

    • Heat an iOpener and lay it on the right edge of the screen for two minutes to soften the adhesive.

    • Alternatively, you can use a hair dryer or heat gun. But be careful, as the screen and battery are susceptible to heat damage.

    Chiedi a FixBot
  8. Microsoft Surface Pro 11 Screen Replacement, Separate the right edge adhesive: passo 8, immagine 1 di 3 Microsoft Surface Pro 11 Screen Replacement, Separate the right edge adhesive: passo 8, immagine 2 di 3 Microsoft Surface Pro 11 Screen Replacement, Separate the right edge adhesive: passo 8, immagine 3 di 3
    • Remember not to insert your pick more than 2 mm on the right edge.

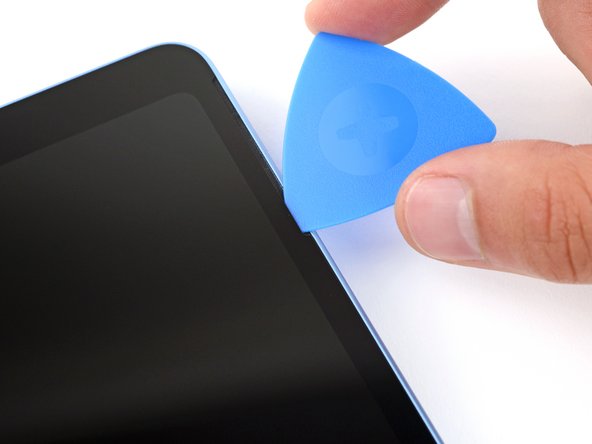
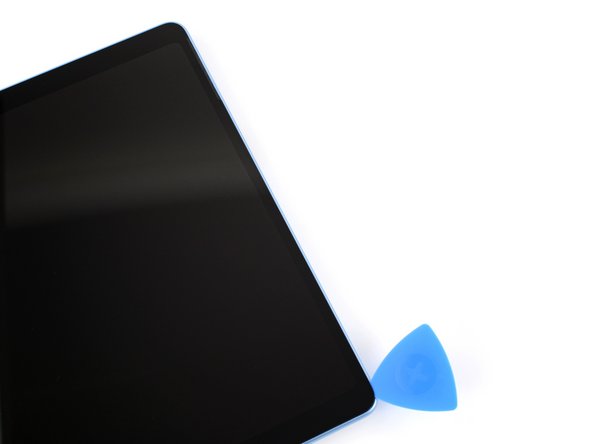
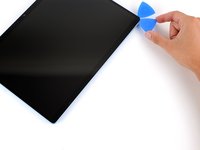
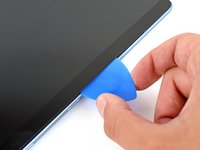
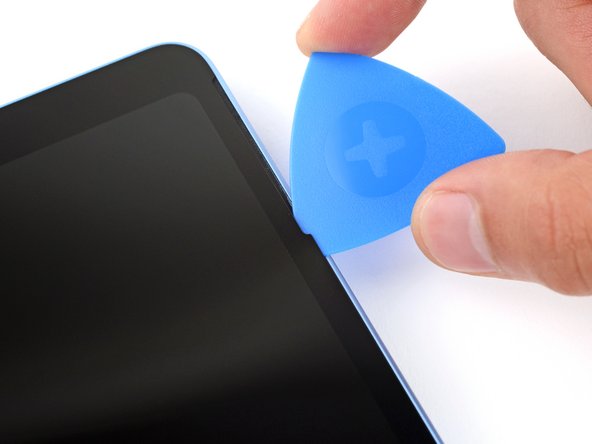
    • Insert the tip of an opening pick under the screen near the bottom of the right speaker cutout.

    • Slide your pick towards the bottom edge and slightly rotate it so the tip goes under the notch in the screen.

    Chiedi a FixBot
  9. Microsoft Surface Pro 11 Screen Replacement: passo 9, immagine 1 di 3 Microsoft Surface Pro 11 Screen Replacement: passo 9, immagine 2 di 3 Microsoft Surface Pro 11 Screen Replacement: passo 9, immagine 3 di 3
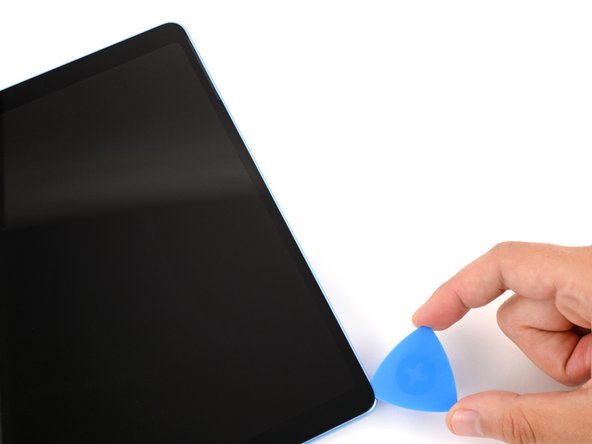
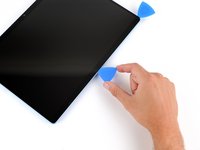
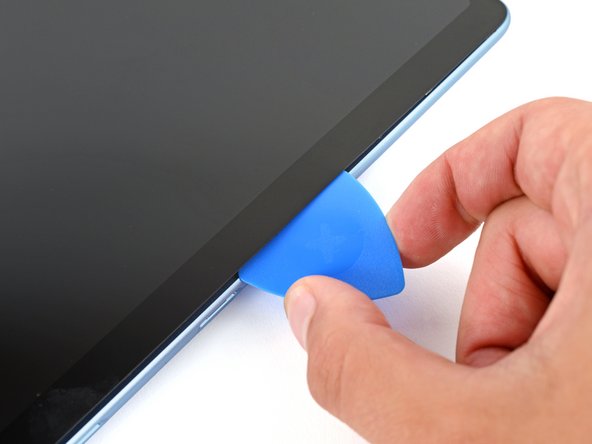
    • Slide your pick down the right edge to separate the adhesive securing it.

    • Leave your pick inserted under the bottom right corner to prevent the adhesive from re‑sealing.

    Chiedi a FixBot
  10. Microsoft Surface Pro 11 Screen Replacement, Heat the bottom edge: passo 10, immagine 1 di 1
    Chiedi a FixBot
  11. Microsoft Surface Pro 11 Screen Replacement, Separate the bottom edge adhesive: passo 11, immagine 1 di 3 Microsoft Surface Pro 11 Screen Replacement, Separate the bottom edge adhesive: passo 11, immagine 2 di 3 Microsoft Surface Pro 11 Screen Replacement, Separate the bottom edge adhesive: passo 11, immagine 3 di 3
    • Remember not to insert your pick more than 2 mm on the bottom edge.

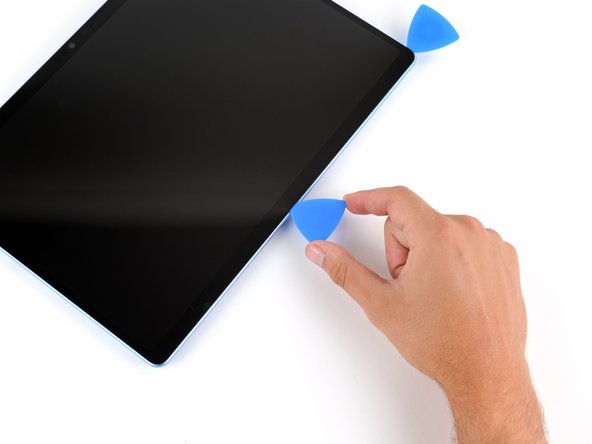
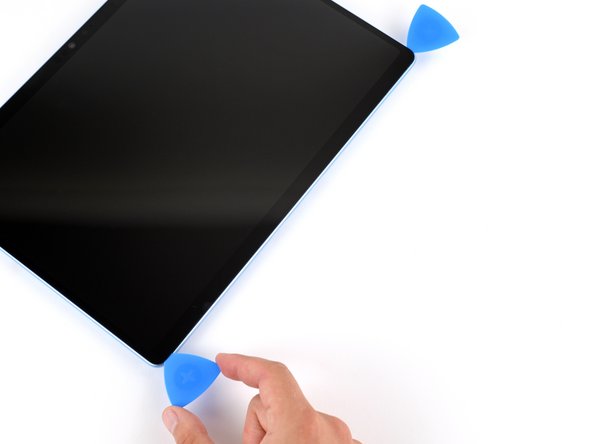
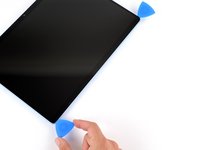
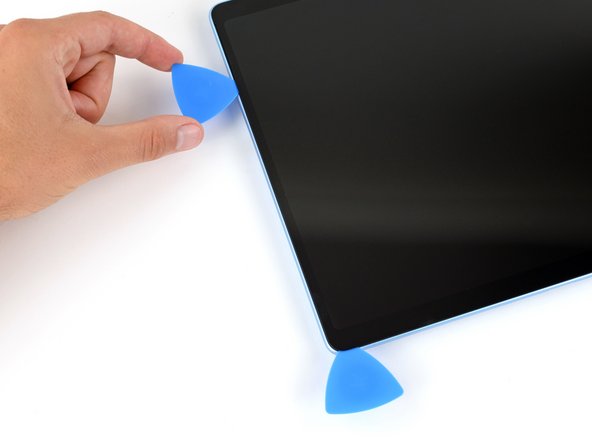
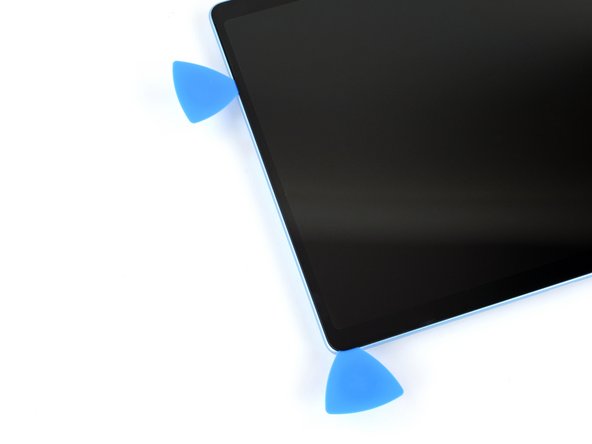
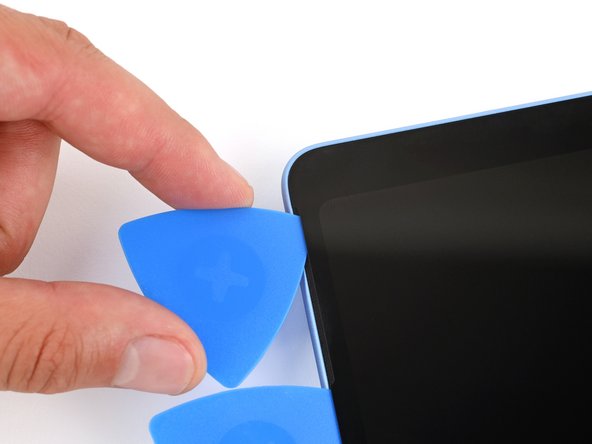
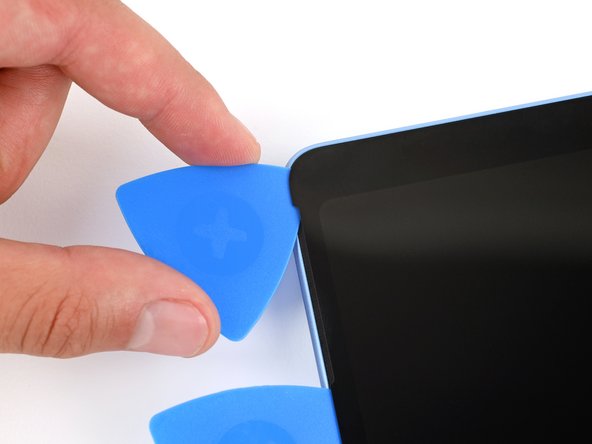
    • Insert a second pick under the bottom right corner of the screen and slide it along the bottom edge to separate the adhesive.

    • Leave your second pick inserted under the bottom left corner to prevent the adhesive from re‑sealing.

    Chiedi a FixBot
  12. Microsoft Surface Pro 11 Screen Replacement, Heat the left edge: passo 12, immagine 1 di 1
    Chiedi a FixBot
  13. Microsoft Surface Pro 11 Screen Replacement, Separate the left edge adhesive: passo 13, immagine 1 di 3 Microsoft Surface Pro 11 Screen Replacement, Separate the left edge adhesive: passo 13, immagine 2 di 3 Microsoft Surface Pro 11 Screen Replacement, Separate the left edge adhesive: passo 13, immagine 3 di 3
    • Remember not to insert your pick more than 2 mm on the right edge.

    • Insert a third pick under the bottom left corner of the screen and slide it up the left edge, stopping when you get to the bottom of the left speaker cutout.

    • Leave the pick inserted under the screen to prevent the adhesive from re-sealing.

    Chiedi a FixBot
  14. Microsoft Surface Pro 11 Screen Replacement, Heat the top edge: passo 14, immagine 1 di 1
    Chiedi a FixBot
  15. Microsoft Surface Pro 11 Screen Replacement: passo 15, immagine 1 di 3 Microsoft Surface Pro 11 Screen Replacement: passo 15, immagine 2 di 3 Microsoft Surface Pro 11 Screen Replacement: passo 15, immagine 3 di 3
    • Insert a fourth pick under the screen near the top of the left speaker cutout.

    • Slide your pick towards the top edge and slightly rotate it so the tip goes under the notch in the screen.

    Chiedi a FixBot
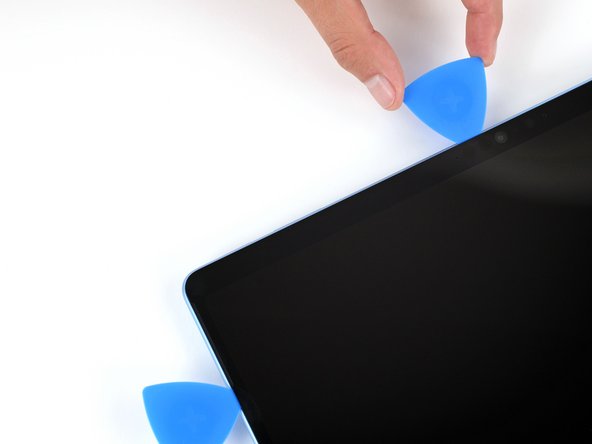
  16. Microsoft Surface Pro 11 Screen Replacement, Separate the top edge adhesive: passo 16, immagine 1 di 3 Microsoft Surface Pro 11 Screen Replacement, Separate the top edge adhesive: passo 16, immagine 2 di 3 Microsoft Surface Pro 11 Screen Replacement, Separate the top edge adhesive: passo 16, immagine 3 di 3
    • Remember not to insert your pick more than 8 mm on the top edge.

    • Slide the pick along the top edge and stop before you get to the front facing camera.

    Chiedi a FixBot
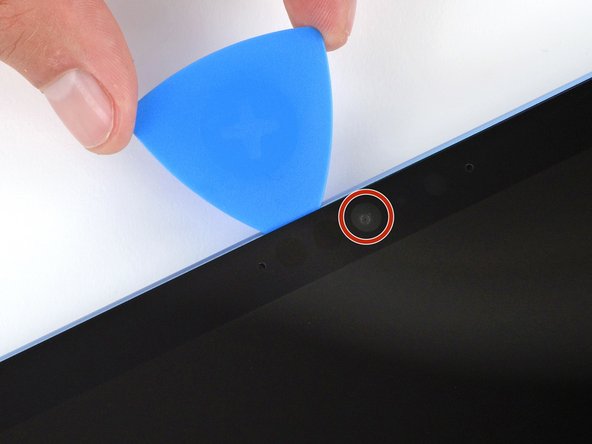
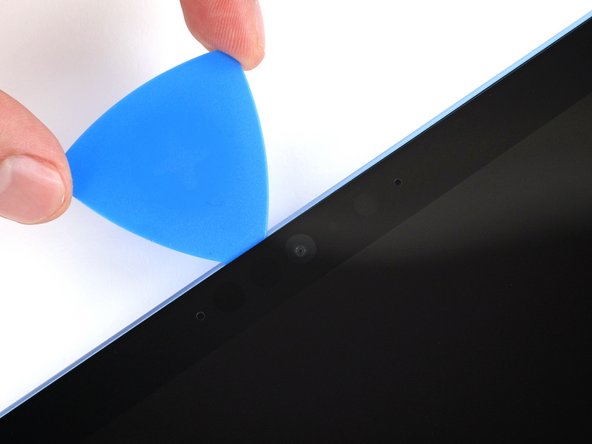
  17. Microsoft Surface Pro 11 Screen Replacement: passo 17, immagine 1 di 3 Microsoft Surface Pro 11 Screen Replacement: passo 17, immagine 2 di 3 Microsoft Surface Pro 11 Screen Replacement: passo 17, immagine 3 di 3
    • Be very careful not to touch the front facing camera lens with your tool.

    • Remove the pick enough that it can pass above the front facing camera.

    • Slide the pick along the top edge until it's past the camera.

    Chiedi a FixBot
  18. Microsoft Surface Pro 11 Screen Replacement: passo 18, immagine 1 di 3 Microsoft Surface Pro 11 Screen Replacement: passo 18, immagine 2 di 3 Microsoft Surface Pro 11 Screen Replacement: passo 18, immagine 3 di 3
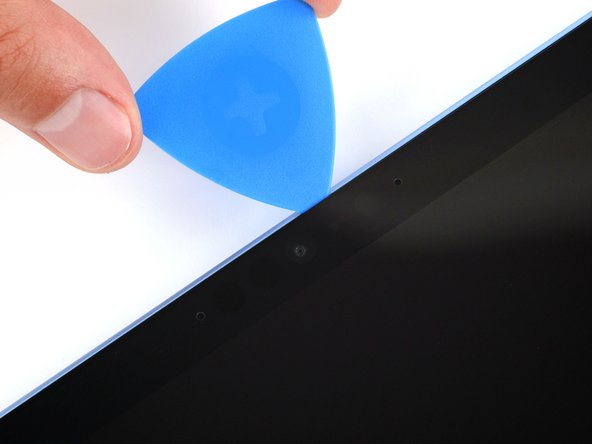
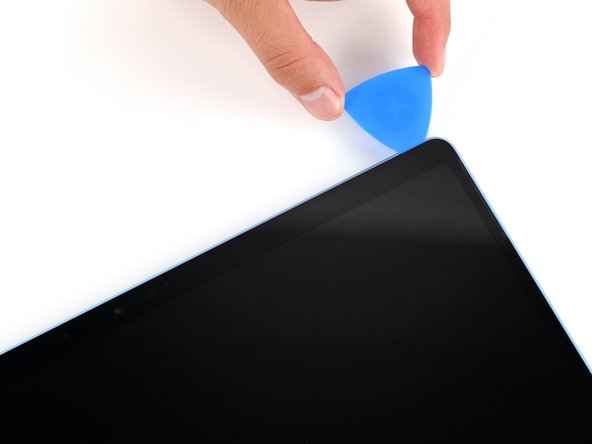
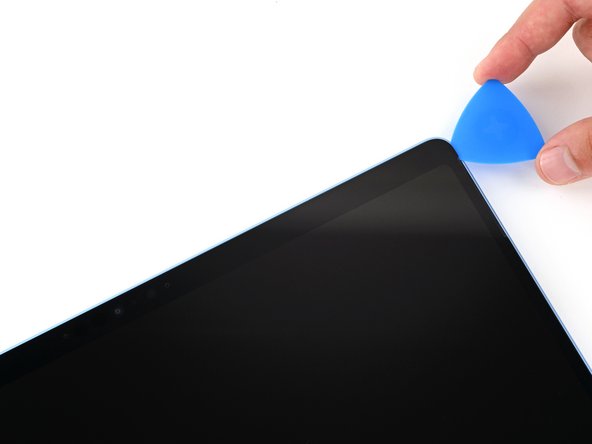
    • Insert your pick 8 mm under the screen and slide it to the top right corner to separate the remaining adhesive.

    Chiedi a FixBot
  19. Microsoft Surface Pro 11 Screen Replacement, Separate the screen: passo 19, immagine 1 di 3 Microsoft Surface Pro 11 Screen Replacement, Separate the screen: passo 19, immagine 2 di 3 Microsoft Surface Pro 11 Screen Replacement, Separate the screen: passo 19, immagine 3 di 3
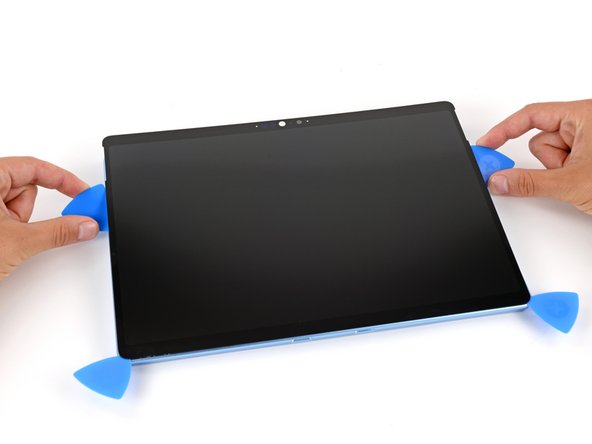
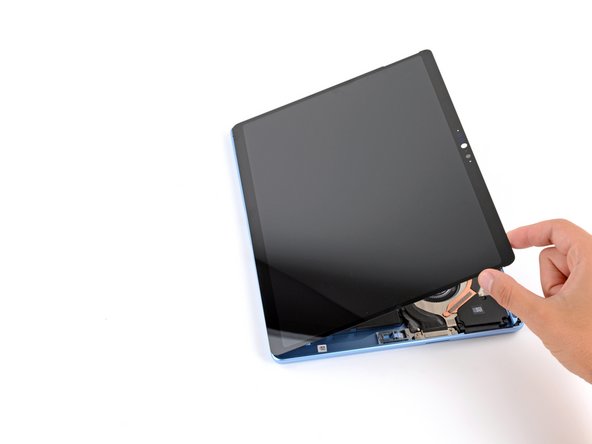
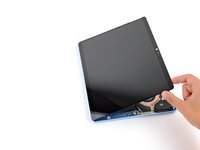
    • Insert the flat edge of two picks under the screen, below the two speaker cutouts.

    • Use the picks to gently pry up the screen, fully separating it from the frame.

    • Don't try to remove the screen yet, as a ribbon cable still connects it to your device.

    • If the screen feels stuck anywhere, use your pick to separate the adhesive in that area. Remember not to insert your pick too far under the screen.

    Chiedi a FixBot
  20. Microsoft Surface Pro 11 Screen Replacement, Flip the screen over: passo 20, immagine 1 di 3 Microsoft Surface Pro 11 Screen Replacement, Flip the screen over: passo 20, immagine 2 di 3 Microsoft Surface Pro 11 Screen Replacement, Flip the screen over: passo 20, immagine 3 di 3
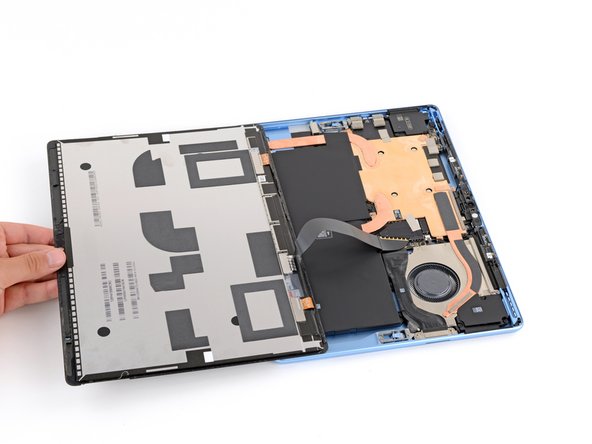
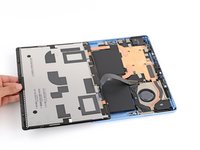
    • Once the screen is fully separated, flip the top edge over the bottom edge and lay the screen down flat, being careful not to strain the ribbon cable.

    Chiedi a FixBot
  21. Microsoft Surface Pro 11 Screen Replacement, Remove the screen cable shield: passo 21, immagine 1 di 3 Microsoft Surface Pro 11 Screen Replacement, Remove the screen cable shield: passo 21, immagine 2 di 3 Microsoft Surface Pro 11 Screen Replacement, Remove the screen cable shield: passo 21, immagine 3 di 3
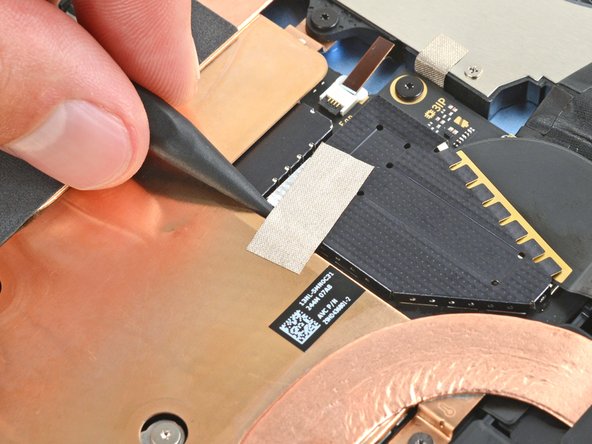
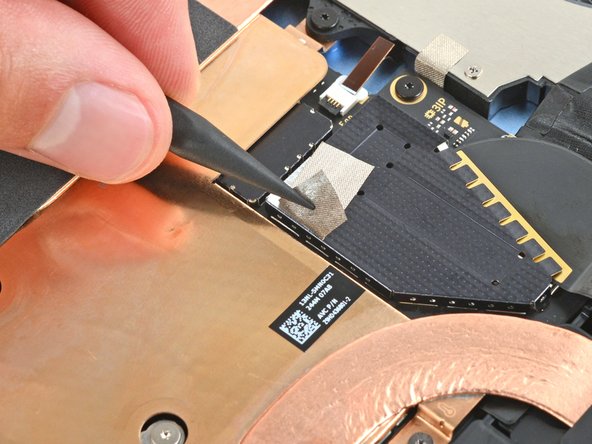
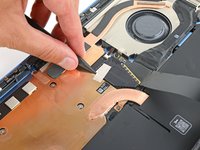
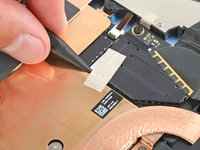
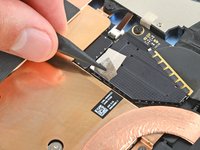
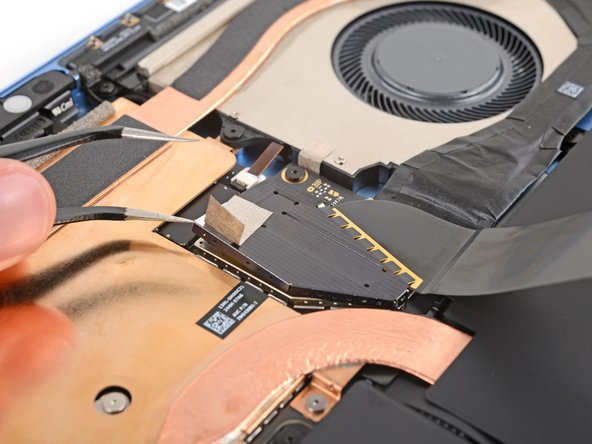
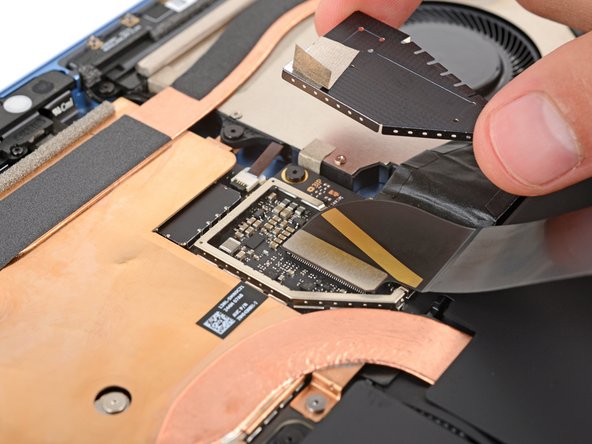
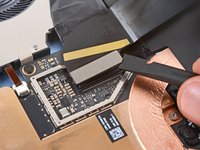
    • Use the tip of a spudger to lift the conductive tape off the copper shield, near the center of your device.

    Chiedi a FixBot
  22. Microsoft Surface Pro 11 Screen Replacement: passo 22, immagine 1 di 3 Microsoft Surface Pro 11 Screen Replacement: passo 22, immagine 2 di 3 Microsoft Surface Pro 11 Screen Replacement: passo 22, immagine 3 di 3
    • Insert an arm of a pair of angled tweezers in one of the gaps on the edge of the screen cable shield.

    • Use your tweezers to gently pry up and remove the shield.

    • Try to deform the shield as little as possible—you'll reuse it during reassembly.

    Chiedi a FixBot
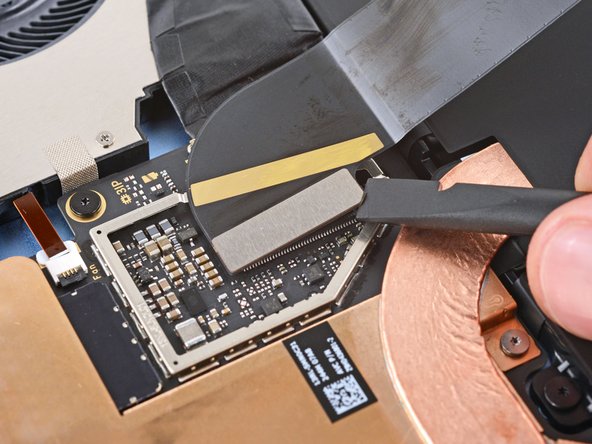
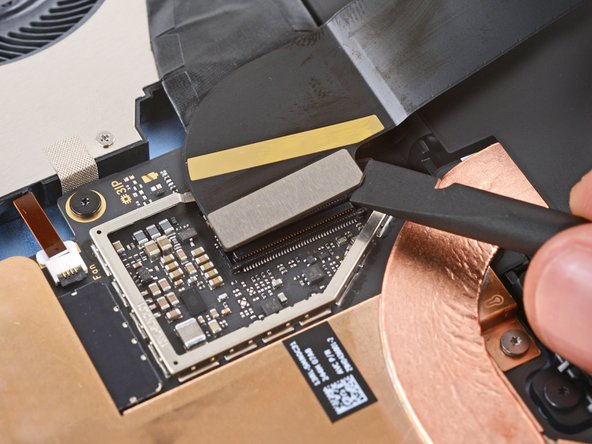
  23. Microsoft Surface Pro 11 Screen Replacement, Disconnect the screen: passo 23, immagine 1 di 3 Microsoft Surface Pro 11 Screen Replacement, Disconnect the screen: passo 23, immagine 2 di 3 Microsoft Surface Pro 11 Screen Replacement, Disconnect the screen: passo 23, immagine 3 di 3
    • Insert the flat end of a spudger under the notched corner of the screen cable press connector and pry up to disconnect it.

    Chiedi a FixBot
  24. Microsoft Surface Pro 11 Screen Replacement, Remove the screen: passo 24, immagine 1 di 1
    • Grip the screen with both hands and remove it.

    • During reassembly, follow this guide to replace the screen adhesive and install your screen.

    Chiedi a FixBot
Conclusione

To reassemble your device, follow these instructions in reverse order.

Take your e-waste to an R2 or e-Stewards certified recycler.

Repair didn’t go as planned? Try some basic troubleshooting, or ask our Answers community for help.

Altre 2 persone hanno completato questa guida.

Spencer Day

Membro da: 09/14/22

188.090 Reputazione

1.187 guide realizzate

Team

iFixit Membro di iFixit

Staff

123 Membri

25.720 guide realizzate

0Commenti sulla guida

Aggiungi Commento

Visualizza statistiche:

Ultime 24 ore: 4

Ultimi 7 giorni: 78

Ultimi 30 giorni: 347

Tutti i Tempi: 3,465