Salta al contenuto principale

Reemplazo de la batería del iPad mini 4 LTE

Avviso: Stai modificando una guida prerequisita. Tutte le modifiche avranno effetto sulla guida che include questo passo.

Inglese
Spagnolo

Traduzione in corso passo 5

Passo 5
iPad mini 4 LTE Battery Replacement: passo 0, immagine 1 di 3 iPad mini 4 LTE Battery Replacement: passo 0, immagine 2 di 3 iPad mini 4 LTE Battery Replacement: passo 0, immagine 3 di 3
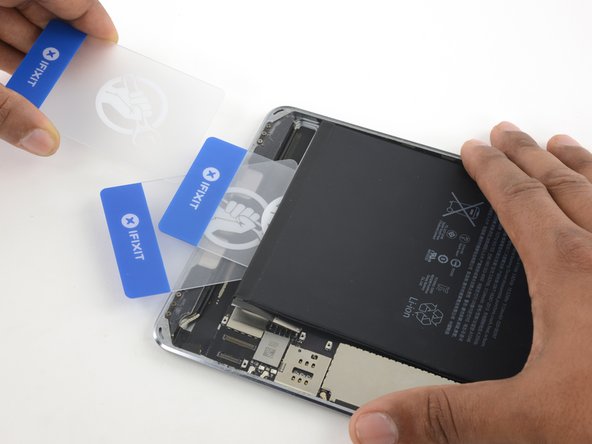
  • Insert a third plastic card between the first and second ones, this time aligned with the left edge of the battery.

  • Continue to cut the adhesive under the battery until the battery is freed.

  • Reheat and reapply your iOpener when prying becomes difficult. Be sure to wait for the iOpener to cool between sessions.

Inserta una tercera tarjeta plástica entre la primera y la segunda, esta vez alineada con el borde izquierdo de la batería.

Continúa cortando el adhesivo debajo de la batería hasta liberar la batería.

Vuelve a calentar y a aplicar el iOpener cuando hacer palanca sea difícil. Asegúrate de esperar a que el iOpener se enfríe entre sesiones.

I tuoi contributi sono usati su licenza in base alla licenza open source Creative Commons.