Traduzione in corso passo 4
Passo 4


-
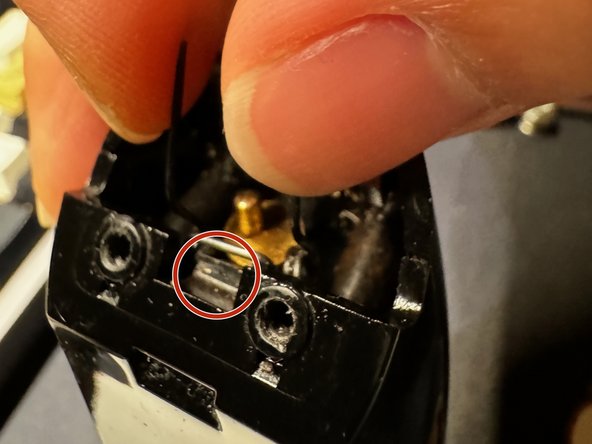
Align the flat U-shaped end of the spring to the notch on the trimmer.
-
Gently pinch the two legs of the spring with your thumb and index finger, aligning them to point towards the front of the trimmer at a 45-degree angle, then drop it into the slot.
-
Once it is successfully in, carefully let go. If it falls off the notch, you will have to wedge it out and try again. This may take multiple attempts.
I tuoi contributi sono usati su licenza in base alla licenza open source Creative Commons.