Avviso: Stai modificando un prerequisito per la guida che stavi visualizzando. Tutte le modifiche avranno effetto sulla guida che include questo passo.
Traduzione in corso passo 20
Passo 20


-
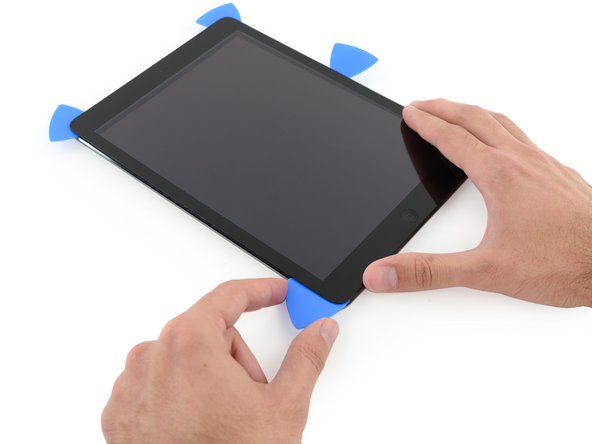
Slide the lower left pick to the lower left corner to cut the adhesive on that corner.
-
Leave the pick at the corner. Do not pry any farther, and do not remove the pick from the iPad.
-
The following steps will direct you where to pry to avoid damage to these components. Only apply heat and pry where directed.
I tuoi contributi sono usati su licenza in base alla licenza open source Creative Commons.