Salta al contenuto principale

2012 Kawasaki Ninja Chain Tightening Replacement

Inglese
Italiano

Traduzione in corso passo 6

Passo 6
2012 Kawasaki Ninja Chain Tightening Replacement: passo 0, immagine 1 di 3 2012 Kawasaki Ninja Chain Tightening Replacement: passo 0, immagine 2 di 3 2012 Kawasaki Ninja Chain Tightening Replacement: passo 0, immagine 3 di 3
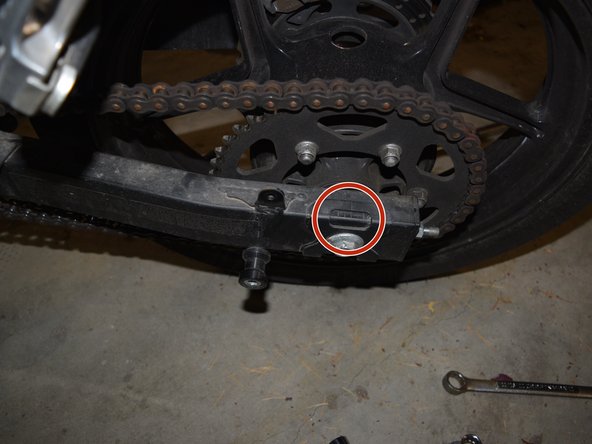
  • Begin tightening the second nut on the side with the chain (usually the left side) with a 14mm

  • You should visually see the chain tightening and the sliders moving which marks the chain position

  • Tighten to where there is about ½ to ¾ inch of play in the chain.

  • Notice the mark of the slider on the side you tightened first

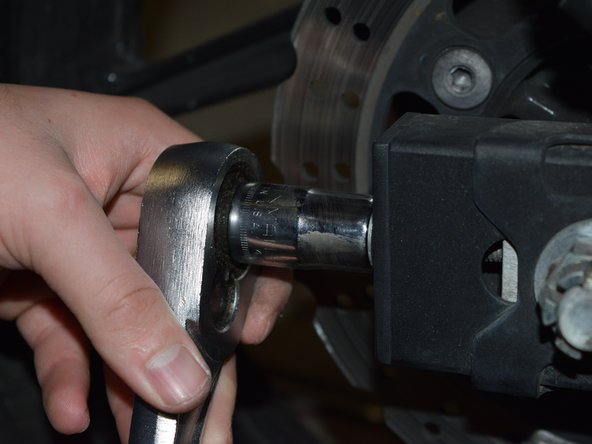
  • Tighten the opposite side till the slider is in the same position as the first side you tightened

Inserisci qui la traduzione

Inserisci qui la traduzione

Inserisci qui la traduzione

Inserisci qui la traduzione

Inserisci qui la traduzione

I tuoi contributi sono usati su licenza in base alla licenza open source Creative Commons.