
Toshiba Satellite U840W 12V Charging Port Replacement
Introduzione
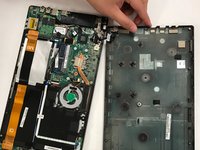
Vai al passo 1Removing this piece makes working inside of the computer easier. To replace this part (if it is broken) follow this guide.
Cosa ti serve


-
-
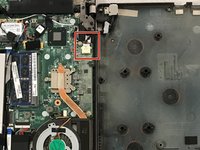
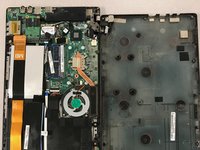
There are ten 5mm screws surrounding the edge of the cover.
-
A rubber cap covers the eleventh 5mm screw (in the center).
-
Remove the screws using a Phillips #00 screwdriver.
-
-
-
-
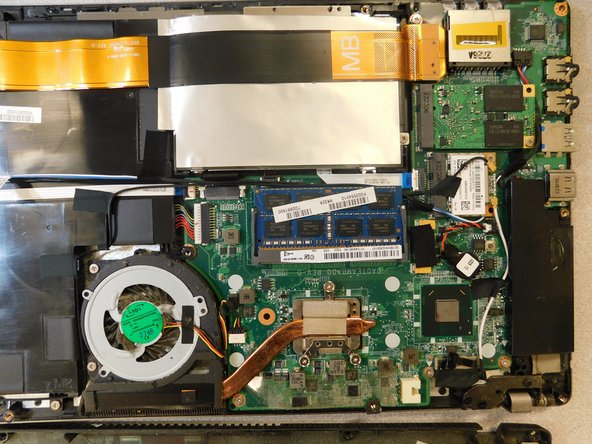
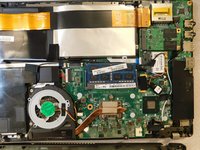
At this point you should be able to:
-


To reassemble your device, follow these instructions in reverse order.
To reassemble your device, follow these instructions in reverse order.
Annulla: non ho completato questa guida.
Altre 2 persone hanno completato questa guida.
Team

Gateway, Team S1-G1, Saknee Spring 2019 Membro di Gateway, Team S1-G1, Saknee Spring 2019
GCC-SAKNEE-S19S1G1
4 Membri
5 Guide realizzate