Toilet Tank Assembly Replacement
Introduzione
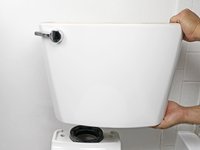
Vai al passo 1Use this guide to replace the entire tank assembly on a gravity flush toilet. Removing the entire tank assembly is a helpful step when moving a toilet or replacing the toilet bowl.
Cosa ti serve
Strumenti
Mostra di più…
-
-
Shut off the stop valve underneath the toilet by turning it clockwise until it becomes hand tight.
-
-
-
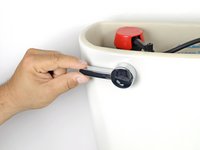
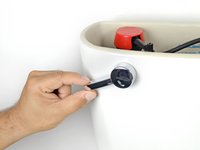
Push down the flush lever.
-
Hold the lever down until water stops draining from the tank.
-
-
-
-
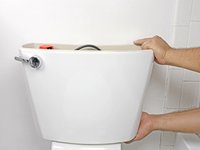
Use a sponge to soak up and remove any remaining water from the toilet tank.
-
Periodically squeeze the excess water from the sponge.
This is kind of funny but it worked. I had absolutely no sponges at the house, but had leftover diapers our granddaughter outgrew. I thought outside the box and ended up being impressed with the outcome. I opened up the diapers and placed in the remaining tank water. Viola, it immediately began absorbing the water. I used 4 diapers and it did the trick. Just have a leak proof trash bag on hand. No sponge, no bucket, no mess!
-
-
-
Place a bucket under the supply tube to catch any dripping water.
-
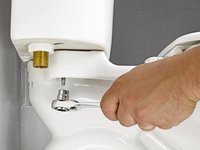
Turn the coupling nut on the supply tube clockwise until it releases from the threaded shank on the bottom of the tank.
-
-
-
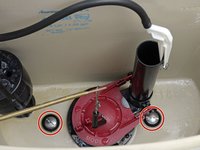
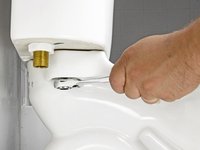
Using a socket wrench to hold the nuts, unscrew the two tank bolts with a screwdriver.
-
To reassemble your device, follow these instructions in reverse order.
To reassemble your device, follow these instructions in reverse order.
Annulla: non ho completato questa guida.
Altre 11 persone hanno completato questa guida.
3Commenti sulla guida
Step 5: Clockwise or counter-clockwise depends upon whether you are looking down at the coupling nut from above or up at it from below.
I suspect that, unless it has a left-handed thread, most people would turn it in the direction that works.
Close your eyes. Attaching something, the turning motion is (usually) clockwise: Righty-tighty; lefty-loosey.
Thank you for the info.


