Introduzione
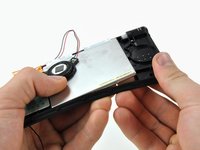
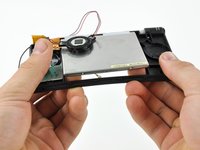
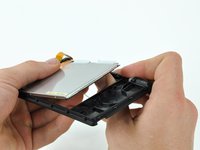
Sostituisci lo schermo superiore del tuo Nintendo DS Lite.
Cosa ti serve
-
-
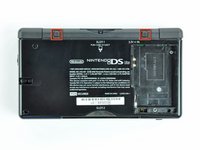
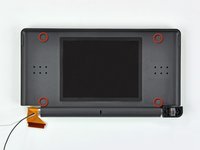
Svita la vite a croce Phillips che fissa il coperchio della batteria al case inferiore.
-
Solleva il coperchio della batteria verso l'alto con uno spudger o un'unghia e solleva il case inferiore.
-
-
-
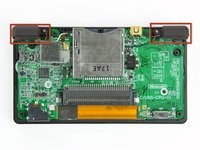
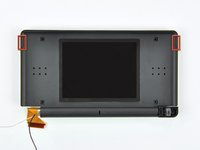
Usa la punta di uno spudger per staccare entrambi i piedini in gomma dal DS Lite.
-
-
-
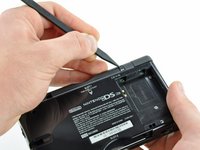
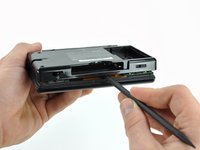
Inserisci il bordo di uno spudger tra il case inferiore e quello superiore vicino all'angolo superiore destro del DS Lite.
-
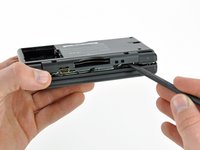
Fai scorrere con attenzione lo spudger lungo il bordo destro del DS Lite, creando nel frattempo un'apertura.
-
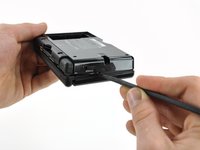
Continua a far scorrere lo spudger lungo il retro del DS Lite finché la maggior parte del case inferiore è stato separato da quello superiore.
-
-
-
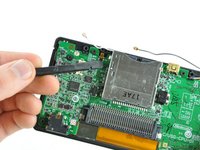
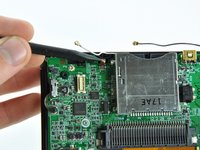
Usa l'estremità piatta di uno spudger per sollevare il connettore dell'antenna Wi-Fi dal suo attacco sulla scheda Wi-Fi.
-
-
-
-
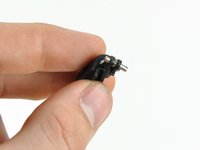
Usa la parte piatta di uno spudger per sollevare il connettore del microfono dalla sua presa sulla scheda madre.
-
-
-
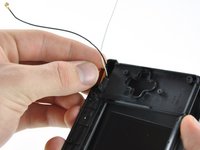
Usando uno spoudger, posiziona con cura, tenendolo delicatamente premuto verso il basso, il cavo dell'antenna (con il suo connettore rivolto verso l'alto e lontano dalla scheda madre) nello spazio tra i chip sulla scheda madre.
-
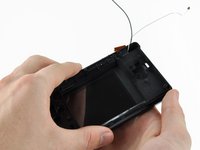
Lentamente e attentamente tira il cavo dell'antenna finché il suo connettore si trova sotto il lettore delle cartucce del DS Lite.
-
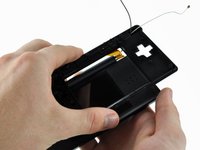
Continua a tirare finché il connettore esce da sotto il lettore dal bordo destro.
-
-
-
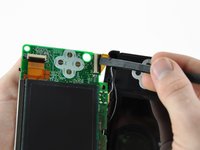
Usa un'unghia o la parte piatta di uno spudger per ruotare attentamente verso l'alto l'aletta di bloccaggio sul connettore del cavo a nastro dello schermo superiore.
-
Tira la scheda madre lontano dalla DS Lite per scollegare il cavo a nastro dello schermo superiore dalla sua presa sulla scheda.
-
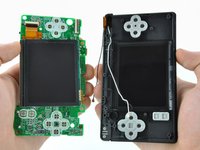
Rimuovi la scheda madre dalla DS Lite.
-
Ora puoi aprire l'aletta di bloccaggio dello schermo inferiore come fatto per quella dello schermo superiore e rimuovere lo schermo inferiore dalla scheda madre.
-
-
-
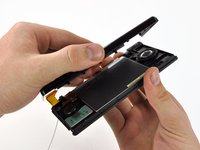
Svita le due viti a croce Phillips da 8,3 mm che fissano la scocca superiore al gruppo dello schermo.
-
-
-
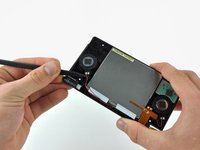
Usa una puntina per affissione o un chiodino per rimuovere le quattro coperture in plastica delle viti sulla cornice anteriore.
-
-
-
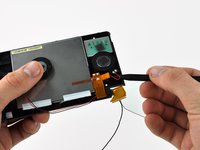
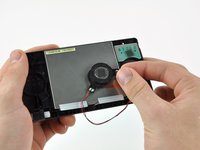
Usa la punta di uno spudger per fare leva e sollevare entrambi gli altoparlanti dai loro alloggi e appoggiali sul retro dello schermo.
-
-
-
Dissalda gli speaker dallo schermo superiore scaldando le saldature con un saldatore e tirando al contempo i cavi degli speaker via dal cavo a nastro.
-
Resta solo lo schermo superiore.
-
-
-
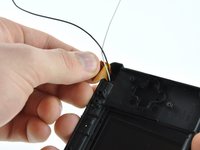
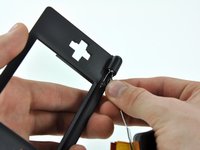
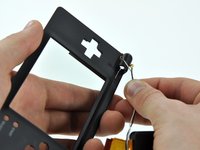
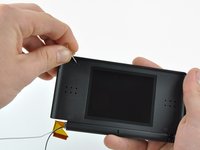
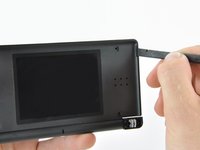
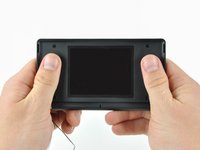
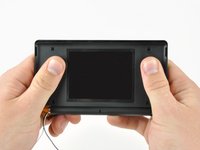
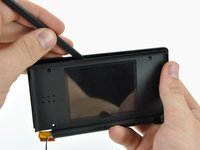
Usa un piccolo gancio per piegare l'estremità del cavo a nastro facendolo passare attraverso la cerniera dello schermo. Un pezzo di filo per saldature come quello mostrato nell'immagine funziona molto bene.
-
Per rimontare il dispositivo, segui le istruzioni in ordine inverso.
Annulla: non ho completato questa guida.
Altre 105 persone hanno completato questa guida.
Un ringraziamento speciale a questi traduttori:
100%
Questi traduttori ci stanno aiutando ad aggiustare il mondo! Vuoi partecipare?
Inizia a tradurre ›
10Commenti sulla guida
This is a very concise and accurate guide! I found this repair to be very difficult, especially so due to the aftermarket Chinese screen I installed that required me to solder on the speaker wires. Ugh! If you can, get a replacement with the speakers attached. I also can't stress enough how annoying threading the ribbon cable through the case is. DS is a great platform, but product design left a lot to be desired.
This repair is somewhat difficult. There are a couple of points to be careful about:
1) The display ribbon cable is fairly easy to remove from the hinge, but somewhat difficult to route through it once the new display is in place. It is easier to do if the antenna/microphone wires are out of the way.
2) The ribbon connector is fairly short and difficult to manipulate so that it mates securely to the socket on the motherboard. If it isn't seated properly the DS will not boot. So test it first (by temporarily pressing the battery against the battery connectors and turning power on) before re-assembly.
Make a note of where the Wi-Fi antenna connector, microphone, and speaker wires are positioned in the DS Lite housing. If they are not placed back in the correct location, the case will not close. If you force it closed you will squash the wiring which could lead to problems later on. Also be sure the speakers are placed back in correctly. If you can see metal through the speaker holes in the case then you've done it wrong (flip the speakers over). Lastly, when trying to maneuver the antenna connector back under the game cartridge reader, make sure the connector head is face down so that it does not get stuck (happened to me). If you look at the picture in Step 7, it's a straight shot from right to left when running the wire through. Use a paperclip and a flashlight to help you if you get stuck and most importantly, do not try to yank it free!
Funny how these things give you instructions for taking things apart , but not for installing and putting back together. I found routing the screen ribbon through the hinge to be especially difficult and I think I might have damaged it in the process. I wish i would have known that its best to make sure this is done before trying lock the screen case back up.
This was a very difficult but fun and satisfying repair to do. The hardest part was definitely putting the display ribbon cable through the small tube to the bottom of the unit. One thing that could be done to make this easier, I would suggest having a small set of tweezers to help assist with pulling the cable through . One thing you can also do is to wrap the ribbon wire around the microphone and antenna wires a few time, then guide the orange ribbon cable about halfway out of the tube, and then attach the bottom part to it, and then pull the rest of the cable through with the tweezers. This helps a lot with preventing stress on those small, delicate cables, and can make life much easier.


