Salta al contenuto principale
PSKONTORORA LBER-P4-05 Vibration Motor Replacement

PSKONTORORA LBER-P4-05 Vibration Motor Replacement

Justin Lopez

Justin Lopez e 3 altri collaboratori

Ultimo aggiornamento il June 11, 2024

30 minuti - 1 ora
Difficile

Introduzione

Vai al passo 1

Is your controller not vibrating no matter what you try? Does only one side of your controller vibrate and not the other? It might be time to replace the vibration motor(s), otherwise known as rumble motors, in your controller.

Cosa ti serve

  1. PSKONTORORA LBER-P4-05 Vibration Motor Replacement, Rear Case: passo 1, immagine 1 di 3 PSKONTORORA LBER-P4-05 Vibration Motor Replacement, Rear Case: passo 1, immagine 2 di 3 PSKONTORORA LBER-P4-05 Vibration Motor Replacement, Rear Case: passo 1, immagine 3 di 3
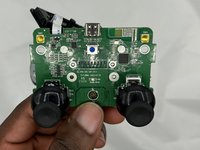
    • Remove the two 10 mm Phillips #1 screws that secure each of the handle grips.

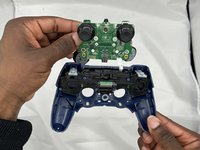
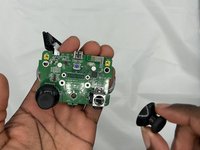
    • Pull off the handle grips.

  2. PSKONTORORA LBER-P4-05 Vibration Motor Replacement: passo 2, immagine 1 di 3 PSKONTORORA LBER-P4-05 Vibration Motor Replacement: passo 2, immagine 2 di 3 PSKONTORORA LBER-P4-05 Vibration Motor Replacement: passo 2, immagine 3 di 3
    • Remove the four 9 mm Phillips #1 screws that secure the rear case.

    • Lift off the rear case from the controller.

  3. PSKONTORORA LBER-P4-05 Vibration Motor Replacement, Battery: passo 3, immagine 1 di 3 PSKONTORORA LBER-P4-05 Vibration Motor Replacement, Battery: passo 3, immagine 2 di 3 PSKONTORORA LBER-P4-05 Vibration Motor Replacement, Battery: passo 3, immagine 3 di 3
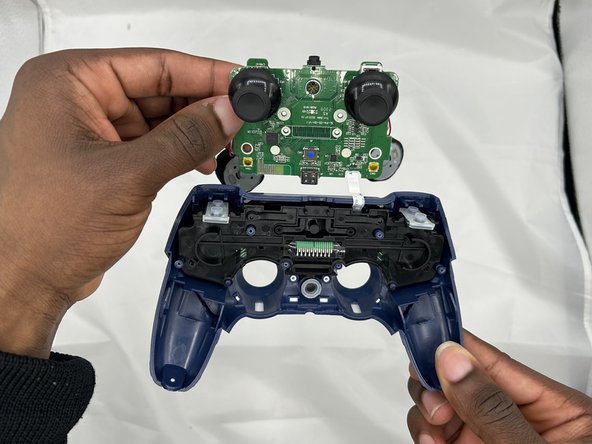
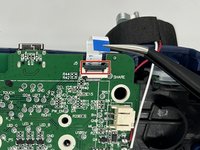
    • Use blunt tweezers to pull the white battery motherboard connector directly out of its port.

    • Gently peel the battery off of the motherboard.

    • Be sure not to bend or puncture the battery during removal.

  4. PSKONTORORA LBER-P4-05 Vibration Motor Replacement, Joystick Covers: passo 4, immagine 1 di 1
    • Remove the two 7 mm Phillips #1 screws that secure the motherboard.

  5. PSKONTORORA LBER-P4-05 Vibration Motor Replacement: passo 5, immagine 1 di 2 PSKONTORORA LBER-P4-05 Vibration Motor Replacement: passo 5, immagine 2 di 2
    • Flip up the black ZIF locking flap that secures the touchpad ribbon cable on the top-right edge of the motherboard.

    • Use tweezers or your fingers to gently disconnect the touchpad ribbon cable.

    • Lift the motherboard up and out.

  6. PSKONTORORA LBER-P4-05 Vibration Motor Replacement: passo 6, immagine 1 di 2 PSKONTORORA LBER-P4-05 Vibration Motor Replacement: passo 6, immagine 2 di 2
    • Use your fingers to pull the joystick covers directly up and off the modules.

    • Clean or replace the joystick covers as necessary.

  7. PSKONTORORA LBER-P4-05 Vibration Motor Replacement, Vibration Motor: passo 7, immagine 1 di 3 PSKONTORORA LBER-P4-05 Vibration Motor Replacement, Vibration Motor: passo 7, immagine 2 di 3 PSKONTORORA LBER-P4-05 Vibration Motor Replacement, Vibration Motor: passo 7, immagine 3 di 3
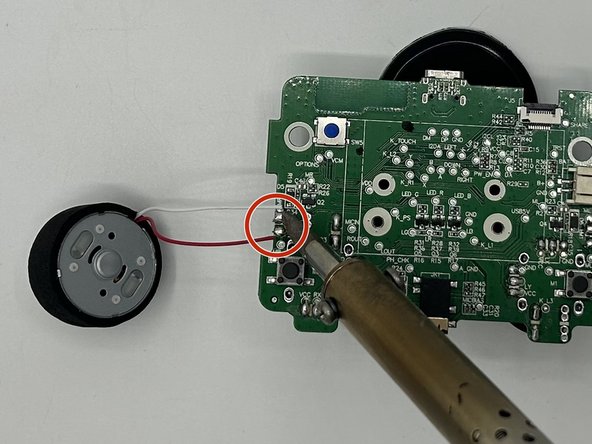
    • Prop the motherboard up with a non-flammable material.

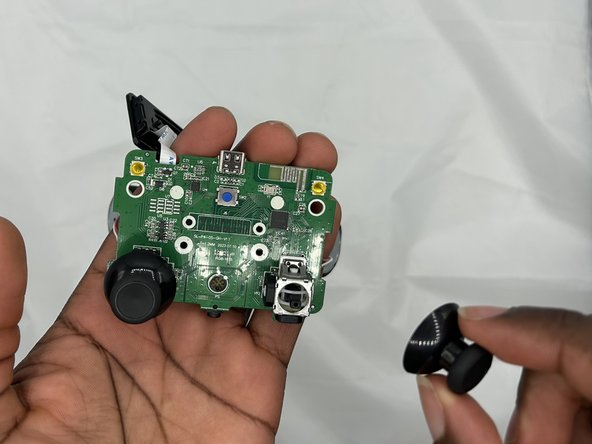
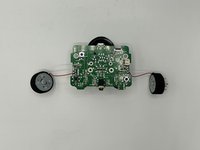
    • Carefully desolder each of the vibration motor motherboard connections.

    • Take note of which wires belong where.

    • Be sure to solder in a well-ventilated area and take appropriate safety precautions.

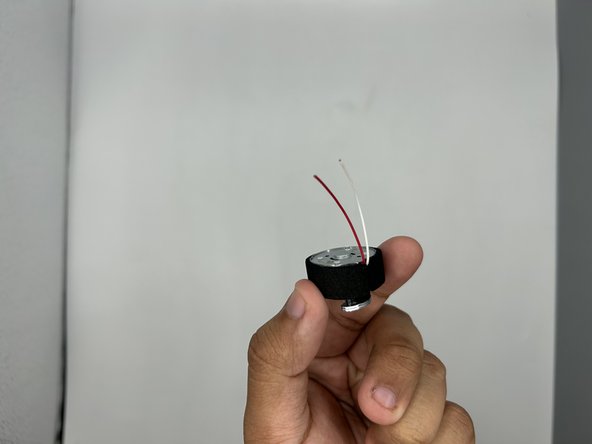
    • Remove the vibration motors.

Conclusione

To reassemble your device, follow these instructions in reverse order.

Un'altra persona ha completato questa guida.

0 Commenti

Aggiungi Commento

Visualizza Statistiche:

Ultime 24 Ore: 0

Ultimi 7 Giorni: 9

Ultimi 30 Giorni: 32

Tutti i Tempi: 157