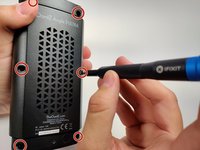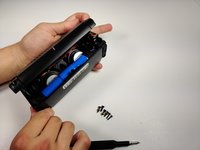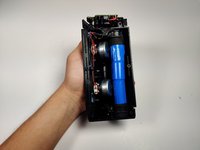
Oontz Angle 3 ULTRA Micro USB Port Replacement
Introduzione
Vai al passo 1If your Oontz Angle 3 ULTRA speaker is not charging or connecting to external devices, you may need to replace your speaker’s Micro USB port. This replacement guide will walk you through replacing the Micro USB port of your Oontz Angle 3 ULTRA Bluetooth speaker. For this guide, you will need a spudger, a Soldering Iron with Solder Wick or a Solder Sucker, and tweezers. Follow this guide to learn how to solder and de-solder connections. Come saldare e dissaldare componenti elettrici
-
Attrezzo utilizzato in questo passaggio:Tweezers$4.99
-
Remove the two black rubber sheaths around the edges of the speaker.
-
Under the symbol-marked sheath there is a white rubber covering for the buttons. Peel this away to reveal the panel underneath.
-
On two corners of its triangular face there is a small divot, which allows you to use your fingernails or a pair of tweezers to grip and peel away the covering.
-
-
-
-
Gently push the ports away from the speaker enclosure with the spudger to free the motherboard.
-
To reassemble your device, follow these instructions in reverse order.
To reassemble your device, follow these instructions in reverse order.
3 Commenti
These instructions are great, but they're useless unless you can find a replacement micro USB port… Any suggestions? Because I couldn't find one online that indicated it was compatible with the OontZ…
Couldn't find proper exact port... so just removed old port from board with dykes, used a junk usb cable and directly soldered the + and - leads of cable to circuit board. ( removed mic at top ( didn't use it )) and fed cable thru mic hole out ( hot glue on inside so cable doesn't pull ).... now speaker has a 6" tail for charging.
Works as good as new, no issue charging.
TJ Mac -
They are on ebay, just have to take time and have tools to install, im gonna do it soon to mine...


