Introduzione
Follow this guide to replace a faulty or damaged fan in the Nintendo Switch Lite.
The Switch Lite uses JIS screws, but you can use a Phillips screwdriver in a pinch. Be very careful not to strip the screws. iFixit's Phillips bits are designed to be cross-compatible with JIS-style screws.
Note: This procedure requires removing the shield plate and heat sink. The thermal paste will need to be cleaned off of both components—as well as the CPU—and reapplied before reinstalling the shield plate and heat sink.
Cosa ti serve
-
Attrezzo utilizzato in questo passaggio:Magnetic Project Mat$19.95
-
Use a Y00 screwdriver to remove the four 6.3 mm-long screws securing the back panel.
-
-
-
Use a JIS 000 driver or an official iFixit PH 000 driver to remove the following screws securing the back panel:
-
Two 3.6 mm-long screws on the top of the device
-
Two 3.6 mm-long screws on the bottom of the device
-
-
-
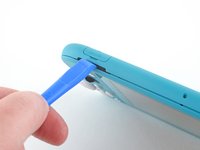
Insert an opening tool into the left speaker grille on the bottom of the device.
-
Twist the opening tool to release the clips securing the back panel.
-
-
-
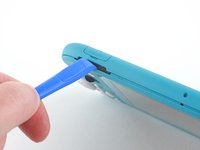
Slide the opening tool around the bottom-left corner to release the clips on the left side of the device.
-
-
-
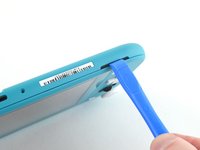
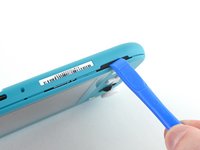
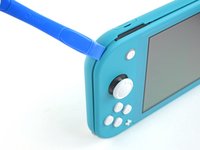
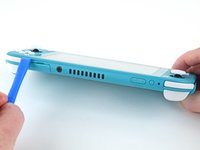
Insert an opening tool into the right speaker grille on the bottom of the device.
-
Twist the opening tool to release the clips.
-
-
-
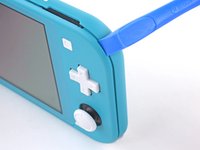
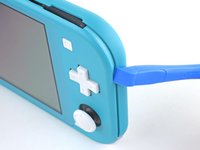
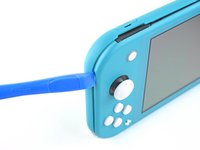
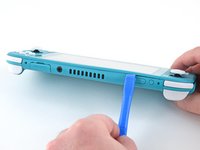
Slide and pry the opening tool around the bottom-right corner to release the clips on the right side of the device.
-
-
-
-
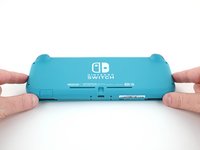
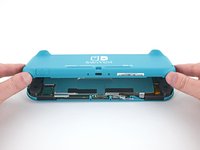
Lift the bottom edge of the back panel, opening it like a book.
-
Remove the back panel.
-
-
-
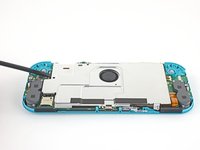
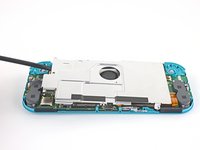
Use a JIS 000 driver or an official iFixit PH 000 driver to remove the following four screws:
-
Three 3.1 mm screws
-
One 4.5 mm screw
-
-
-
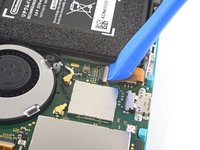
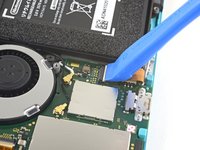
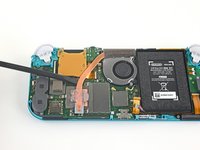
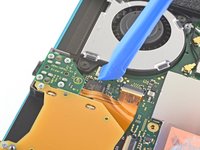
Use an opening tool or your fingernail to flip up the small, hinged locking flap on the motherboard interconnect cable's ZIF connector.
-
-
-
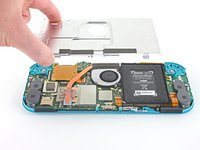
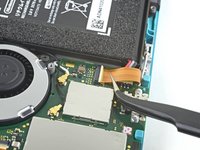
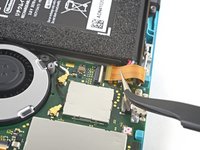
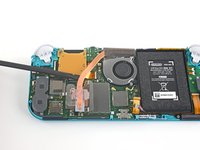
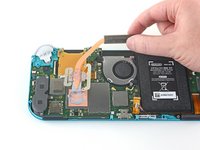
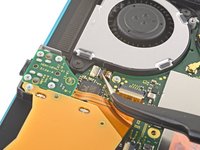
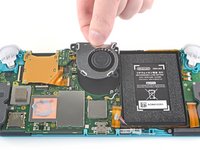
Use the flat end of a spudger or your fingers to carefully peel up the foam that's lightly adhered to the fan.
-
-
-
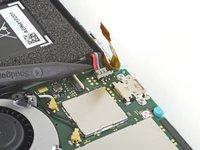
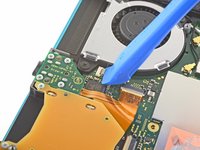
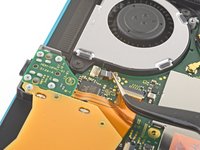
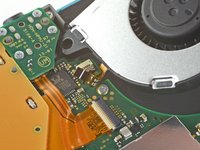
Use an opening tool or your fingernail to flip up the small, hinged locking flap on the fan cable's ZIF connector.
-


To reassemble your device, follow these instructions in reverse order.
Take your e-waste to an R2 or e-Stewards certified recycler.
Repair didn’t go as planned? Try some basic troubleshooting, or ask our Nintendo Switch Lite Answers community for help.
To reassemble your device, follow these instructions in reverse order.
Take your e-waste to an R2 or e-Stewards certified recycler.
Repair didn’t go as planned? Try some basic troubleshooting, or ask our Nintendo Switch Lite Answers community for help.
Annulla: non ho completato questa guida.
Altre 7 persone hanno completato questa guida.

2 Commenti
I used this guide to put my new fan in and let me just say THANK YOU!!! All I could find was ones for regular Switches on YouTube and not the Lite. The only problem I had was I'm not sure which side of the cable on the fan should be facing up. I looked on your website and the fan listen on here has one side with a gold part at the end where you insert it into the connector. Is that the side that goes up?
Many thanks for this guide it helped me so much it was pretty straight forward to do but attaching the fan ribbon/power cord and trying not to strip the tiny screws heads was probably the hardest bits really