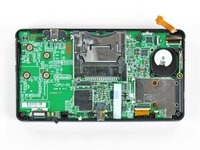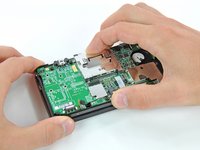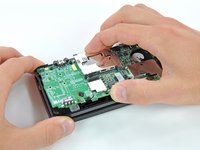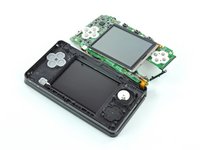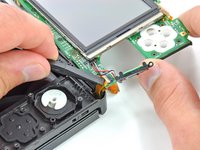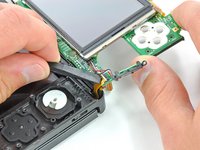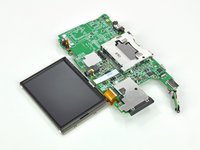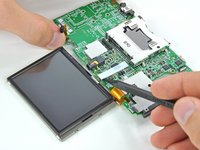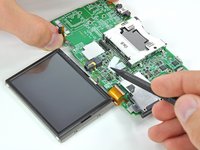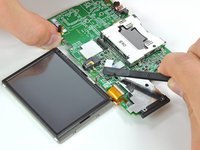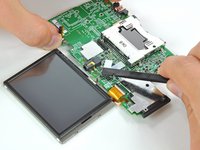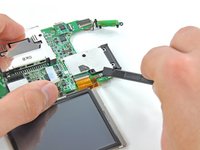
Nintendo 3DS Lower LCD Replacement
Introduzione
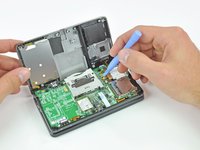
Vai al passo 1Only getting half of your 3DS gaming experience? Replace the lower LCD to get the full view.
Cosa ti serve
Ricambi
Strumenti
Mostra di più…
-
Attrezzo utilizzato in questo passaggio:Phillips #00 Screwdriver$5.49
-
Use a Phillips PH00 screwdriver to loosen the four screws along the top of the back cover.
-
-
-
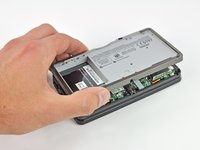
Grab the top edge of the back cover with your opposite hand so that the cover does not fall back into place.
-
Pull the back cover up and away from the rest of the device to remove it.
-
-
-
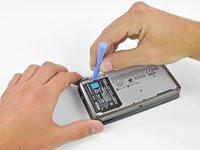
Insert a plastic opening tool into the notch in the lower case above the battery.
-
Pry the battery up with the plastic opening tool.
-
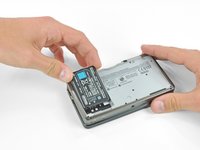
Grab the top edge of the battery and lift it out of the lower case.
-
-
-
Use a JIS #00 screwdriver to remove the nine 6.3 mm black screws from the lower case.
-
Use a JIS #00 screwdriver to remove the 2.4 mm silver screw above the game cartridge slot.
-
-
-
Remove the two 7.7 mm Phillips screws securing the back of the Circle Pad to the motherboard.
-
-
-
Remove the two 4.5 mm Phillips screws securing the SD board to the motherboard.
-
-
-
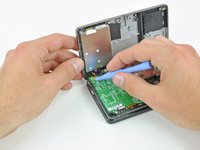
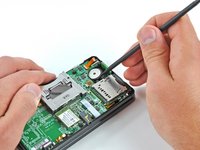
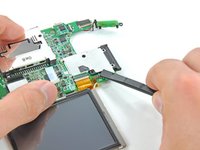
Insert the flat end of a spudger between the SD board and the motherboard.
-
Pry up slowly to loosen the SD board from the RF shield underneath it. If you pry too quickly, you may tear the shield or break its solder points.
-
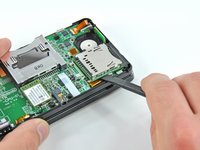
Run the spudger along the sides of the SD board to free it from the adhesive holding it in place.
-
Once completely freed, lift the SD board straight off the motherboard.
-
-
-
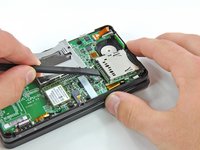
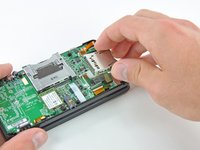
Slide the flat end of a spudger under the corner of the Wi-Fi board, and lift it away from the motherboard.
-
-
-
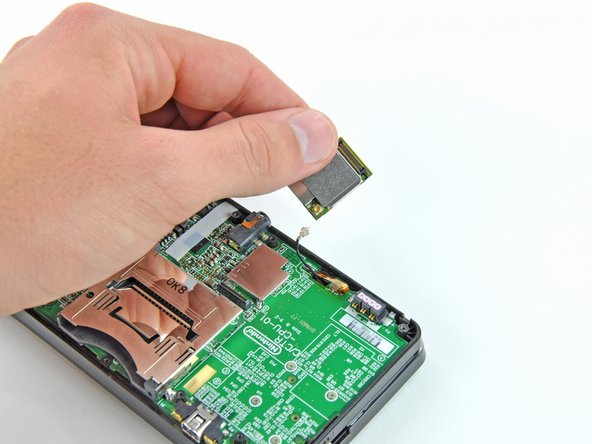
Use the flat end of a spudger to pry the Wi-Fi antenna cable connector off its socket on the Wi-Fi board.
-
Remove the Wi-Fi board from the device.
-
-
Attrezzo utilizzato in questo passaggio:Tweezers$4.99
-
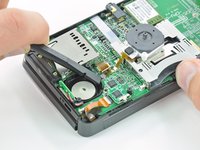
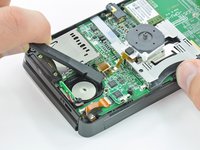
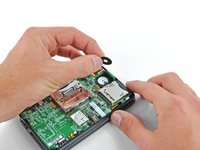
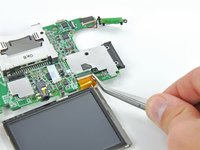
Grasp the microphone ribbon cable near the microphone with a pair of tweezers.
-
Pull the microphone straight up out of the upper case.
-
-
-
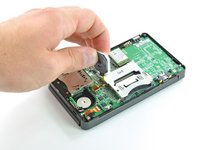
Use the tip of a spudger or your fingers to peel back the white tape covering the touchscreen ribbon cable connector.
-
-
-
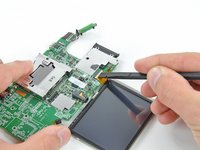
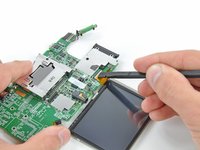
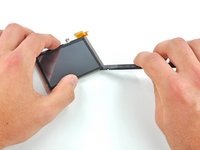
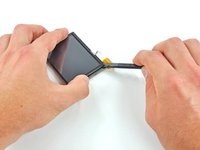
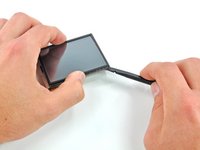
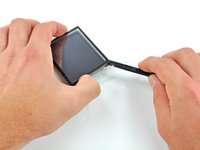
Starting at the bottom right corner, insert the flat end of a spudger between the touchscreen and LCD frame and gently pry the touchscreen off the LCD.
-
Insert the spudger into the top right corner between the two pieces and pry the touchscreen off the LCD frame.
-
To reassemble your device, follow these instructions in reverse order.
To reassemble your device, follow these instructions in reverse order.
Annulla: non ho completato questa guida.
Altre 13 persone hanno completato questa guida.
Preparati per le riparazioni future
Acquista tutti2Commenti sulla guida
Is this the same screen for the standard New Nintendo 3ds also?
No, the New Nintendo 3DS or 3DS/2DS line up of systems after the original Nintendo 3DS do not use the same screen.


