
Nikon Coolpix AW130 Motherboard Replacement
Introduzione
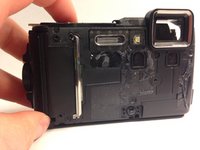
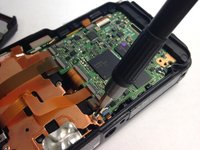
Vai al passo 1The motherboard is the key component to making the camera run. If there is a faulty connection, the camera will not turn on at all. This repair should be completed with care, as to not interrupt the flow of power.
Cosa ti serve
Strumenti


Mostra di più…
-
-
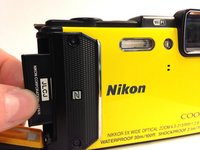
Using your thumb and pointer finger, open the card/battery hatch by pressing the center button of the wheel and turning the entire wheel to the left.
-
-
-
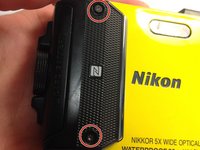
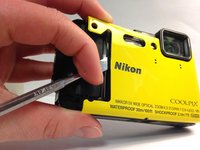
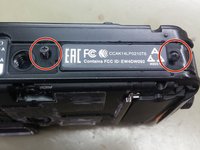
Using the T4 Torx Screwdriver, remove the 2, 4mm screws holding the N-Mark plate in place.
-
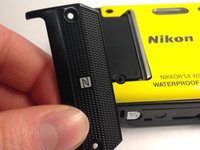
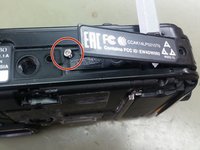
Carefully pull the plate off of the face.
-
-
-
-
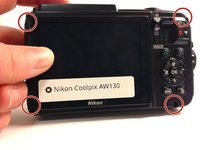
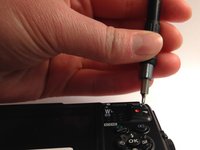
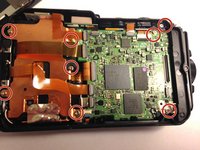
Using a Phillips #000 screwdriver, remove all 8, 4mm screws on the motherboard.
-


To reassemble your device, follow these instructions in reverse order.
To reassemble your device, follow these instructions in reverse order.
Annulla: non ho completato questa guida.
Altre 3 persone hanno completato questa guida.
Team

Western Carolina University, Team 1-4, Virtue Spring 2016 Membro di Western Carolina University, Team 1-4, Virtue Spring 2016
WCU-VIRTUE-S16S1G4
5 Membri
16 Guide realizzate
Un commento
Thanks for this guide.
I managed to open 2 of theses and swap the sensor-unit from one to another.
Unluckily the camera remains broken since one only shows a black picture - even though the sensor is alright an the other has a broken AF from a fall, I suppose...
I am certain with some silicone grease on the orange rubber the camera would still be waterproof.