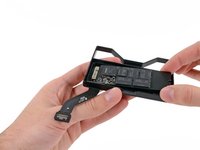
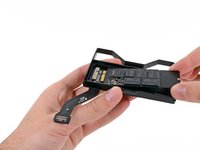
Introduzione
Segui questa guida per aggiornare o sostituire l'SSD in un MacBook Pro Retina da 13" di fine 2012. Questo MacBook Pro usa un connettore proprietario per la memoria, e quindi non è compatibile con i comuni SSD M.2 senza usare un adattatore.
Prima di eseguire questa riparazione, se possibile, esegui un back up dell'SSD originale. Quindi prendi familiarità con la modalità di recupero via internet o creare una chiavetta USB avviabile in modo da essere pronto ad installare MacOS e trasferire tutti i tuoi dati sul tuo nuovo SSD.
Infine, raccomandiamo fortemente di intallare MacOS 10.13 High Sierra (o successivi) Prima di sostituire l'SSD originale del tuo MacBook Pro. La maggior parte dei nuovi SSD richiedono dei driver aggiornati non presenti nelle versioni precedenti a High Sierra di MacOS.
Cosa ti serve
-
Attrezzo utilizzato in questo passaggio:Magnetic Project Mat$19.95
-
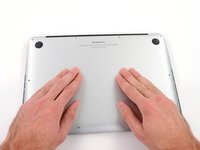
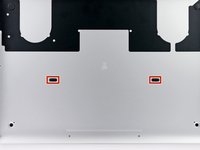
Rimuovi le 10 viti seguenti che fissano il coperchio inferiore al case superiore:
-
Due viti Pentalobe da 2,3 mm
-
Otto viti Pentalobe da 3,0 mm
-
-
-
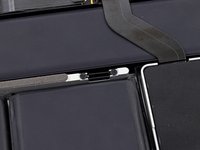
Rimuovi la copertura in plastica attaccata alla scheda dei contatti della batteria.
-
-
-
-
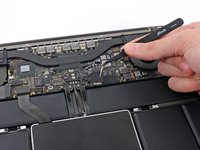
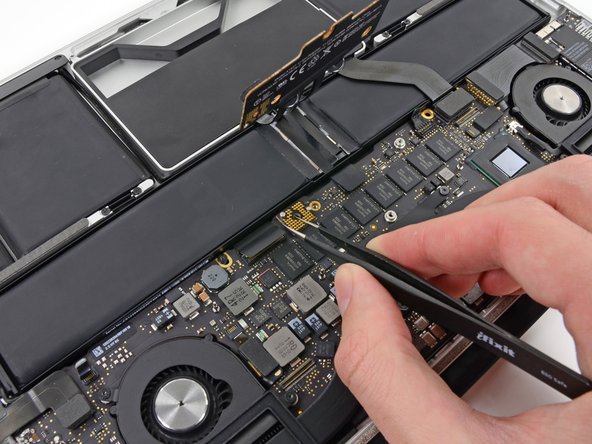
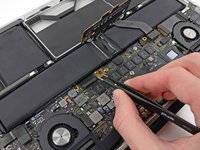
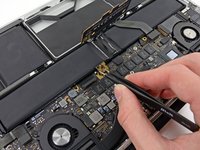
Afferra con delle pinzette l'interposer.
-
Solleval'interposer dalla scheda logica e rimuovilo.
-
-
-
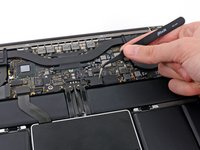
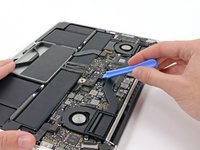
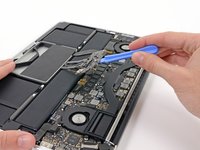
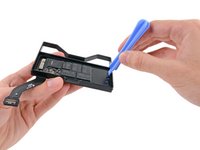
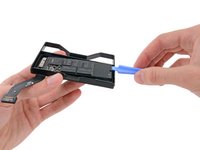
Usa la parte piatta di uno spudger per sollevare il connettore del cavo dell'SSD dalla sua presa sulla scheda madre.
-
Per rimontare il dispositivo, segui le istruzioni in ordine inverso.
Annulla: non ho completato questa guida.
Altre 106 persone hanno completato questa guida.
Un ringraziamento speciale a questi traduttori:
100%
Daniele Carminati ci sta aiutando ad aggiustare il mondo! Vuoi partecipare?
Inizia a tradurre ›
9Commenti sulla guida
I followed the guide and was able to upgrade my wife's MacBook from 128GB to 240 GB!
One thing I noticed was that when I removed the plastic clip in step 6, it left behind a glue dot on the screw head I had to remove in step 7. I wasn't sure why my screwdriver kept rotating until I realized the clear dot was covering the screwed! Then I tweeze the dot off, and put it in the recess on the underside of the clip and all was good.
Everything went to the letter after, until it came time to restart and initialize the new disk. It turns out the old disk had some directory damage, so when it was copied to the new internal SSD, then the Mac wouldn't boot from it until I did a couple FSCK and Repair Disk fixes.
Vignesh,
Here is an option to recover your data and get a tiny speedy external SSD drive for 28.85
Sam,
The 2012 MacBook Pro uses an PCI Express Mini Card connection between the logic board and the SSD.
"Some notebooks (notably the Asus Eee PC, the MacBook Air, and the Dell mini9 and mini10) use a variant of the PCI Express Mini Card as an SSD. This variant uses the reserved and several non-reserved pins to implement SATA and IDE interface passthrough, keeping only USB, ground lines, and sometimes the core PCIe 1x bus intact.[11] This makes the 'miniPCIe' flash and solid state drives sold for netbooks largely incompatible with true PCI Express Mini implementations."
I fully agree, Especially as it turned out to be a little tricky to get the connector back in his position properly. Don't think there is a higher risk of damage through electric shock or so. Next time I will for sure skip it ;-)
Timpetou -
Aren’t steps 4-10 completely unnecessary?


