
MacBook Core 2 Duo Left I/O Frame Replacement

Introduzione
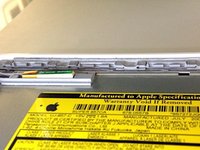
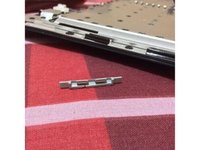
Vai al passo 1The frame over your ports.
Cosa ti serve


-
-
Use a coin or spudger to rotate the battery-locking screw 90 degrees clockwise.
-
-
-
Unscrew the three evenly-spaced Phillips screws from along the rear wall of the battery compartment.
-
-
-
Remove the following 3 screws:
-
One 11 mm Phillips#00 in the middle of the lower case. (Head: 5mm dia. x .75mm thick)
-
Two 14.5 mm Phillips #00 (Head: 5mm dia. x .75mm thick)
-
-
-
-
Disconnect the MagSafe board cable from the logic board by pulling the snap-in connector out (to the right).
-


To reassemble your device, follow these instructions in reverse order.
To reassemble your device, follow these instructions in reverse order.
Annulla: non ho completato questa guida.
Altre 15 persone hanno completato questa guida.
