Salta al contenuto principale
Lenovo ThinkPad T470 Wi-Fi Card Replacement

Lenovo ThinkPad T470 Wi-Fi Card Replacement

Kristen Gismondi

Kristen Gismondi e un altro collaboratore

Ultimo aggiornamento il March 20, 2024

15 - 20 minuti
Facile

Introduzione

Vai al passo 1

This guide will show you how to replace the Wi-Fi card in a Lenovo ThinkPad T470 laptop.

A Wi-Fi card, also known as a WLAN card, enables the laptop to connect to a wireless network. If you cannot connect your laptop to Wi-Fi, or if you are experiencing intermittent connectivity, you may have a faulty Wi-Fi card. Be sure to rule out other connectivity issues listed here before replacing your Wi-Fi card.

Make sure to disable the internal battery, power down your device, and disconnect from any external power sources before you begin.

Cosa ti serve

Ricambi

Strumenti

  • Phillips #1 Screwdriver
    Phillips #1 Screwdriver
  • Spudger
    Spudger

Mostra di più…

  1. Lenovo ThinkPad T470 Wi-Fi Card Replacement, External Battery: passo 1, immagine 1 di 3 Lenovo ThinkPad T470 Wi-Fi Card Replacement, External Battery: passo 1, immagine 2 di 3 Lenovo ThinkPad T470 Wi-Fi Card Replacement, External Battery: passo 1, immagine 3 di 3
    • Before you begin this guide, make sure to disable the internal battery, power down your device, and disconnect from any external power sources.

    • Place the laptop so that the bottom is facing upwards.

    • Slide the latch on the left side of the battery to the left until it clicks in place.

  2. Lenovo ThinkPad T470 Wi-Fi Card Replacement: passo 2, immagine 1 di 3 Lenovo ThinkPad T470 Wi-Fi Card Replacement: passo 2, immagine 2 di 3 Lenovo ThinkPad T470 Wi-Fi Card Replacement: passo 2, immagine 3 di 3
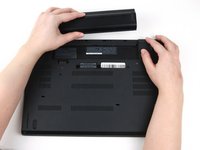
    • Slide the latch on the right side of the battery to the right and hold it in place with your thumb.

    • Use your other hand to slide the battery towards the back of the laptop.

    • Lift the battery up and away from the laptop.

  3. Lenovo ThinkPad T470 Wi-Fi Card Replacement, Bottom Cover: passo 3, immagine 1 di 2 Lenovo ThinkPad T470 Wi-Fi Card Replacement, Bottom Cover: passo 3, immagine 2 di 2
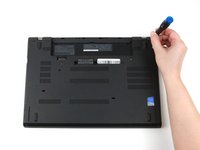
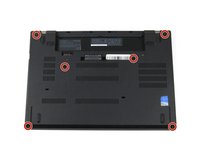
    • Use a Phillips #1 screwdriver to loosen the six captive screws on the bottom cover of the laptop.

  4. Lenovo ThinkPad T470 Wi-Fi Card Replacement: passo 4, immagine 1 di 3 Lenovo ThinkPad T470 Wi-Fi Card Replacement: passo 4, immagine 2 di 3 Lenovo ThinkPad T470 Wi-Fi Card Replacement: passo 4, immagine 3 di 3
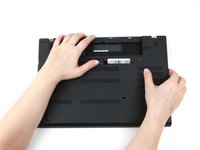
    • Use your hands to pull up on the back cover and release the plastic clips starting on the bottom side of the battery compartment.

    • Potential for device damage: Be sure to detach the plastic clips in this area first. You risk cracking the bottom cover if you attempt to detach it from around the edges of the laptop first.

    • Use your hands to pull up on the right side of the bottom cover to release the plastic clips.

    • Use your hands to pull up on the left side of the bottom cover to release the plastic clips.

  5. Lenovo ThinkPad T470 Wi-Fi Card Replacement: passo 5, immagine 1 di 1
    • Remove the bottom cover from the laptop.

    • Disconnect the battery from the board before continuing.

  6. Lenovo ThinkPad T470 Wi-Fi Card Replacement, Wi-Fi Card: passo 6, immagine 1 di 2 Lenovo ThinkPad T470 Wi-Fi Card Replacement, Wi-Fi Card: passo 6, immagine 2 di 2
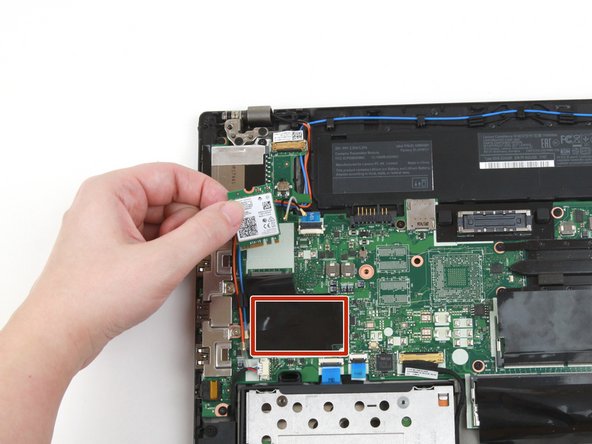
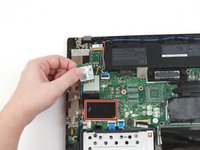
    • Use a finger to press the black flap covering the Wi-Fi card down.

  7. Lenovo ThinkPad T470 Wi-Fi Card Replacement: passo 7, immagine 1 di 2 Lenovo ThinkPad T470 Wi-Fi Card Replacement: passo 7, immagine 2 di 2
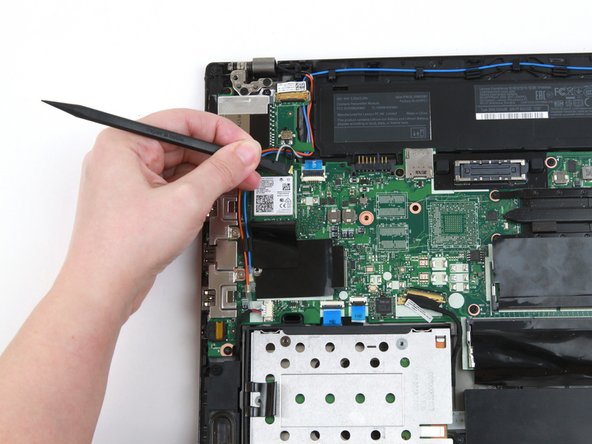
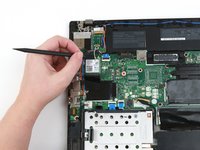
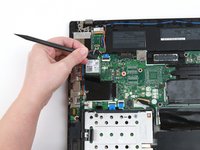
    • Use the flat end of a spudger to disconnect the two coaxial wires from the Wi-Fi card.

    • When reassembling, reattach the gray wire on the left and the black wire on the right.

  8. Lenovo ThinkPad T470 Wi-Fi Card Replacement: passo 8, immagine 1 di 1
    • Use a Phillips #1 screwdriver to remove the single 4 mm screw from the Wi-Fi card.

  9. Lenovo ThinkPad T470 Wi-Fi Card Replacement: passo 9, immagine 1 di 2 Lenovo ThinkPad T470 Wi-Fi Card Replacement: passo 9, immagine 2 di 2
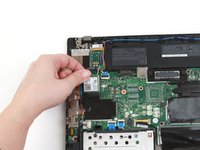
    • Use your fingers to lift the Wi-Fi card up and out of its slot.

    • This laptop does not include a WWAN card, but if yours does, follow the same procedure as Steps 6-9 to remove it.

Conclusione

To reassemble your device, follow these instructions in reverse order.

Take your e-waste to an R2 or e-Stewards certified recycler.

Repair didn’t go as planned? Try some basic troubleshooting, or ask our Answers community for help.

Altre 2 persone hanno completato questa guida.

Kristen Gismondi

Membro da: 11/12/14

92.435 Reputazione

241 Guide realizzate

Team

iFixit Membro di iFixit

Staff

118 Membri

19.547 Guide realizzate

0 Commenti

Aggiungi Commento

Visualizza Statistiche:

Ultime 24 Ore: 3

Ultimi 7 Giorni: 15

Ultimi 30 Giorni: 69

Tutti i Tempi: 2,907