
Lenovo ThinkPad T460 RAM Replacement

Introduzione
Vai al passo 1Use this guide to replace the RAM in your Lenovo ThinkPad T460.
RAM (short for “random access memory”) provides temporary storage for a computer. RAM enables a computer to run with optimal speed and performance. Some signs of faulty RAM include the blue screen of death, sluggish performance, or random crashes and reboots.
This laptop is equipped with two RAM slots, each with a maximum capacity of 16 GB (for a maximum total capacity of 32 GB). Be sure to use PC3L-12800 DDR3L SDRAM. You can run a RAM diagnostic tool to see if a replacement is needed.
Before beginning this guide, make sure to disable the internal battery, power down your device, and disconnect from any external power sources.


-
-
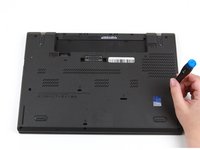
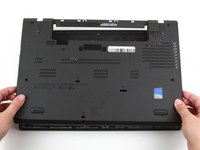
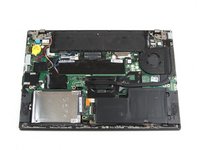
Place the laptop so that the bottom is facing upwards.
-
Slide the latch on the left side of the battery to the left until it clicks in place.
-
-
-
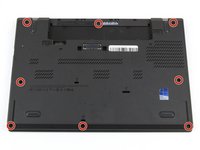
Loosen the eight captive screws in the bottom cover using a Phillips #1 screwdriver.
-
-
-
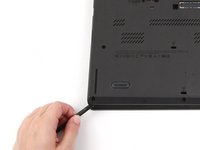
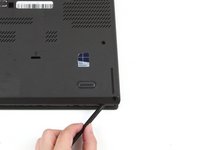
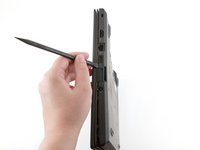
Insert the flat end of a spudger in between the bottom cover and the rest of the laptop, starting in the lower left corner.
-
Pry the lower left corner of the bottom cover up by a few millimeters.
-
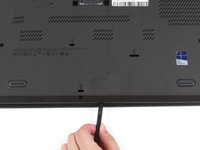
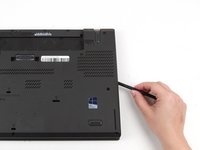
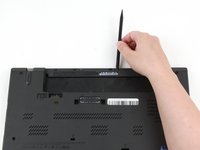
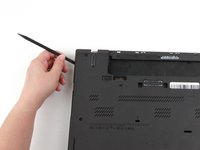
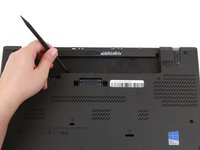
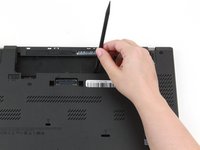
Slide the spudger along the bottom of the laptop to release the clips until you reach the lower right corner.
-
-
-
-
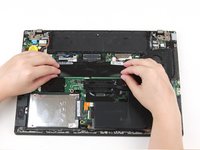
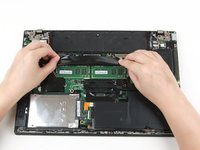
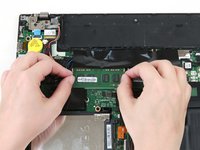
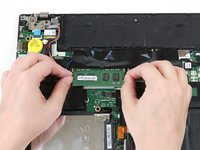
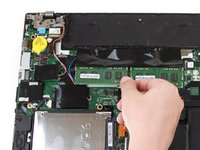
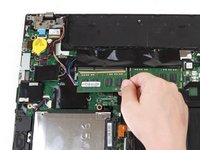
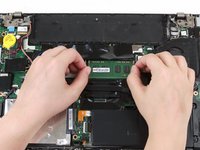
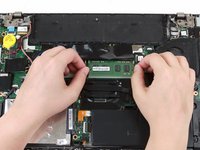
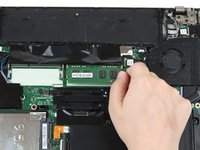
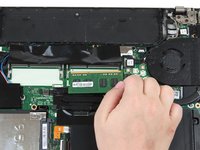
Use your fingers to lift the RAM out of its socket and away from the laptop to remove it.
-


To reassemble your device, follow these instructions in reverse order.
Take your e-waste to an R2 or e-Stewards certified recycler.
Repair didn’t go as planned? Try some basic troubleshooting, or ask our Answers community for help.
To reassemble your device, follow these instructions in reverse order.
Take your e-waste to an R2 or e-Stewards certified recycler.
Repair didn’t go as planned? Try some basic troubleshooting, or ask our Answers community for help.
Annulla: non ho completato questa guida.
Altre 2 persone hanno completato questa guida.

