
HP Photosmart c3180 Driver Motor Replacement
Introduzione
Vai al passo 1In this guide, you will be removing the drive motor of an HP Photosmart c3180 Printer, in order to either replace the drive motor itself or to replace the driving cable, per step 3. If the drive motor is burned out or is beginning to fail, the operation of your printer can be greatly or completely hindered.
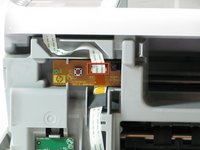
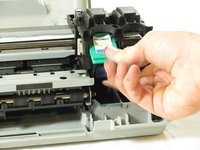
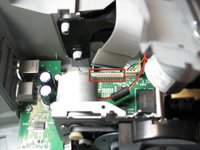
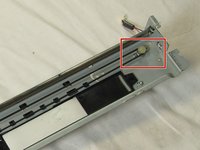
The driving cabal appears to be made out of some kind of synthetic elastic material. Even though it can stretch a little, be careful not to stretch it too much and snap it.
Cosa ti serve


-
-
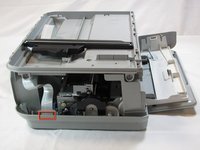
Rotate the printer 90 degrees counter clockwise so that the side panel next to control panel is facing you.
-
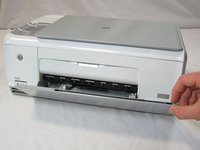
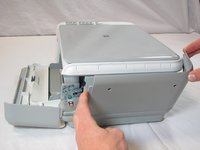
Remove the two T10 12mm Torx screws from the left side panel.
-
-
-
-
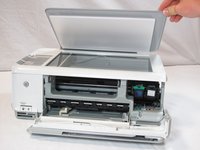
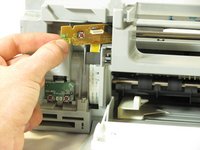
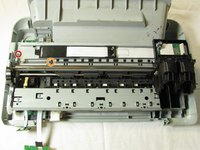
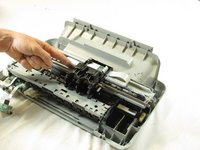
Set aside the top panel of the printer.
-
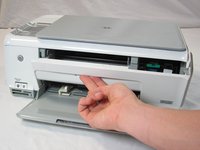
Remove the two T10 12 mm Torx screws from the top front of the printer
-
-
-
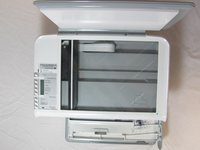
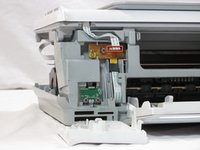
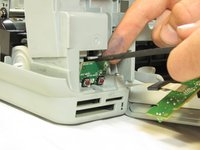
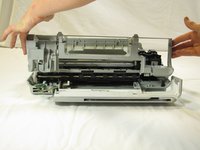
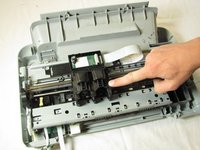
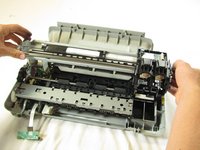
Set aside the printer body.
-
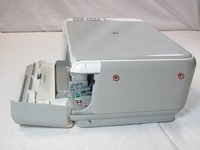
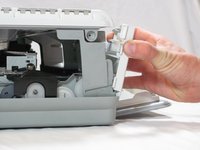
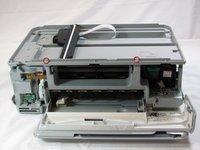
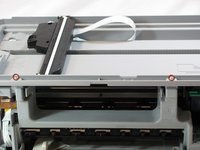
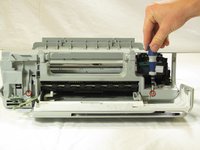
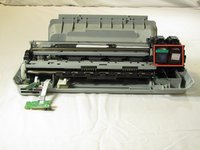
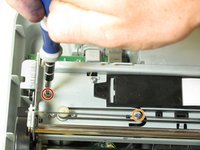
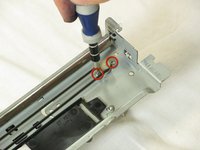
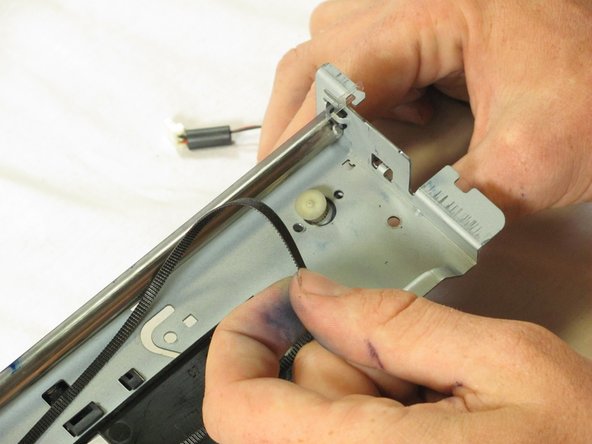
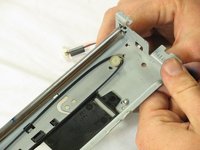
Remove the two motor retainment T10 4 mm Torx screws, per images 1-2.
-


To reassemble your device, follow these instructions in reverse order. Take your e-waste to an R2 or e-Stewards certified recycler.
To reassemble your device, follow these instructions in reverse order. Take your e-waste to an R2 or e-Stewards certified recycler.
Annulla: non ho completato questa guida.
Un'altra persona ha completato questa guida.
Team

Cal Poly, Team 20-30, Maness Fall 2011 Membro di Cal Poly, Team 20-30, Maness Fall 2011
CPSU-MANESS-F11S20G30
4 Membri
25 Guide realizzate