
Giant Reign 2 Rear Shock Replacement
Introduzione
Vai al passo 1Use this guide to learn how to replace the rear shock on your Giant Reign 2 Bicycle.
The rear shock is another term for the rear suspension of a bicycle, and it's used to hold the back wheel stable. It also helps the rider keep control, assists with keeping the bike touching the ground, and aids with mitigating or absorbing any strong impacts. If it fails, the result could be the bicycle malfunctioning and the owner of the bicycle being injured.
Some symptoms of a rear shock's need for replacement are looseness, leaking air, or stiffness when steering. Generally, its recommended that both the rear and front shocks be replaced every six to twelve months, especially if a person is relatively active in bicycling activities.
Cosa ti serve
Strumenti


To reassemble your device, follow these instructions in reverse order.
To reassemble your device, follow these instructions in reverse order.
Annulla: non ho completato questa guida.
Un'altra persona ha completato questa guida.
Team

Cal Poly, Team 9-14, Amido Fall 2012 Membro di Cal Poly, Team 9-14, Amido Fall 2012
CPSU-AMIDO-F12S9G14
4 Membri
10 Guide realizzate
1Commento della guida
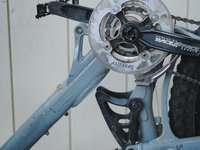
Which valve stem is the one to put air into the shock there's one on the bottom one on top and adjustment knob right next to the top one