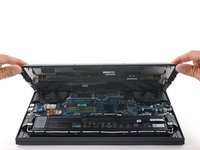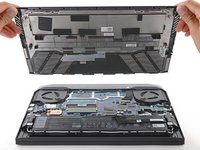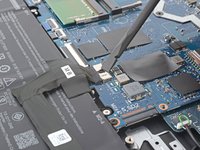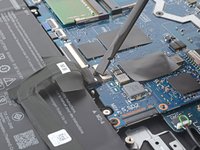
Dell G15-5511 Gaming Right SSD (Slot 2) Replacement
Introduzione
Vai al passo 1This guide will walk you through the process of replacing the right SSD in your Dell G15-5511 Gaming laptop.
Your laptop might not come with a standoff bracket to install an additional SSD. In this case, you'll need to purchase one.
Before you perform this repair, back up your existing SSD if possible. If you’re replacing the SSD where your operating system is installed, familiarize yourself with a disk cloning utility so you’ll be ready to migrate your data to the new SSD.
Cosa ti serve
Kit di riparazione
Questi kit contengono tutti i ricambi e gli strumenti necessari per completare questa guida.
Ricambi
Strumenti
Mostra di più…
-
-
Use a Phillips #1 screwdriver to remove the four 6.8 mm-long screws that secure the cover.
-
Use a Phillips #1 screwdriver to loosen the four captive screws.
-
-
-
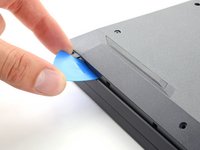
Insert an opening pick between the bottom-left corner of the back cover and the chassis.
-
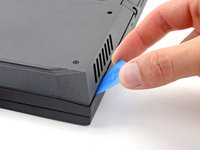
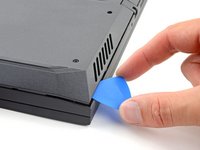
Pry up to release the clips securing the back cover.
-
-
-
-
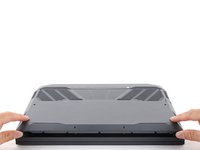
Grip the front of the back cover and lift it away from the laptop.
-
Pull the back cover towards you to disconnect the clips along the top of the back cover.
-
Remove the back cover.
-
-
-
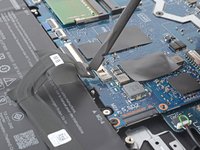
Use the flat end of a spudger to push the battery connector's square tab away from the socket and disconnect it.
-
-
-
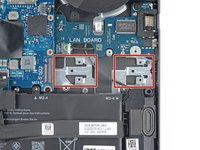
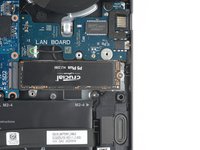
The right SSD slot has two locations install the standoff bracket—one for the short M.2 2230 SSD, and one for the longer M.2 2280 SSD.
-
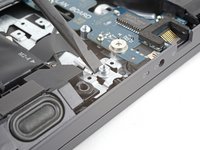
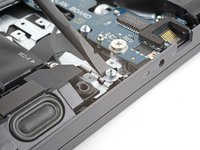
Use the flat end of a spudger to press the the bracket into the slot. The wings of the standoff will clip underneath the tabs of the slot.
-
-
-
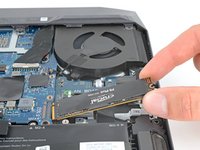
Grip your 80 mm-long (M.2 2280) SSD by the corners near the screw indent.
-
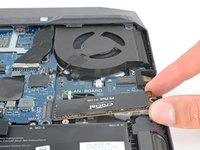
Slide the SSD into the socket.
-
-
-
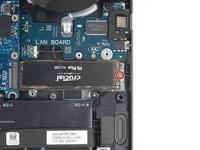
Use your Phillips #0 screwdriver to fasten the 4.2 mm-long screw to the SSD standoff.
-
To reassemble your Dell G15, follow these instructions in reverse order.
For general information on how to install a SSD, refer to this guide.
Take your e-waste to an R2 or e-Stewards certified recycler.
Repair didn’t go as planned? Try some basic troubleshooting, or ask our Dell laptop answers community for help.
Annulla: non ho completato questa guida.
Un'altra persona ha completato questa guida.


