Create a Bootable USB Stick from an Older Version of macOS

Introduzione
Vai al passo 1How to create Bootable USB Stick for old version of macOS/Mac OSX.
Error : This version of OS X/macOS cannot be installed on this computer.
-
-
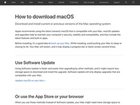
Download the version of the OS you want to install here: https://support.apple.com/en-gb/HT211683
-
-
-
If you don't get the following error: "This version of OS X/macOS cannot be installed on this computer."
-
Wait for the end of the installation and follow the following tutorial : Creare una chiavetta USB avviabile
-
Otherwise, go to the next step.
-
-
-
-
Open the folder appeared on the desktop.
-
Then, download the files here: https://github.com/ThonyF/iFixitTutoCrea...
-
Search for the macOS version corresponding to the installation you wish to perform and replace the distribution file in the folder that has been created.
-
-
-
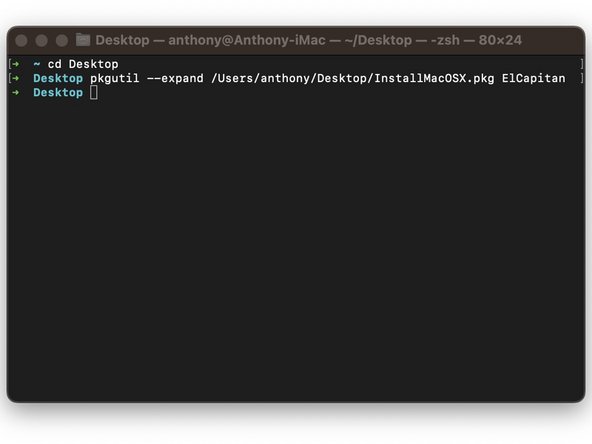
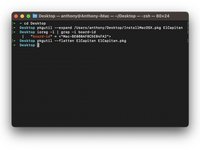
Go back to the terminal and type the following command: pkgutil --flatten FolderName New.pkg (FolderName = the name of the folder and New.pkg = the new .PKG file that will be created)
-
Press enter and wait for the file to be created
-
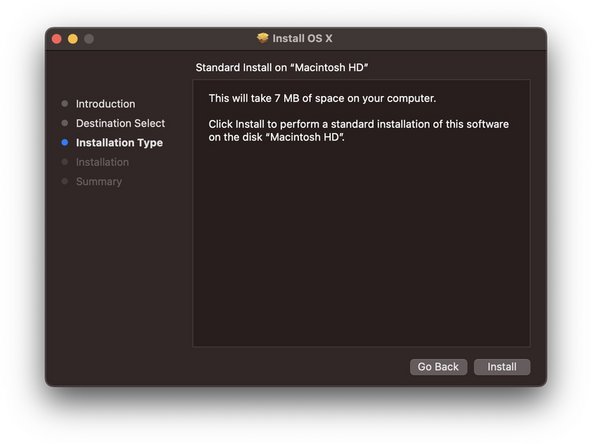
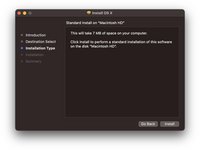
Launch the new .PKG file
-
Congratulations you can launch the installer.
-
To continue creating the USB Stick follow the following tutorial : Creare una chiavetta USB avviabile
-


You're done BRAVO !!
You're done BRAVO !!
Annulla: non ho completato questa guida.
Altre 8 persone hanno completato questa guida.
Un ringraziamento speciale a questi traduttori:
100%

Questi traduttori ci stanno aiutando ad aggiustare il mondo! Vuoi partecipare?
Inizia a tradurre ›
Preparati per le riparazioni future
Acquista tutti


7Commenti sulla guida
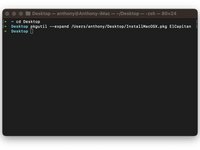
Bonjours après l'étape 5 le terminal me renvois un "Could not open package for expansion: /Desktop/InstallMacOSX.pkg"
pourriez-vous m'aider s'il vous plait
Bonjour,
Avez-vous bien le fichier ".pkg” sur le Bureau (Desktop en anglais) ?
Si oui, êtes-vous bien sûr le bureau dans le terminal ? ("cd Desktop” normalement il affiche "desktop” à gauche de ou vous écrivez.)
Pour être sûr, vous pouvez taper la commande "ls -al", ça affiche une liste et vous pouvez voir s'il y a bien le fichier dans cette liste. S'il n'y est pas, vous n'êtes pas au bon endroit.
Sorry! I've tried with Sierra an always get a Javascript Error... Good try though
Thanks a lot for this guide