Introduzione
La crociata di Amazon per rendere gli oggetti domestici più intelligenti (e creare più oggetti domestici intelligenti) continua questo mese con Tap, il loro primo altoparlante portatile dotato di Alexa. Caratterizzato da streaming audio e un assistente personale integrato, Tap promette di rendere la tua vita più semplice e connessa. Ma sai cosa diciamo: è ciò che c'è dentro che conta! Unisciti a noi e scopri esattamente quanto è intelligente questo altoparlante.
Vuoi dare un'occhiata ai cugini fissi di Tap? Vai ai nostri smontaggi del nuovissimo Echo Dot e dell'originale Amazon Echo per vedere come se la cava questo modello.
Non sei pronto ad arrenderti? Seguici su Instagram, Twitter e Facebook per altre notizie su smontaggi e riparazioni.
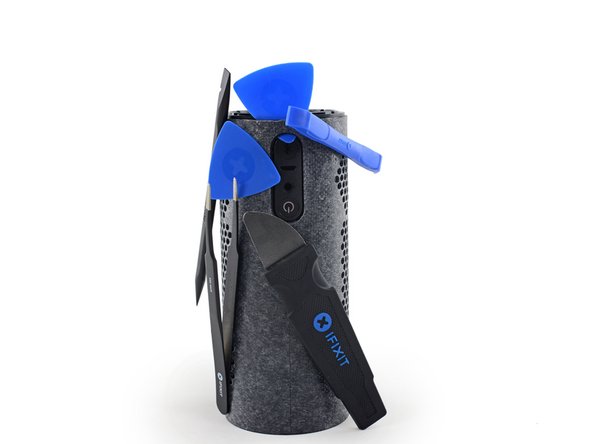
Cosa ti serve
-
-
-
Questo è il primo dispositivo portatile di Amazon con Alexa integrata, quindi siamo entusiasti di vedere come hanno cambiato le cose. Le caratteristiche includono:
-
Servizio vocale Alexa attivato tramite pulsante
-
Fino a 9 ore di riproduzione audio con una singola carica
-
Doppio cacciavite da 1,5 pollici e doppi radiatori passivi per l'estensione dei bassi
-
Wi-Fi single-band 802.11b/g/n e Bluetooth 4.2
-
Base di ricarica
-
Mentre affiliamo i nostri strumenti, ecco un'anteprima tramite X-ray.
 Chiedi a FixBot
-
-
-
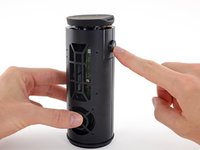
Sfida! A destra abbiamo il Tap, e a sinistra i suoi fratelli con cavo. Forza ragazzi, presentatevi.
-
La base di ricarica del Tap sfoggia due contatti a molla che si collegano alla base con qualsiasi angolazione, grazie a questa coppia di contatti circolari a forma di bersaglio sul fondo del Tap.
-
Dando un'occhiata più da vicino, vediamo il numero di modello del Tap, PW3840KL, insieme a tutti i soliti noti.
-
-
-
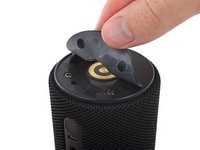
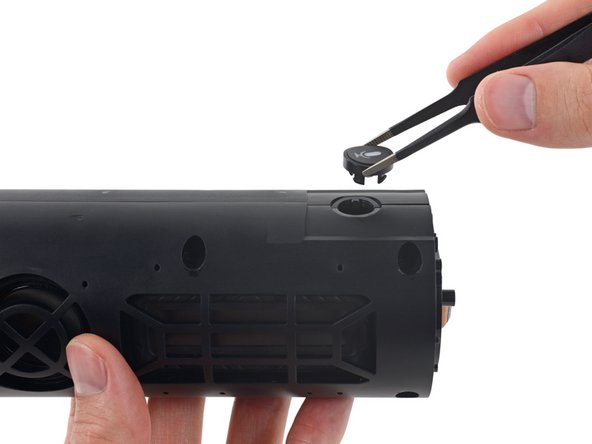
Con un paio di altri smontaggi di dispositivi cilindrici Amazon alle spalle, sappiamo come procedere. Il primo pezzo di questo puzzle è il piedino in gomma della base.
-
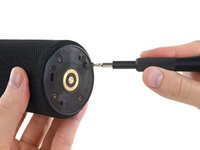
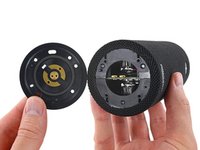
Pochi secondi dopo, alcune viti Torx T9 vengono rimosse e diamo una prima occhiata all'interno.
-
-
-
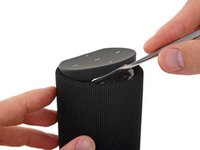
Imperterriti, rivolgiamo il nostro spudger verso il pannello di controllo gommato all'altra estremità.
-
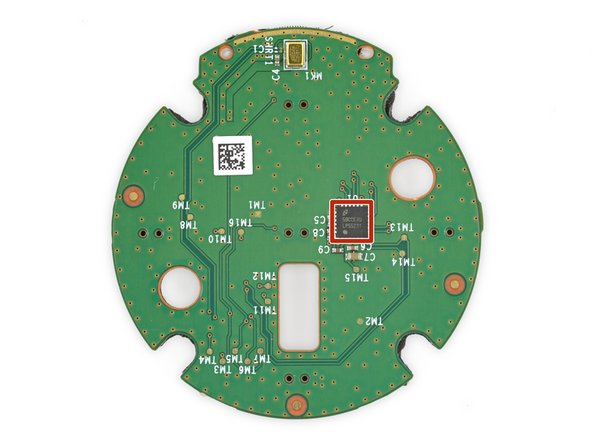
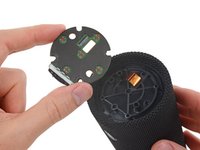
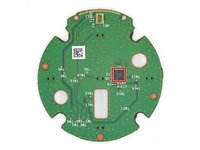
Con un po' di decisa pressione, le clip in plastica cedono per rivelare una scheda tasti con alcuni pulsanti, un microfono e un singolo semiconduttore:
-
Driver LED a 9 uscite programmabile National Semiconductor LP55231 (come visto in Echo e Echo Dot)
-
Purtroppo, non ci sono elementi di fissaggio nemmeno su questo lato. È tempo di diventare distruttivi!
-
-
-
-
Ostacolato dall'assenza di viti su entrambe le estremità, sembra che non ci sia un modo semplice per arrivare al cuore di Alexa. Quindi, facciamolo nel modo più difficile.
-
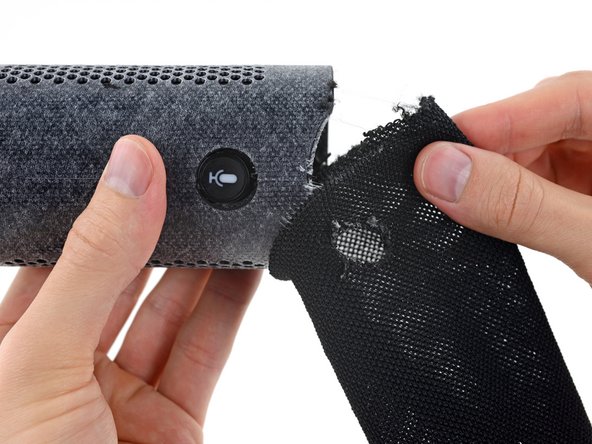
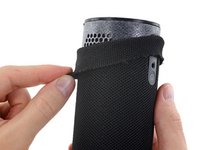
La prima parte del rivestimento del Tap a venire via è l'involucro in tessuto elastico, che srotoliamo dalla superficie esterna della scocca, a cui è saldamente aderente.
-
E... ancora nessuna vite.
-
-
-
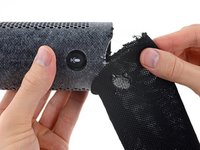
Dopo un bel po' di manovre, siamo finalmente riusciti a liberare la copertura facendola scorrere sopra i pulsanti di accensione, Bluetooth e del microfono.
-
Potrebbe non sembrare un progresso, ma lo è. Solo poche viti ci separano da quei fantastici componenti interni.
-
Improvvisamente, il pulsante del microfono esce quasi da solo. Sarebbe stato utile nel passaggio precedente, ma va bene lo stesso!
-
-
-
Con la guaina rimossa e una manciata di viti tolte, il Tap si apre come un libro.
-
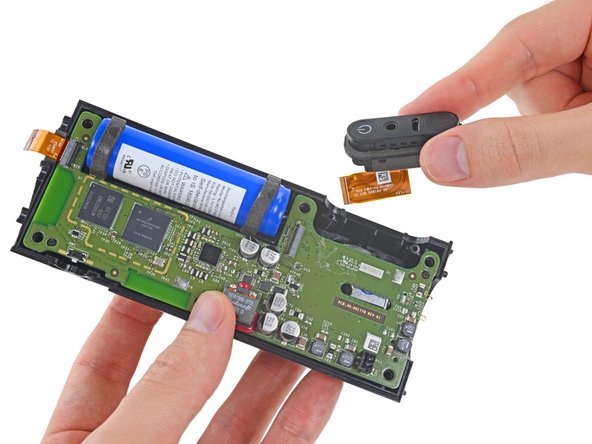
E le cose promettono bene! Il pannello I/O, fissato da un paio di viti, è collegato alla scheda madre tramite un cavo flessibile "e" scivola fuori facilmente.
-
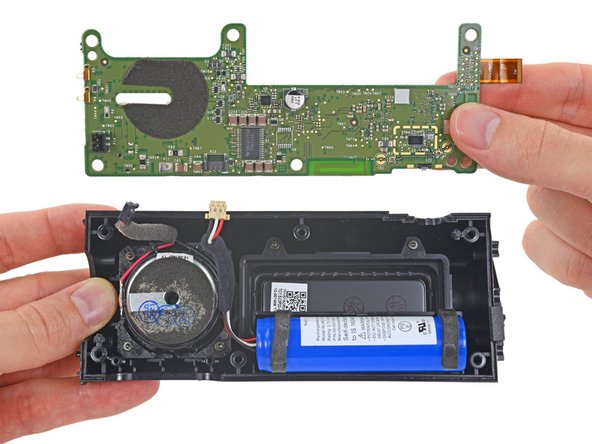
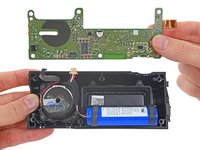
Proseguendo, la scheda madre salta fuori per unirsi alla festa.
-
-
-
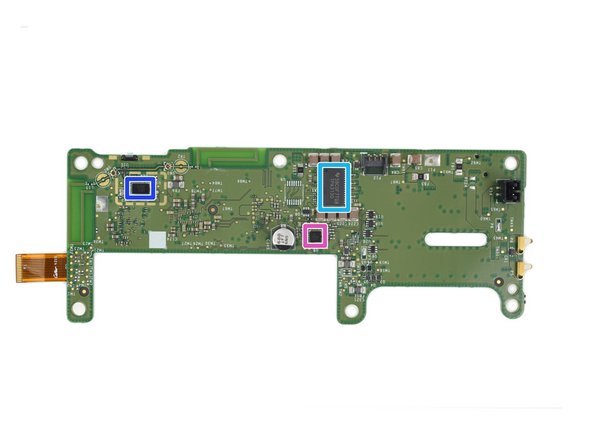
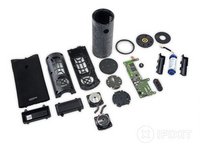
Per raggiungere il “cervello” di questo smart speaker, eseguiamo i dovuti controlli e identifichiamo tutti i componenti principali:
-
Processore applicativo i.MX 6SoloLite Freescale/NXP MCIMX6L8DVN10AB
-
Memoria SDRAM DDR2 da 512 Mb Samsung KMNJ2000ZM-B207 (probabile)
-
PMIC Maxim MAX77697
-
Induttore di potenza schermato ad alta corrente Coilcraft SER1360-272L
-
Amplificatore stereo in Classe D senza filtro da 15W Texas Instrument TPA3130
-
SoC Wi-Fi e Bluetooth 4.2/Bluetooth Smart Broadcom BCM4343
-
Codec audio stereo a bassissimo consumo Maxim MAX98090
-
-
-
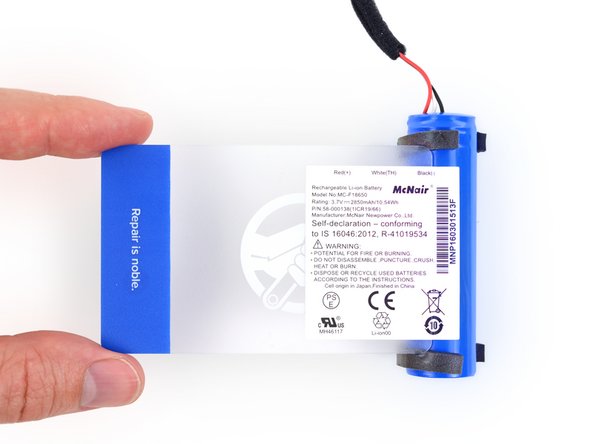
Il prossimo componente a uscire è una cella agli ioni di litio 18650 standard, ampiamente utilizzata nel settore, dai veicoli Tesla agli hoverboard.
-
Confrontala con la batteria da 3,8 V, 2750 mAh e 10,45 Wh dell'iPhone 6s Plus (tratta dallo Smontaggio): una batteria con un output simile per un compito radicalmente diverso.
-
-
-
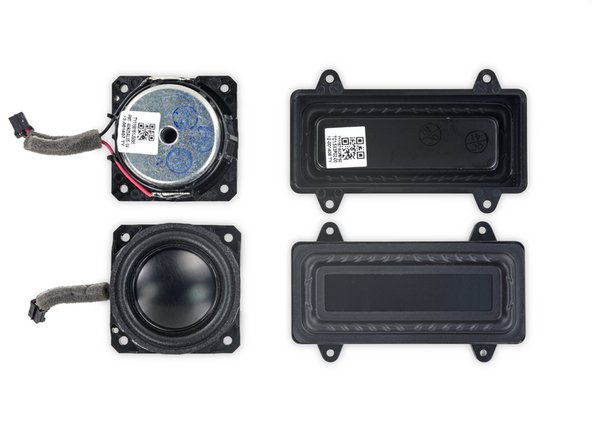
Siamo arrivati ai veri pezzi da novanta: gli altoparlanti!
-
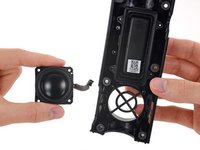
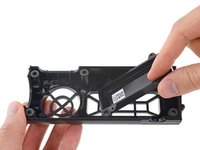
Questi piccoli driver altoparlante da 1,5 pollici si accoppiano ciascuno con un più grande radiatore passivo per migliorare la risposta in frequenza alle basse frequenze senza l'aggiunta di grandi driver o di un tubo di accordo per i bassi.
-
-
-
Scherzi a parte, quei radiatori passivi non sono nemmeno collegati a nulla. Quanto potranno essere importanti?
-
Speravamo che lo chiedessi. Quello che abbiamo qui è un Tap rimontato con una vistosa assenza di radiatori passivi. Quindi, come suona?
-
In una parola, male. Giusto per curiosità, abbiamo eseguito un rapido test dello spettro audio senza i radiatori passivi e di nuovo con loro installati. I nostri poveri soggetti umani non riuscivano nemmeno a sentire il segnale sotto i 120 Hz, finché non abbiamo reinstallato i radiatori passivi, momento in cui hanno identificato con sicurezza un rombo dei bassi fino a circa 90 Hz.
-
Ottimo lavoro, radiatori passivi.
-
-
-
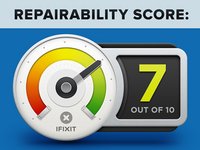
Punteggio di riparabilità dell'Amazon Tap: 7 su 10 (dove 10 rappresenta la massima facilità di riparazione)
-
La batteria, la scheda madre, la scheda I/O e gli altoparlanti sono tutti collegati alla scheda madre tramite connettori per cavi standard.
-
La maggior parte dei componenti è fissata con clip facili da sganciare o viti standard.
-
La rimozione della copertura richiede una notevole quantità di forza, ma è un processo non distruttivo.
-
Le riparazioni sono semplici se sai come muoverti all'interno, ma potrebbero risultare scoraggianti senza un manuale di assistenza.
-
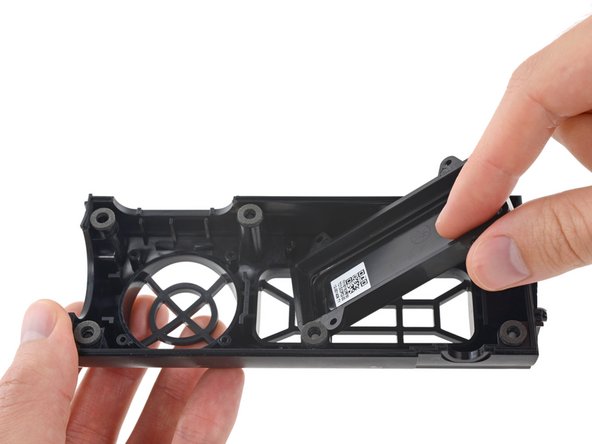
Un adesivo tenace fissa il piedino in gomma alla base.
-
-

















21Commenti sulla guida
I have been waiting for this teardown of the Amazon Tap. Thank you!
I can't tell from the picture but do you think a better wifi antenna could be added?
How many microphones does it have?
Only 1?
Can the outer speaker cloth be reattached? Why no red dot for that?
