Introduzione
Use this guide to replace a worn-out or dead battery in your Roomba.
If your battery is swollen, take appropriate precautions.
Cosa ti serve
-
-
Make sure your Roomba is turned off and flip it over to access its underside.
-
Use a Phillips screwdriver to loosen the single captive screw securing the edge-sweeping brush. Make sure to keep the brush from rotating while screwing.
 Chiedi a FixBot
-
-
-
Use your fingers to gather all three brush arms and grab them simultaneously.
-
Steadily pull upwards to release the brush from its hexagonal axle. You can gently rock it back and forth if it sits too tight.
-
-
-
-
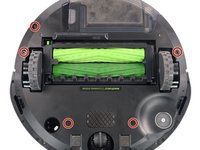
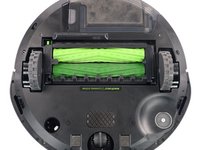
Use a Phillips screwdriver to loosen the five captive screws that hold the bottom plate in place.
-
-
-
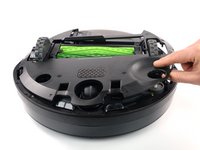
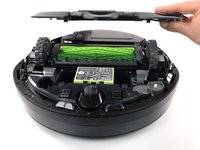
Grab the bottom plate with your hand and remove it by lifting it straight up to reveal the battery.
-
-
-
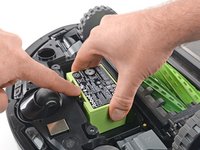
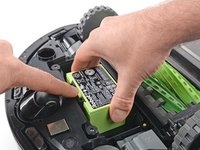
Use your finger to bend the plastic clip and unlatch the battery.
-
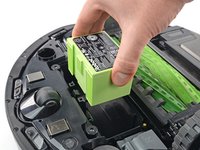
Grab the battery with your hand and lift it straight up from inside its recess to remove it.
-


To reassemble your device, follow these instructions in reverse order.
Take your e-waste to an R2 or e-Stewards certified recycler.
Repair didn’t go as planned? Try some basic troubleshooting, or ask our Answers community for help.
Annulla: non ho completato questa guida.
Altre 2 persone hanno completato questa guida.

Team

Tobias Isakeit - Repairability Engineer Membro di Tobias Isakeit - Repairability Engineer
Business
Membro di 1
1.145 guide realizzate
1Commento della guida
J'ai changé la batterie compatible avec mon roomba mdle. 785, ça fonctionnait bien, mais au moment de la recharge elle ne reconnaît plus la batterie
Que faire