Introduzione
Utilizza questa guida per sostituire una porta USB-C danneggiata, nota anche come porta di ricarica, nel tuo Fairphone 5.
Cosa ti serve
-
-
-
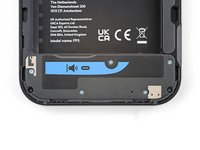
Scollega tutti i cavi e spegni il telefono.
 Chiedi a FixBot
-
-
-
-
-
Inserisci l'unghia, o uno strumento di leva come uno spudger, sotto la tacca nell'angolo in basso a destra della cover posteriore.
-
Solleva la cover posteriore per sganciare le clip dell'angolo inferiore destro.
-
-
-
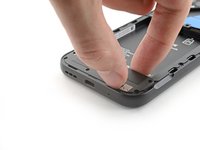
Afferra l'angolo inferiore destro della cover posteriore con una mano e tieni fermo il telaio del telefono con l'altra.
-
Solleva la cover posteriore dal telefono per sganciare le clip lungo il perimetro.
-
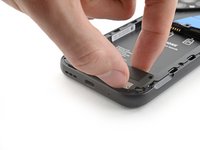
Rimuovi la cover posteriore.
-
-
-
-
-
-
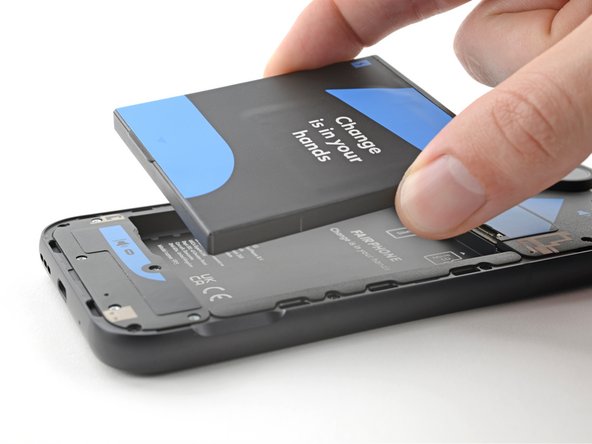
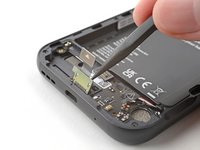
Usa l'unghia o uno strumento a leva come uno spudger per sollevare la batteria dalla linguetta lungo il bordo inferiore.
-
Rimuovi la batteria.
-
-
-
-
-
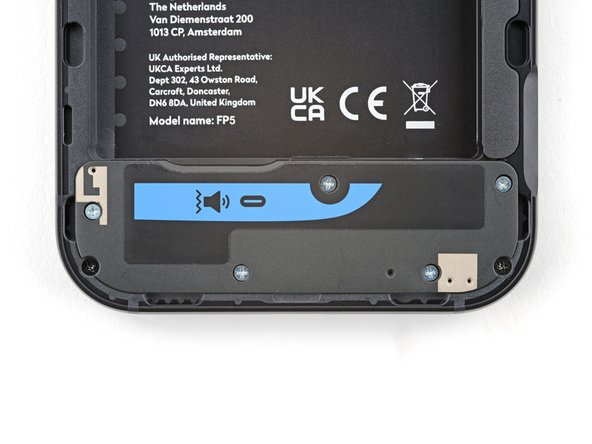
Usa un cacciavite Phillips per rimuovere le cinque viti a croce Phillips da 4,9 mm che fissano l'altoparlante.
-
-
-
Inserisci l'unghia, o uno strumento di leva come uno spudger, sotto l'incavo nell'angolo inferiore destro dell'altoparlante.
-
Fai leva sull'altoparlante e tiralo via dal bordo inferiore del telefono per separarlo dal telaio.
-
-
-
-
-
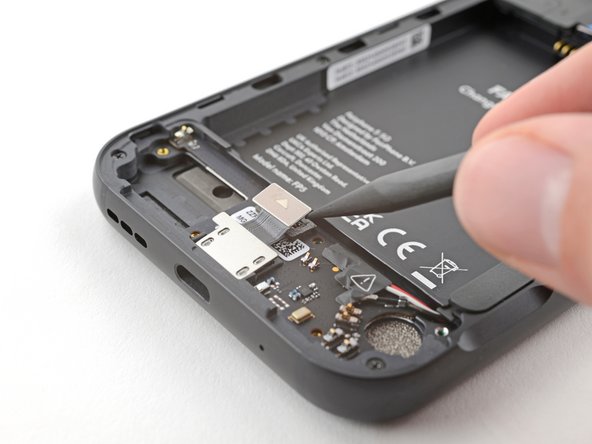
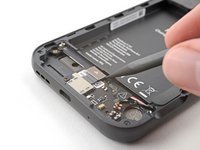
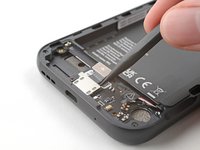
Usa la punta di uno spudger per fare leva e scollegare il connettore a pressione della porta di ricarica.
-
-
-
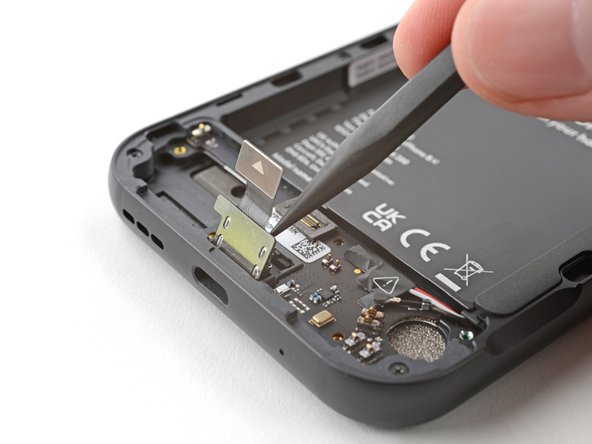
Inserisci la punta dello spudger sotto la piastra metallica all'estremità della porta di ricarica.
-
Fai leva per separare la porta di ricarica dal suo alloggiamento nel telaio.
-
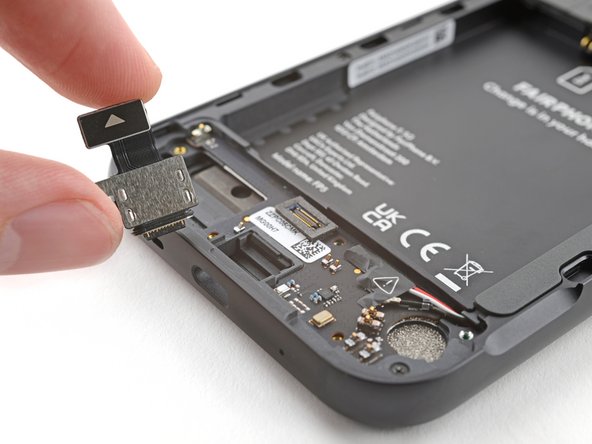
Rimuovi la porta di ricarica.
-
-


Per rimontare il dispositivo, segui queste istruzioni in ordine inverso.
Porta i tuoi rifiuti elettronici presso un centro di riciclo certificato R2 o e-Stewards.
La riparazione non è andata come previsto? Prova delle soluzioni di base ai problemi, oppure rivolgiti alla nostra comunità Risposte per trovare aiuto.
Annulla: non ho completato questa guida.
Altre 9 persone hanno completato questa guida.
Un ringraziamento speciale a questi traduttori:
100%

Translation Bot ci sta aiutando ad aggiustare il mondo! Vuoi partecipare?
Inizia a tradurre ›

