Salta al contenuto principale

iPad Air Wi-Fiモデル ロジックボードの交換

Avviso: Stai modificando una guida prerequisita. Tutte le modifiche avranno effetto su tutte le guide che includono questo passo.

Inglese
Giapponese

Traduzione in corso passo 22

Passo 22
iPad Air Wi-Fi Logic Board Replacement: passo 0, immagine 1 di 3 iPad Air Wi-Fi Logic Board Replacement: passo 0, immagine 2 di 3 iPad Air Wi-Fi Logic Board Replacement: passo 0, immagine 3 di 3
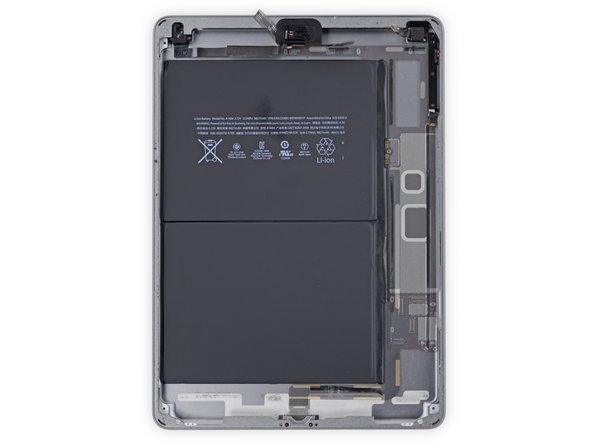
  • In the next steps, you will use an iOpener to apply heat to the rear case of the iPad to soften adhesive holding the logic board in place.

  • As you reheat and place the iOpener in each of the indicated locations, leave it in place for at least a minute to soften the adhesive through the rear case.

  • The adhesive is in the form of six pieces of black foam tape—refer to this step as you work at heating and prying to keep track of where each piece is located.

次の手順ではiPadの背面ケースのロジックボードに留められた接着剤を柔らかくするためiOpenerを使って熱を当てます。

iOpenerを何度も温めて指定されたそれぞれの場所に少なくとも1分以上配置し、接着剤を柔らかくします。

接着剤は黒色のフォーム製テープで6箇所あります。この手順を参照しながら、各部分に熱を当てて、こじ開けていきます。

I tuoi contributi sono usati su licenza in base alla licenza open source Creative Commons.