Salta al contenuto principale

iPad Air Wi-Fi フロントパネルの交換

Avviso: Stai modificando una guida prerequisita. Tutte le modifiche avranno effetto su tutte le guide che includono questo passo.

Inglese
Giapponese

Traduzione in corso passo 7

Passo 7
iPad Air Wi-Fi Front Panel Replacement: passo 0, immagine 1 di 3 iPad Air Wi-Fi Front Panel Replacement: passo 0, immagine 2 di 3 iPad Air Wi-Fi Front Panel Replacement: passo 0, immagine 3 di 3
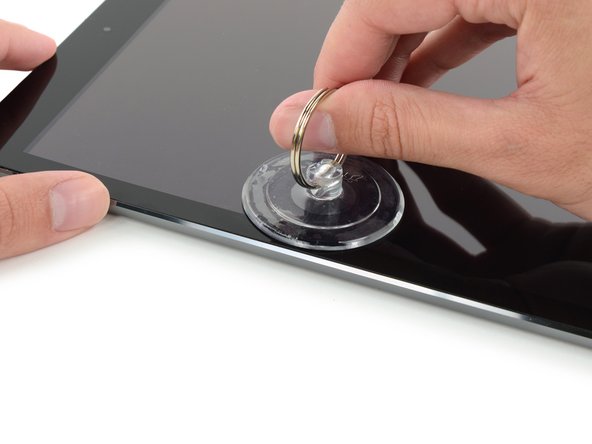
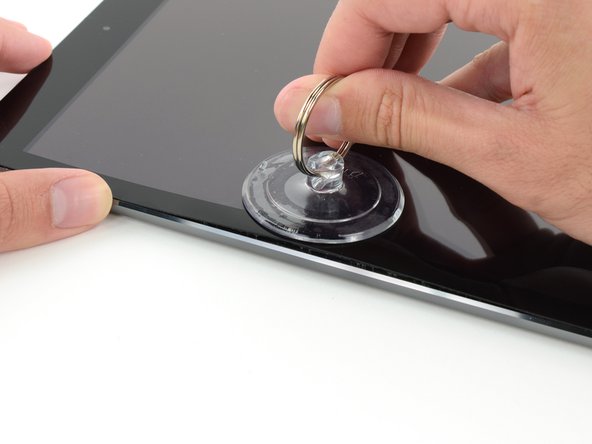
  • Carefully place a suction cup halfway up the heated side.

  • Be sure the cup is completely flat on the screen to get a tight seal.

  • While holding the iPad down with one hand, pull up on the suction cup to slightly separate the front panel glass from from the rear case.

  • If your iPad's screen is badly cracked, covering it with a smooth layer of clear packing tape may help the suction cup adhere. Alternatively, use a strong piece of tape (such as duct tape) and fold it into a handle.

温めた側の真ん中から少し上辺りに、吸盤カップを取り付けます。

しっかりと吸盤がスクリーンに装着されるにはカップがスクリーン上に完全に平らに付いているか確認してください。

iPadを片手で押さえながら、背面ケースをフロントパネルのガラスから離すために吸盤カップを上部に向けて引っ張りあげます。

iPadのスクリーンの破損がひどい場合は、透明なパッキングテープで表面を覆うと、吸盤がうまく接着します。 または、強力なテープ(ダクトテープなど)を使用して、ハンドルに折りたたんでください。

I tuoi contributi sono usati su licenza in base alla licenza open source Creative Commons.