
iRobot Roomba 551 Bumper Sensor Replacement
Introduzione
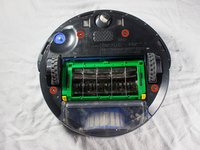
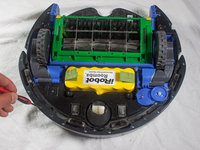
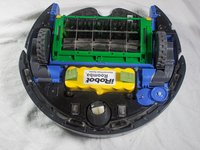
Vai al passo 1Is your Roomba banging its head against the wall? Follow this guide to replace the bumper sensor.
Cosa ti serve
Strumenti


-
-
-
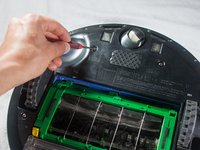
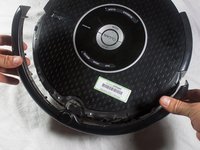
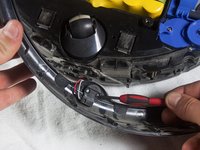
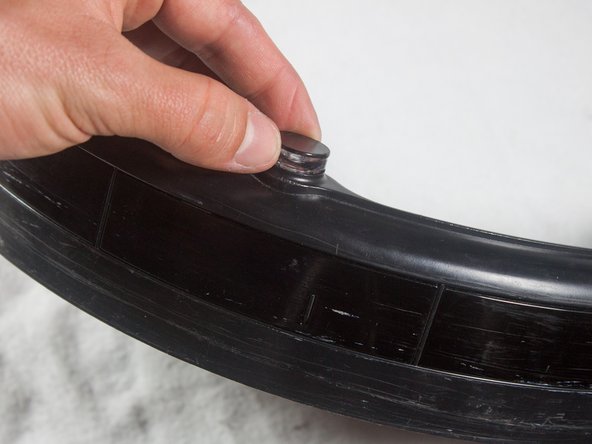
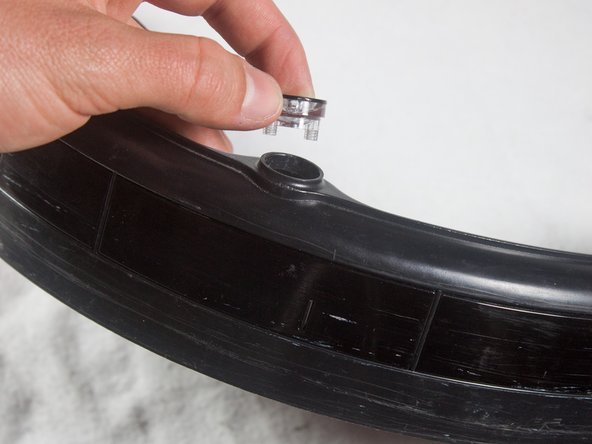
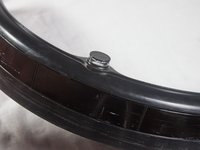
With a Phillips #1 screwdriver, remove the ten 12mm screws located along the bottom of the bumper.
-


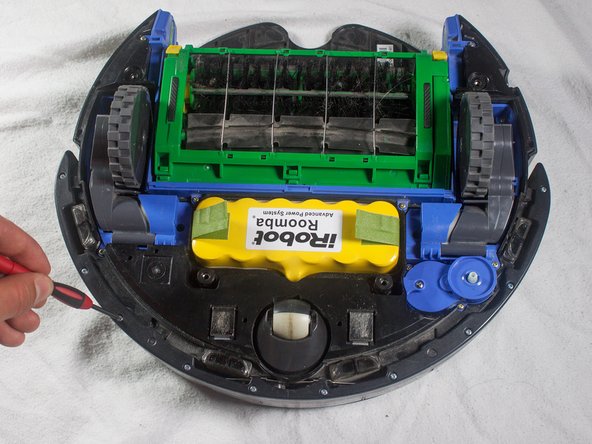


To reassemble your device, follow these instructions in reverse order.
To reassemble your device, follow these instructions in reverse order.
Annulla: non ho completato questa guida.
Altre 4 persone hanno completato questa guida.
Team

Cal Poly, Team 13-14, Regan Winter 2014 Membro di Cal Poly, Team 13-14, Regan Winter 2014
CPSU-REGAN-W14S13G14
4 Membri
19 Guide realizzate