
iPod Touch 2nd Generation Power/Volume Controls Replacement

Introduzione
Vai al passo 1Replace the power/volume controls to awaken an unresponsive Touch.
Cosa ti serve


-
-
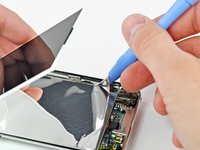
The picture at left (front panel already removed) shows the locations of the metal clips (shown in red) that snap on to the plastic frame. In the next few steps, try to pry the front panel up from the gaps between these clips.
-
-
-
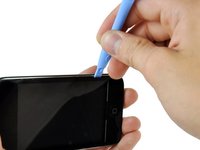
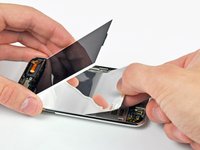
Continue prying up the left edge until the top and bottom edges start to lift out of the Touch.
-
Once the top and bottom edges have lifted slightly out of the Touch, use the opening tool to assure the plastic surround is detached from the clips along the inside of the Touch.
Step 2
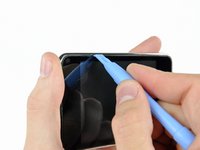
*Gently insert an iPod opening tool between the glass front panel and its plastic surround...
First pic from Step 4 shows what is meant.
But on all the other pics it looks like the opening tool is inserted between the plastic surrounding and the metall body!?
Citazione da James Bond:
Step 2
*Gently insert an iPod opening tool between the glass front panel and its plastic surround...
First pic from Step 4 shows what is meant.
But on all the other pics it looks like the opening tool is inserted between the plastic surrounding and the metall body!?
I checked again and the pics from Step 4+ are correct.
But I would advice the following way:
Citazione da Tom:
If you insert the tool between the silver case and the plastic surround, you may be able to remove the digitizer and plastic surround as a "single piece".
-
-
-
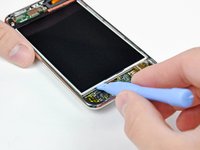
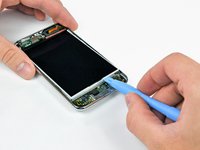
Insert a small iPod opening tool with the edge angled up toward the underside of the display between the white plastic backlight and the metal shield beneath it.
-
Pry up along the lower edge of the display enough to grab it with your fingers.
-
-
-
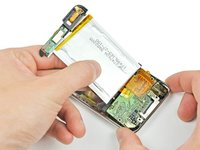
Use the flat end of a spudger to pry the battery off the adhesive securing it to the metal display tray.
-
Remove the metal display tray and set it aside.
-
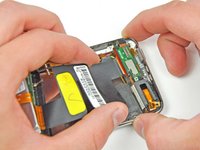
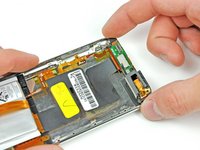
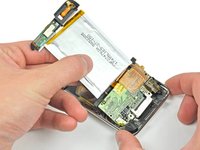
Lay the battery flat in the rear panel.
-
-
-
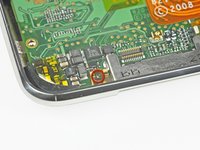
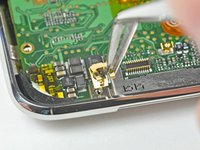
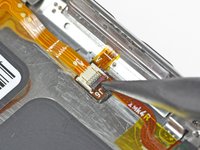
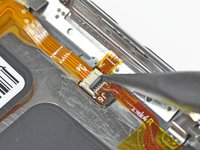
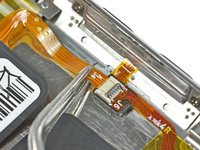
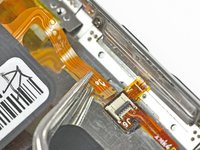
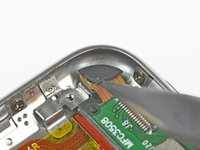
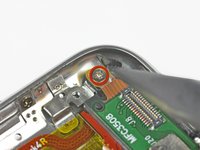
Remove the two Phillips screws securing the power/volume controls to the rear panel.
-


To reassemble your device, follow these instructions in reverse order.
To reassemble your device, follow these instructions in reverse order.
Annulla: non ho completato questa guida.
Altre 38 persone hanno completato questa guida.
Preparati per le riparazioni future
Acquista tutti


2Commenti sulla guida
what pins are for the on/off button on the logic board?
OMG this look super hard but my power button is broken