Xbox One Elite Controller (Model 1698) Rumble Motor Replacement
Introduzione
Vai al passo 1If your Xbox One Elite Controller is not vibrating, your rumble motors might be disconnected or defective. Here are instructions to help you replace your rumble motors. Use the Soldering Iron Guide to attach the wires of the new rumble motor to the motherboard.
-
-
Turn over the controller so that the buttons face down.
-
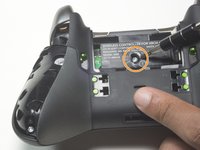
Remove the battery cover carefully by sliding the cover up in the direction of the arrow.
-
-
-
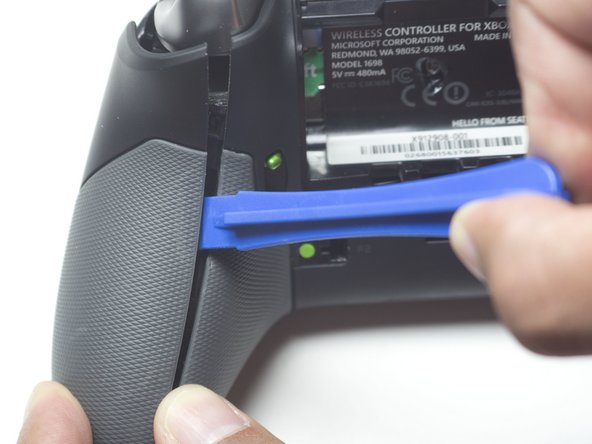
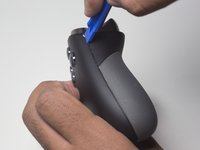
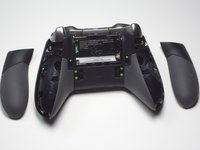
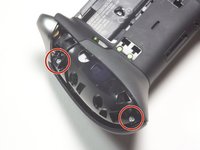
Remove each grip by inserting the plastic opening tool near the top of the controller.
-
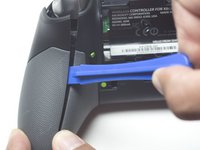
Guide the plastic opening tool along the entire seam and gently separate the grip from the controller in a prying motion as you go.
-
-
-
-
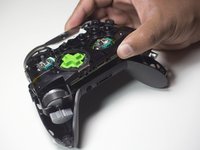
Flip the controller so that the buttons are face up to prevent the vibration motors from falling out of the controller.
-
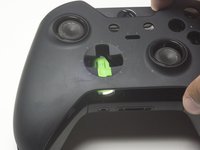
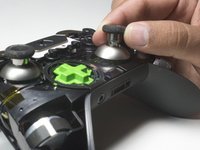
Remove the D-pad by lifting the bottom and pulling it up.
-
Remove the entire plastic faceplate by pulling it up gently.
-
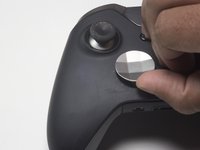
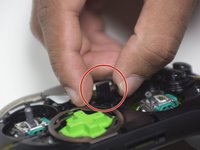
Remove the thumbsticks by pulling them off from the top.
-
-
-
Mark each motor according to where it attaches. The rumble motors are different so they will not work if you switch them.
-
Turn over the controller so that the thumbsticks are facing down.
-
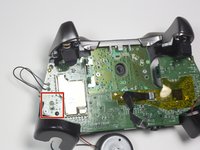
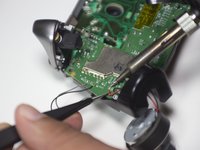
Use tweezers and a soldering iron (Soldering Iron Guide) to remove the black and red wires from the motherboard.
-
To reassemble your device, follow these instructions in reverse order.
To reassemble your device, follow these instructions in reverse order.
Annulla: non ho completato questa guida.
Altre 9 persone hanno completato questa guida.


