Introduzione
This guide provides a quick introduction to the parts, features, and basic operation of the FixHub Smart Soldering Iron.
Cosa ti serve
-
-
Here's an overview of all the parts that make up the Smart Soldering Iron:
-
Quick-Swap soldering tip
-
Soldering iron grip
-
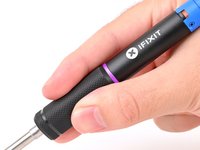
Touch-Safe Indicator LED ring
-
Power switch
-
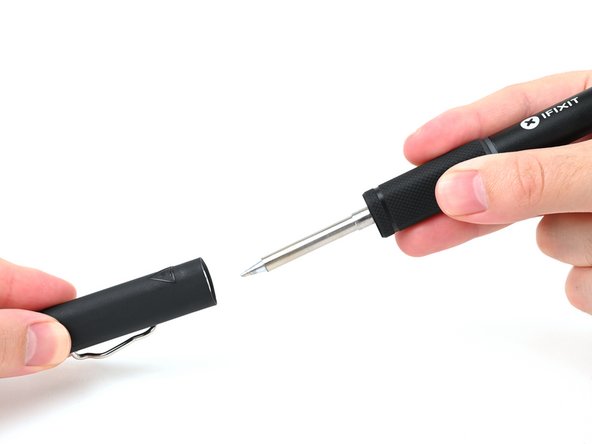
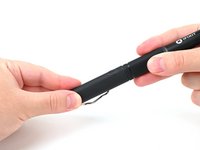
Soldering iron cap
-
Soldering iron USB-C cable
 Chiedi a FixBot
-
-
-
Blue LED: The iron has cooled below 40 °C (100 °F), and the tip is safe to touch.
-
Purple LED: When pulsing, the iron is actively heating up or cooling down. When static, the iron is in Idle Mode. The iron tip is not safe to touch.
-
Orange LED: The iron has reached the set temperature and is ready to solder. The iron tip is not safe to touch.
-
-
-
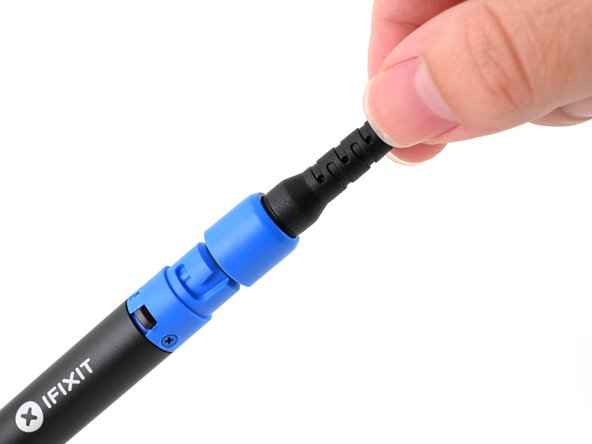
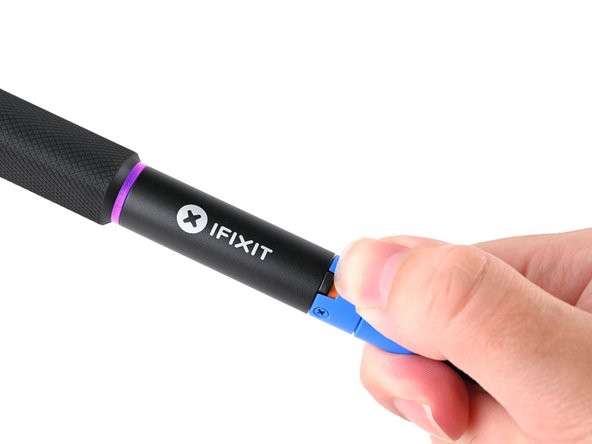
Make sure the soldering iron's power switch is in the blue OFF position.
-
Match the end of the USB-C cable with the blue locking collar to the blue USB-C port on the soldering iron, and push to connect.
-
-
-
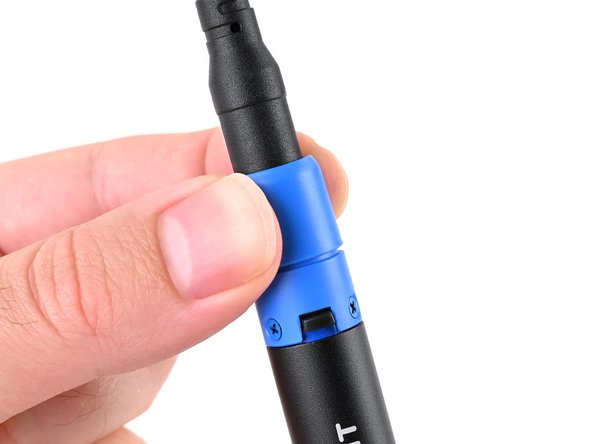
Align the nubs in the collar with the slots on the soldering iron.
-
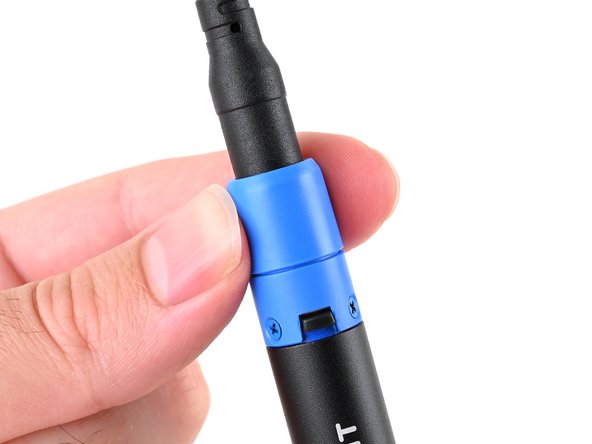
Push the collar snug against the soldering iron, then twist clockwise to lock it in place.
-
-
Strumento utilizzato in questo passaggio:FixHub Portable Soldering Station$249.95
-
For detailed setup instructions for the Portable Power Station, check out this guide.
-
Connect the end of the USB-C cable without the blue locking collar to a compatible USB-C power source.
-
-
-
-
To clear the free‑fall state and resume soldering, press the blue button on the Power Station or power cycle the iron by unplugging and replugging into a USB-C power source.
-
-
-
The Idle Mode LED is static (not pulsing) purple.
-
Picking up a resting iron wakes it from Idle Mode, and the tip will automatically heat back up to your set temperature.
-
-
-
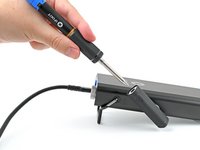
Hold the soldering iron by the base of the handle with your fingers on the knurled grip.
-
-
-
Orange: ON
-
Blue: OFF
-
Slide the power switch to the orange ON position.
-
-
-
Hold the iron from both ends and pull to remove the cap.
-


New to soldering? Follow this guide to get started.
Repair didn't go as planned? Try some basic troubleshooting, or ask our Answers community for help.
Annulla: non ho completato questa guida.
Altre 2 persone hanno completato questa guida.

