Questa traduzione potrebbe non riflettere gli aggiornamenti più recenti dalla guida originale. Aiuta ad aggiornare la traduzione o visualizza la guida d'origine.

Cucire un bottone
Introduzione
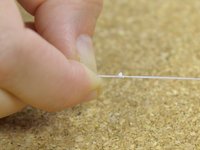
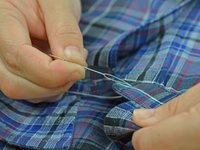
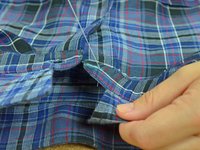
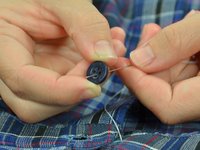
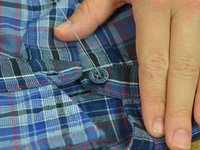
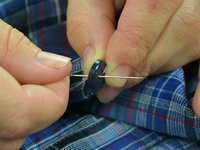
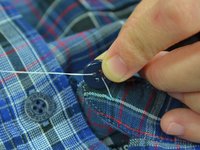
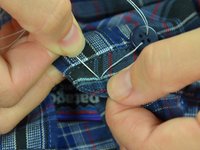
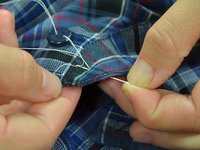
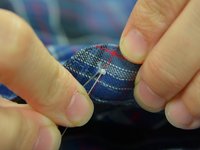
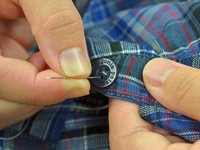
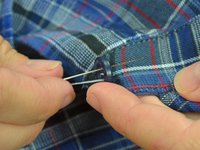
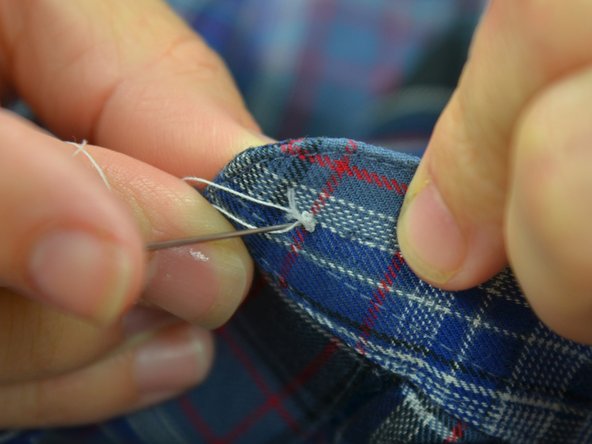
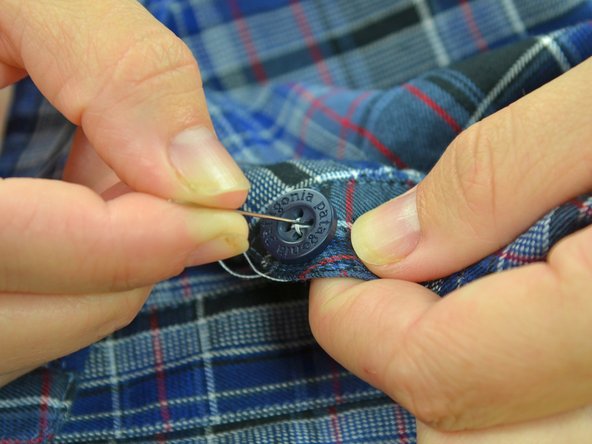
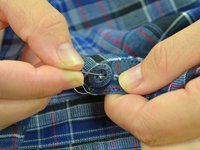
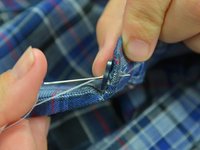
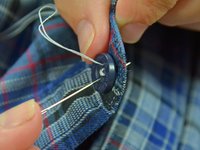
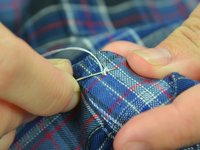
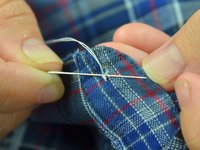
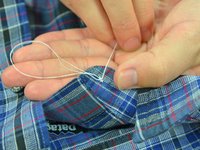
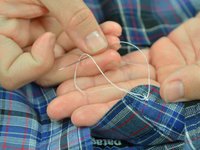
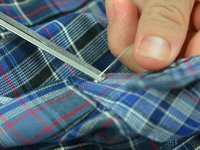
Vai al passo 1Sostituire un bottone è una delle riparazioni più usuali sui capi di abbigliamento. Fortunatamente, è anche la più facile. La presente guida mostra come ricucire un normale bottone a quattro fori usando ago e filo. In questa guida utilizziamo un filo di colore a contrasto, ma quando sarà il momento di realizzare il lavoro, utilizzate un filo intonato al colore del tessuto.
Cosa ti serve
Ricambi
Strumenti
Mostra di più…
Annulla: non ho completato questa guida.
Altre 58 persone hanno completato questa guida.
Un ringraziamento speciale a questi traduttori:
94%
Maike ci sta aiutando ad aggiustare il mondo! Vuoi partecipare?
Inizia a tradurre ›
5Commenti sulla guida
What helps after the last step 14 is to wrap the thread around and around a few times underneath the button itself (binding all the threads together) and making one last pass through the cloth before the final knot. This makes the repair much more durable.
Wrapping the threads underneath the button to create a shank is useful for coat buttons where the fabric is thick and you don’t want the fabric to pucker. As noted, it adds durability to the button attachment. On a shirt collar, as seen here, it would create too much bulk where you need the button to lie quite flat, so this method is quite sufficient.
Thanks Jonathan. Great insight.


