Introduzione
Use this guide to replace a defective motor in your Ryobi P411. The motor is the part that is inside the sander that activates the machine when the switch trigger and switch are depressed. If your device is not turning on, the cause might be a defective motor. Before replacing the motor, make sure to review the troubleshooting page to make sure nothing else is preventing your Ryobi P411 from turning on. Make sure to remove the battery before beginning.
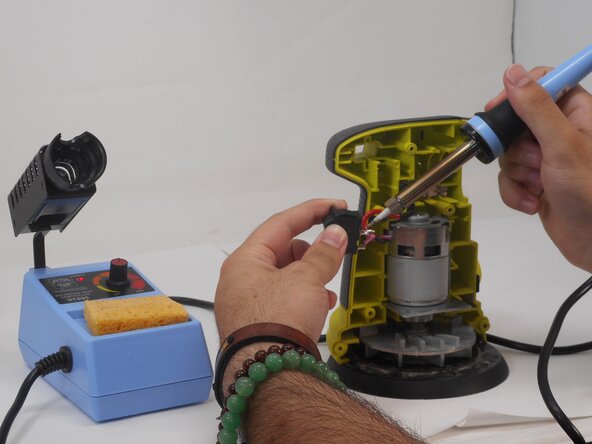
Replacing the motor requires desoldering and resoldering a couple of connections. Review the How to Solder and Desolder Connections guide before beginning if you're unfamiliar with soldering.
Cosa ti serve
-
-
-
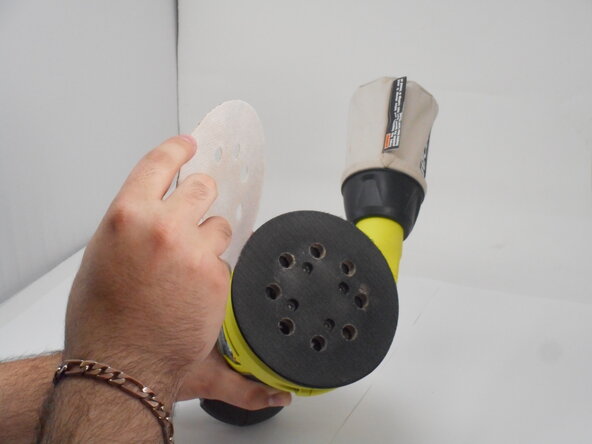
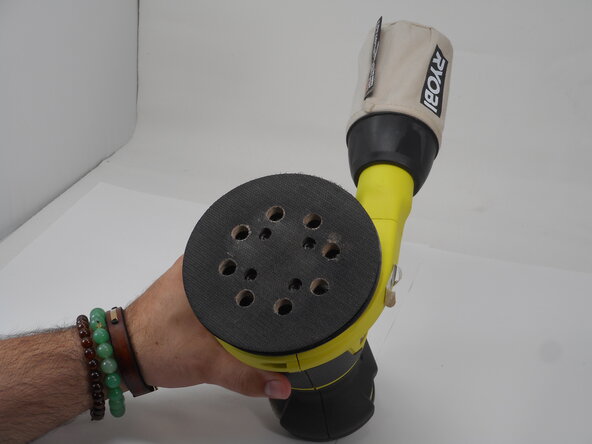
Remove the sanding pad to expose the screws at the bottom of the sander.
 Chiedi a FixBot
-
-
-
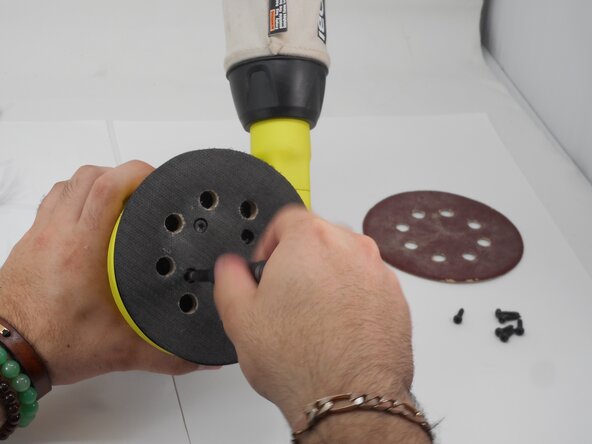
Remove the four M5 x 8.9mm screws with a T6 Torx screwdriver.
-
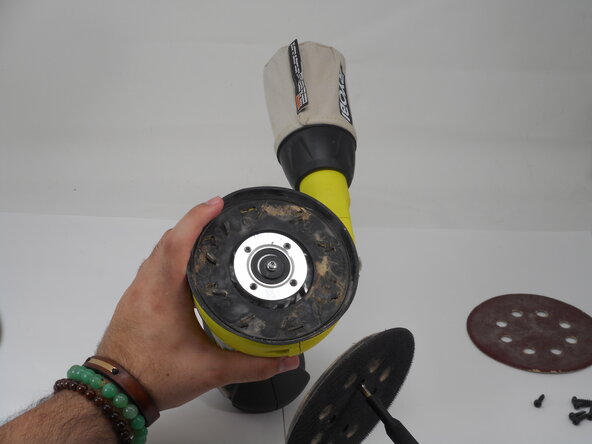
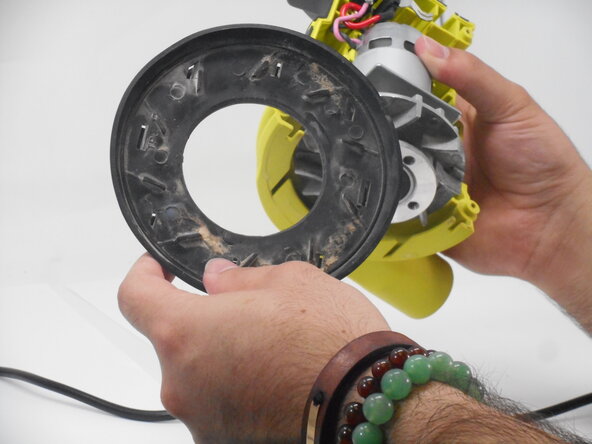
Remove the pad assembly.
-
-
-
-
-
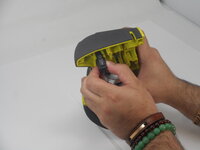
Push the switch trigger gently from the back to pull it out from the open face of the sander.
-
-
-
-
-
-
-
Remove the rubber brake from the bottom of the sander.
-
-
-
Use a T20 Torx screwdriver to loosen the 15.8 mm screw at the bottom of the sander.
-
Remove the screw and washer.
-
-
-
-
-
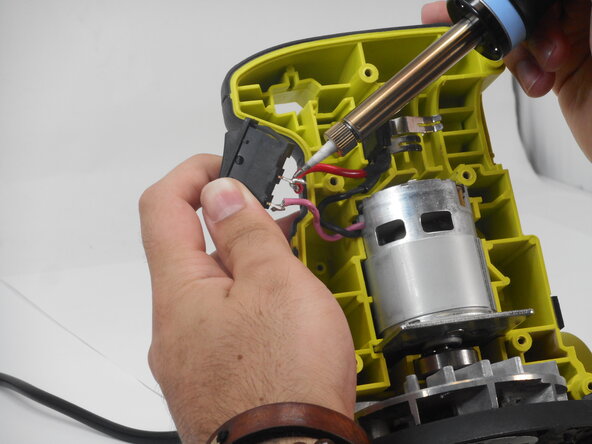
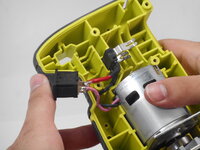
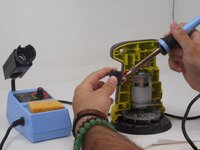
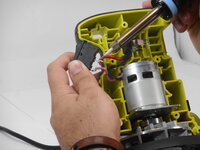
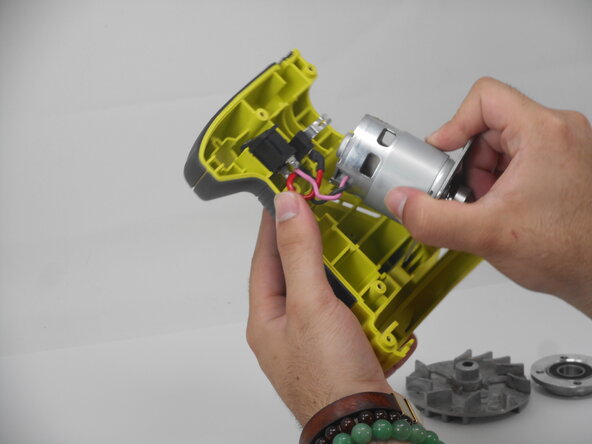
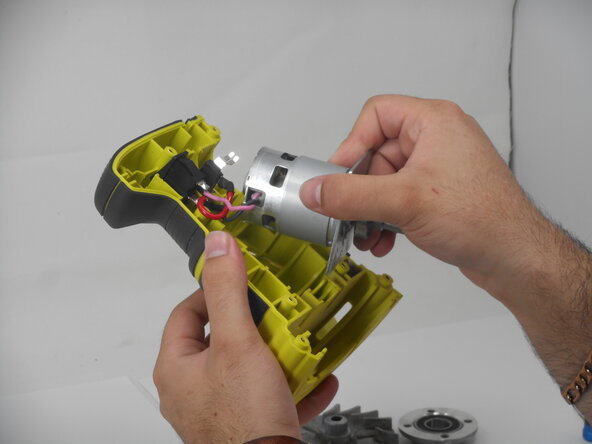
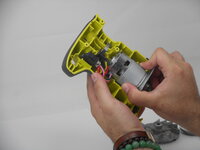
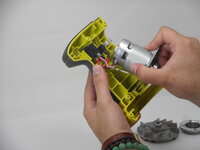
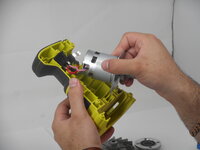
Desolder the motor connections from the switch and power supply.
-
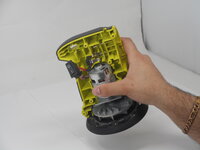
Remove the motor from its housing.
-
-





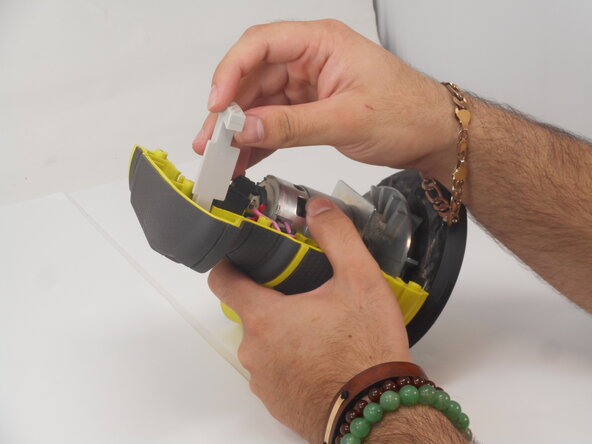
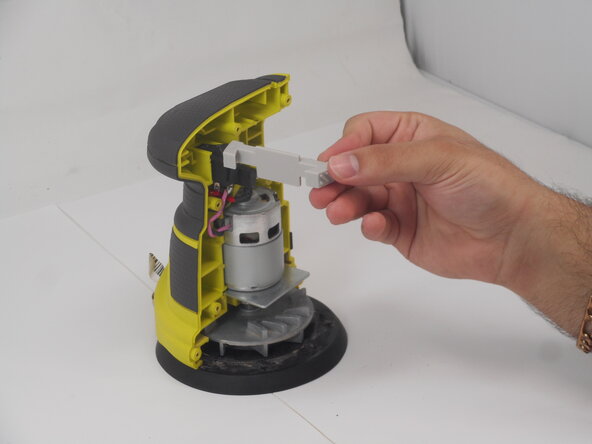
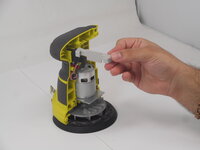

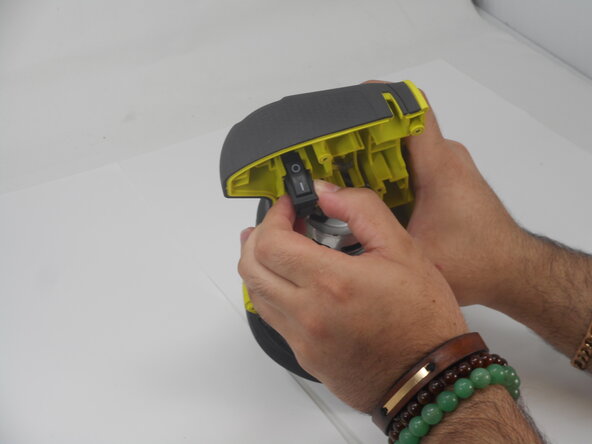
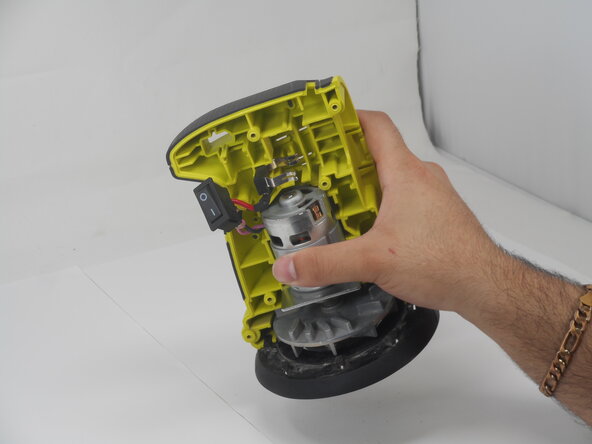


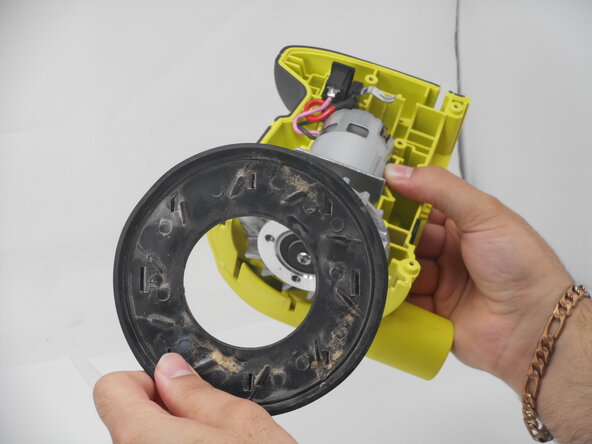
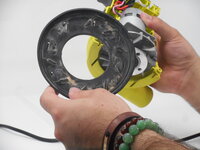
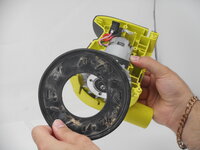

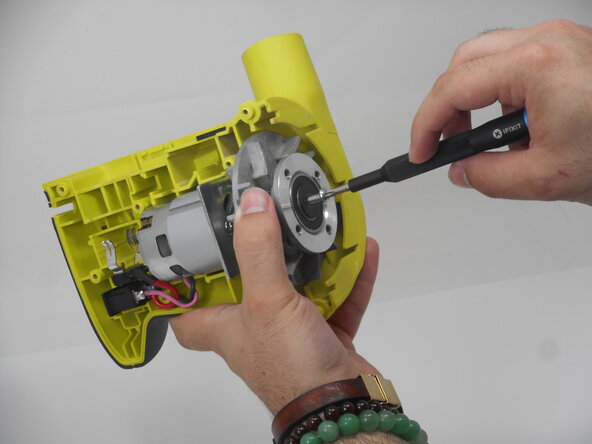
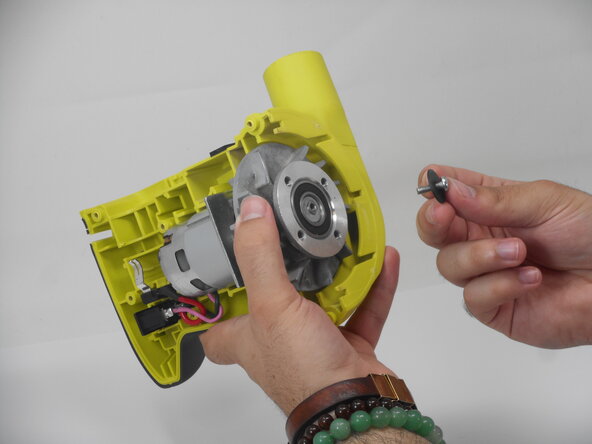
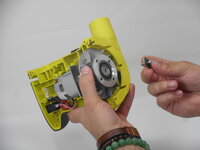

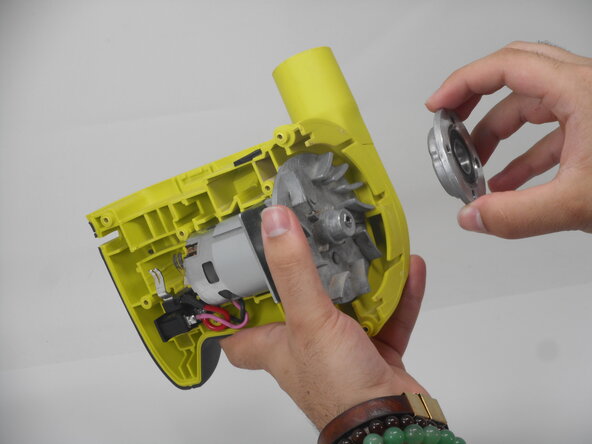
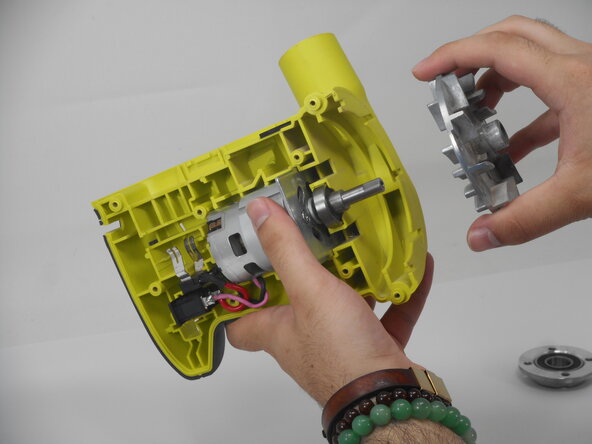
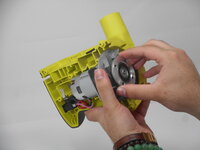
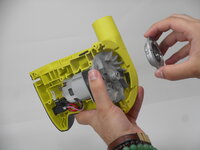
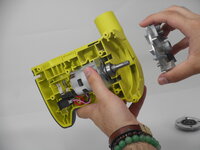

To reassemble your device, follow the above steps in reverse order.
Take your e-waste to an R2 or e-Stewards certified recycler.
Repair didn’t go as planned? Try some basic troubleshooting or ask our Answers community for help.

Team

University of Memphis, Team 3-4, Sneed Spring 2025 Membro di University of Memphis, Team 3-4, Sneed Spring 2025
UM-SNEED-S25S3G4
4 Membri
27 guide realizzate
