Salta al contenuto principale
RCA 10 Viking Pro RCT6K03W13 Motherboard Replacement

RCA 10 Viking Pro RCT6K03W13 Motherboard Replacement

Marcus Elysee

Marcus Elysee e 3 altri collaboratori

Ultimo aggiornamento il January 2, 2020

30 minuti
Difficile
Necessarie Immagini Migliori
Passi mancanti
Introduzione Migliore

Cosa ti serve

Strumenti

Mostra di più…

  1. RCA 10 Viking Pro RCT6K03W13 Motherboard Replacement, Backplate: passo 1, immagine 1 di 3 RCA 10 Viking Pro RCT6K03W13 Motherboard Replacement, Backplate: passo 1, immagine 2 di 3 RCA 10 Viking Pro RCT6K03W13 Motherboard Replacement, Backplate: passo 1, immagine 3 di 3
    • Remove the three Phillips #00 screws at the bottom of the device.

  2. RCA 10 Viking Pro RCT6K03W13 Motherboard Replacement: passo 2, immagine 1 di 2 RCA 10 Viking Pro RCT6K03W13 Motherboard Replacement: passo 2, immagine 2 di 2
    • Remove the two Phillips #00 screws to the left and right of the keyboard connector.

  3. RCA 10 Viking Pro RCT6K03W13 Motherboard Replacement: passo 3, immagine 1 di 1
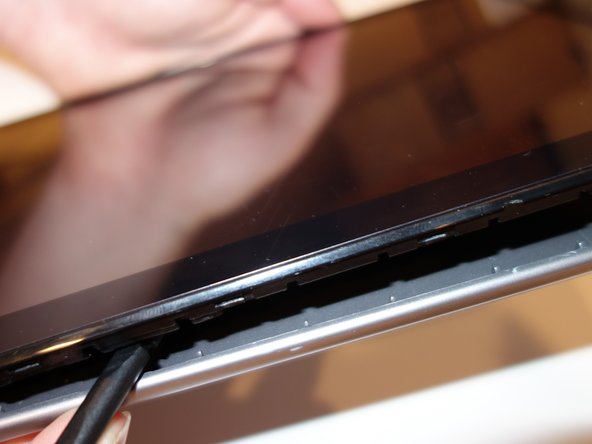
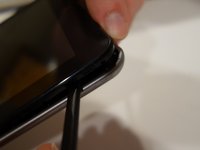
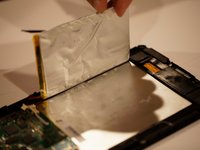
    • Pull on one of the bottom corners to begin to pull off the back plate.

  4. RCA 10 Viking Pro RCT6K03W13 Motherboard Replacement: passo 4, immagine 1 di 2 RCA 10 Viking Pro RCT6K03W13 Motherboard Replacement: passo 4, immagine 2 di 2
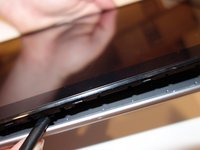
    • Work around the outside of the chassis, using the spudger to pry the backplate off.

    • After doing this for about half the device, the backplate should pop right off.

  5. RCA 10 Viking Pro RCT6K03W13 Motherboard Replacement, Battery: passo 5, immagine 1 di 1
    • Remove the tape over the connectors on the motherboard and other side of the battery.

  6. RCA 10 Viking Pro RCT6K03W13 Motherboard Replacement: passo 6, immagine 1 di 1
    • Disconnect the red and black keyboard wires connecting the battery to the motherboard.

  7. RCA 10 Viking Pro RCT6K03W13 Motherboard Replacement: passo 7, immagine 1 di 1
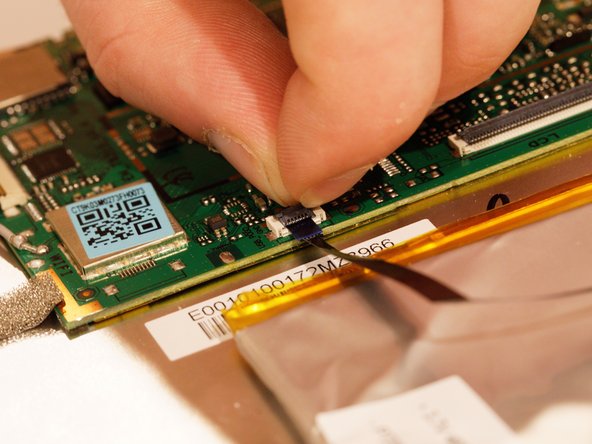
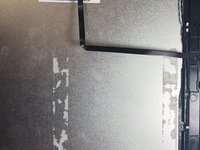
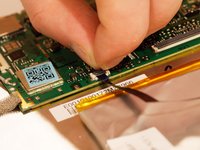
    • Disconnect the black ribbon cable running over the battery. Flip up the black clamp and pull the cable out.

  8. RCA 10 Viking Pro RCT6K03W13 Motherboard Replacement: passo 8, immagine 1 di 2 RCA 10 Viking Pro RCT6K03W13 Motherboard Replacement: passo 8, immagine 2 di 2
    • Remove the cable over the battery connecting the motherboard and the power connector.

    • Flip up the black clamp and pull the cable out.

  9. RCA 10 Viking Pro RCT6K03W13 Motherboard Replacement: passo 9, immagine 1 di 2 RCA 10 Viking Pro RCT6K03W13 Motherboard Replacement: passo 9, immagine 2 di 2
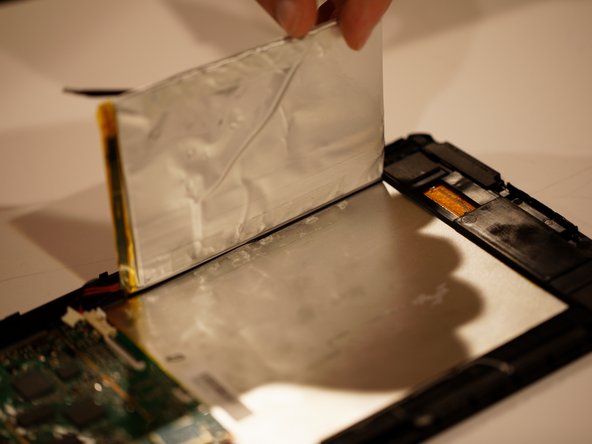
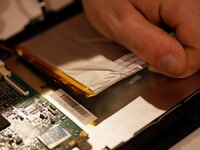
    • Pull out battery. It is taped to the device so it is safe to pull out.

    • Look for damage to the battery. If damaged, make sure to not get any acid on your fingers.

  10. RCA 10 Viking Pro RCT6K03W13 Motherboard Replacement, Antenna: passo 10, immagine 1 di 1
    • Identify the grey wire on the right side of the device.

  11. RCA 10 Viking Pro RCT6K03W13 Motherboard Replacement: passo 11, immagine 1 di 1
    • Remove the orange ribbon cable over the wire.

  12. RCA 10 Viking Pro RCT6K03W13 Motherboard Replacement: passo 12, immagine 1 di 1
    • Remove the antenna using a soldering iron.

  13. RCA 10 Viking Pro RCT6K03W13 Motherboard Replacement, Motherboard: passo 13, immagine 1 di 1
    • Remove the blue and black wire from the top of the motherboard.

  14. RCA 10 Viking Pro RCT6K03W13 Motherboard Replacement: passo 14, immagine 1 di 1
    • Remove the screws from the motherboard.

  15. RCA 10 Viking Pro RCT6K03W13 Motherboard Replacement: passo 15, immagine 1 di 1
    • Remove the motherboard.

Conclusione

To reassemble your device, follow these instructions in reverse order.

Marcus Elysee

Membro da: 10/25/19

97 Reputazione

1 Guida realizzata

Team

Un commento

Where can I buy this motherboard?

waymond everett - Replica

Aggiungi Commento

Visualizza Statistiche:

Ultime 24 Ore: 4

Ultimi 7 Giorni: 8

Ultimi 30 Giorni: 17

Tutti i Tempi: 1,459