
PowerA Enhanced Wireless Controller Directional Pad Replacement
Introduzione
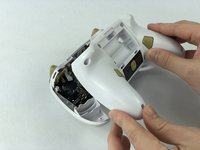
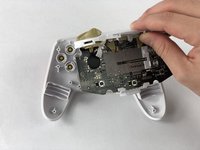
Vai al passo 1This guide will show you how to access and replace the directional pad of your PowerA Enhanced Wireless Controller. Built-up residue can cause complications with the directional pad. As this cannot always be cleaned away with a Q-tip and rubbing alcohol, it may be necessary to disassemble the controller to either clean beneath the directional pad or change it entirely. Follow the steps provided to do so.
Cosa ti serve


-
-
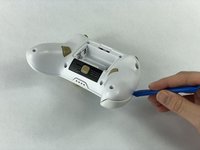
Remove the battery cover by pressing down on the lever located on the top of the cover.
-
Apply pressure until it clicks out of place, and pull it off.
-
-
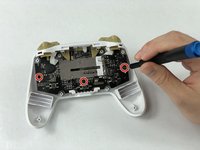
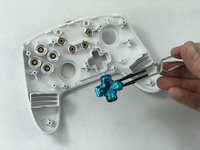
Attrezzo utilizzato in questo passaggio:Tweezers$4.99
-
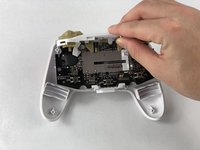
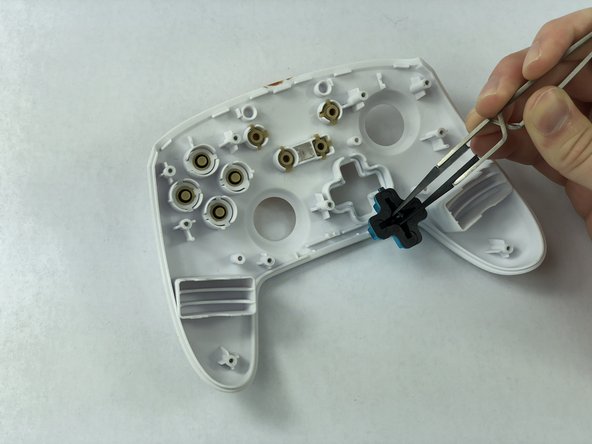
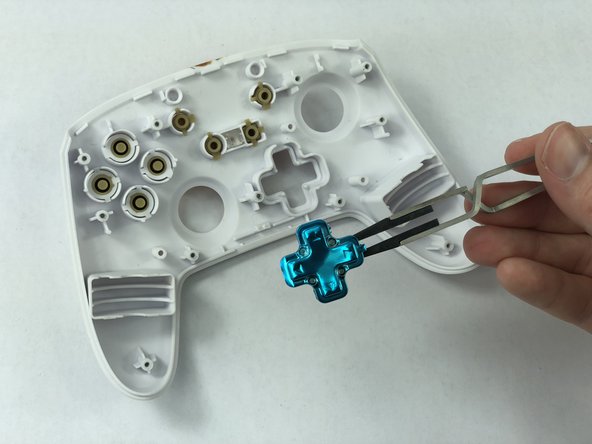
Use the rubber tweezers to grab the center of the directional pad and pull it out by pinching its center.
-


To reassemble your device, follow these instructions in reverse order.
To reassemble your device, follow these instructions in reverse order.
Preparati per le riparazioni future
Acquista tutti


Team

USF Tampa, Team S1-G5, Leahy Fall 2019 Membro di USF Tampa, Team S1-G5, Leahy Fall 2019
USFT-LEAHY-F19S1G5
3 Membri
11 Guide realizzate