
Olympus SP-320 Back casing and LCD screen Replacement

7 - 10 minuti
Moderato
Introduzione
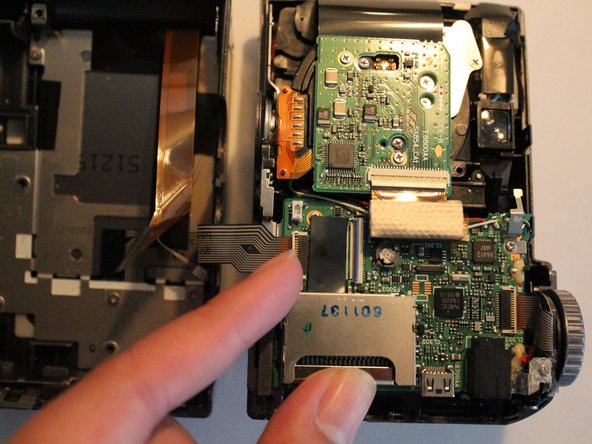
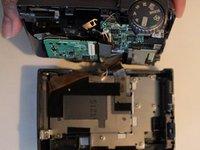
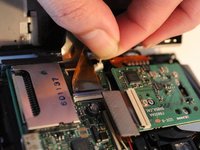
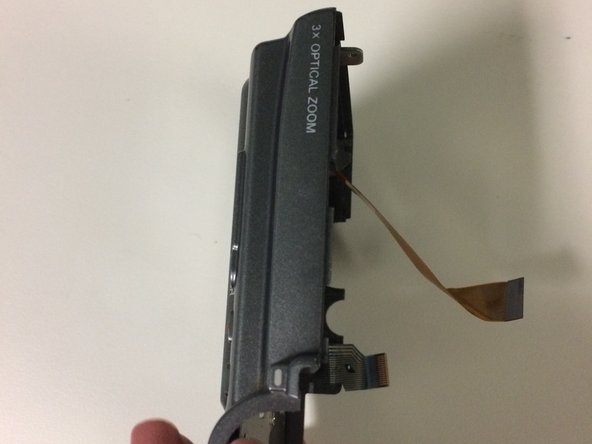
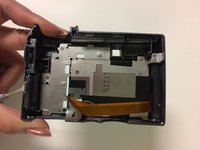
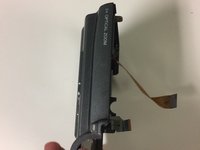
Vai al passo 1This guide will show you how to take apart and replace your camera's back casing and LCD screen. When following guide steps be gentle with your camera because there are internal ribbons that can easily tear!
Cosa ti serve


-
-
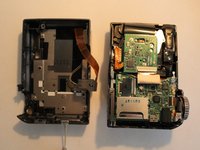
Remove the 3 mm long screws with a Phillips head screwdriver that has a PH000 size bit.
-
-


Quasi finito!
To reassemble your device, follow these instructions in reverse order.
Conclusione
To reassemble your device, follow these instructions in reverse order.

Team

University of North Texas, Team 1-5, Campbell Fall 2016 Membro di University of North Texas, Team 1-5, Campbell Fall 2016
UNT-CAMPBELL-F16S1G5
2 Membri
6 Guide realizzate
1Commento della guida
Is that thin white connector - a powercable to screen led-light? thnx