
Sostituzione scheda madre Nintendo Wii

Introduzione
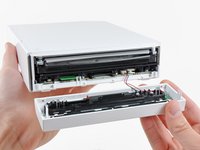
Vai al passo 1Usa questa guida per sostituire la scheda madre della tua Wii.
Sostituire la scheda madre richiede la rimozione di quasi tutti i componenti della Wii.
Cosa ti serve
Ricambi


Strumenti


Mostra di più…
-
-
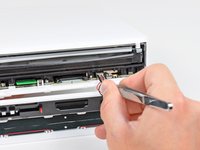
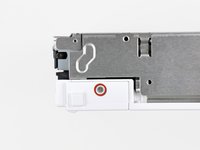
Usa uno spudger in metallo per rimuovere le coperture in plastica bianca delle viti incastrate nella copertura inferiore vicino alla parte anteriore della Wii.
-
-
-
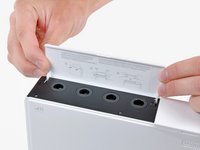
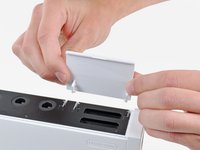
Apri la porta protettiva delle prese dei controller finché è perpendicolare con la cornice nera delle prese.
-
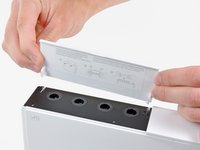
Tira verso l'alto la porta protettiva per separarla dalla copertura esterna.
-
-
-
-
Svita la piccola vite a croce Phillips che fissa la porta della batteria alla copertura inferiore.
-
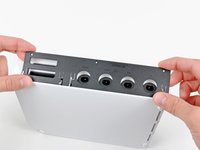
Sfila la porta della batteria dalla Wii.
-
-
-
Utilizza delle pinzette per sollevare il connettore della ventola e rimuoverlo dalla sua presa sulla scheda logica.
-
-
-
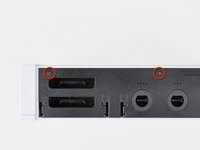
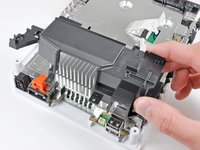
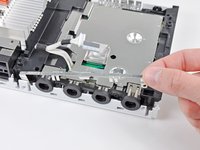
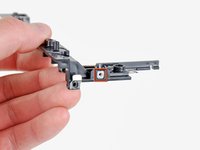
Rimuovi le tre viti a croce Phillips da 10 mm che fissano la staffa nera al pannello inferiore accanto alla parte frontale della Wii.
-
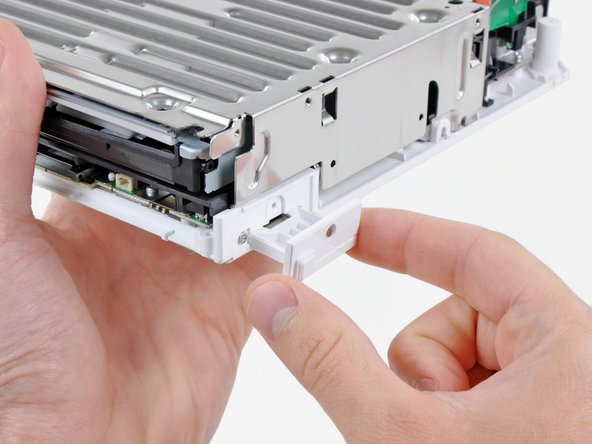
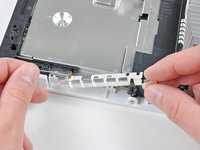
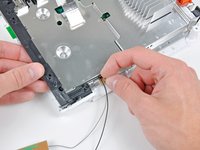
Solleva leggermente la staffa e utilizza l'altra mano per tirare via la clip di bloccaggio da dove le antenne Wi-Fi entrano nella copertura della scheda madre.
-
Rimuovi la staffa dalla Wii.
-
-
-
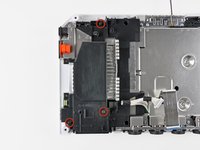
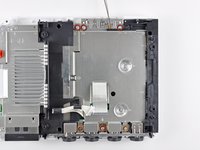
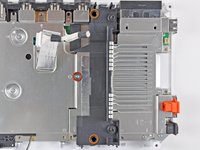
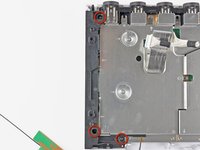
Rimuovi le quattro viti Phillips da 11,3 mm che fissano il dissipatore di calore al pannello inferiore.
-
-
-
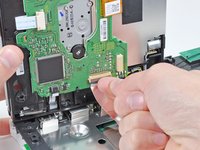
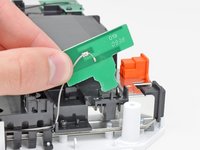
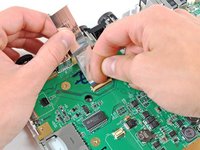
Solleva il lato della scheda Wi-Fi più lontano dal dissipatore di calore e sollevalo dal suo attacco sulla scheda madre, facendo attenzione a non applicare troppa forza ai lati del connettore.
-
Rimuovi la scheda Wi-Fi e le antenne dalla Wii.
-
-
-
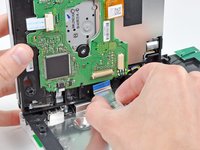
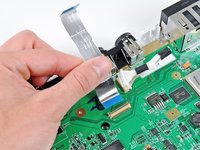
Usa la punta piatta di uno spudger o le unghie per sollevare l'estremità della scheda Bluetooth più vicina al centro della scheda madre.
-
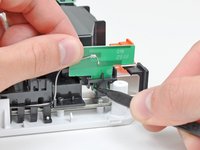
Stacca delicatamente il lato frontale della scheda Bluetooth dalla schiuma di poliuretano attaccata alla scheda madre.
-
Rimuovi la scheda Bluetooth.
-


Per rimontare il tuo dispositivo, segui queste istruzioni in ordine inverso.
Per rimontare il tuo dispositivo, segui queste istruzioni in ordine inverso.
Annulla: non ho completato questa guida.
Altre 48 persone hanno completato questa guida.
Un ringraziamento speciale a questi traduttori:
100%

Questi traduttori ci stanno aiutando ad aggiustare il mondo! Vuoi partecipare?
Inizia a tradurre ›

5 Commenti
Any idea if there is a common issue effecting these motherboards that causes them to fail? Perhaps I'm wondering if there is a best-practice method for determining where and/or why my Wii's MB failed (circuit tracing, component testing, soldered fuses, etc.). Upon lengthy inspection, I am unable to find any components with the usually noticeable burn marks, leaky/exploded capacitors, discolored parts or similar visual cues telling me why this MB failed.
And as a side note, I've already testing this Wii's power supply and it's 100%.
Thoughts?
I just found this post about on-board fuses, but the other parts of my original question still apply.
Nintendo Wii Drive Board Fuse Replacement
If I determine it's a fuse-related issue, I'll post an update here.
Our WII unit was hit by a power surge…was not able to get it to work after that. Will motherboard replacement likely resolve most issues related to this?
Thank you for these detailed instructions! I was able to replace my original 01 board with rev. 60 and it's working beautifully! Can't thank you enough!