
Nintendo GameCube Controller Triggers Replacement
Introduzione
Vai al passo 1The Left and Right triggers are located on the back side of the controller near the cord. The triggers are spring loaded.
Cosa ti serve


-
-
Place the controller (buttons down) on a solid surface.
-
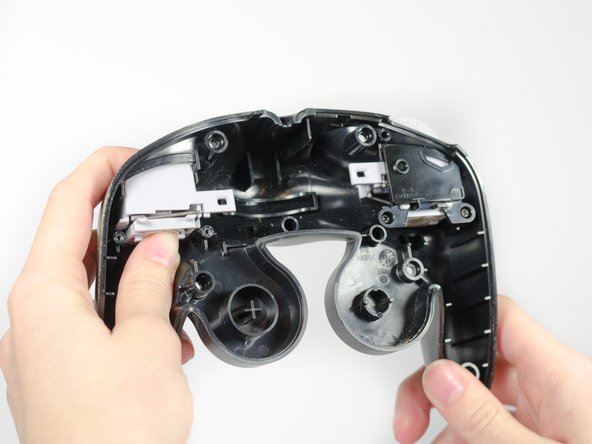
Remove the six 9.2mm Tri-wing Y0 screws that hold the back panel in place.
-
-
-
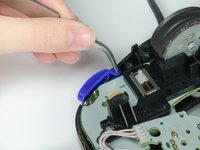
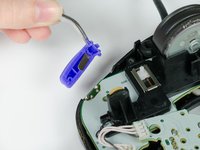
Grab the Z-button by the peg with tweezers and lift it out of the controller.
-
-
-
-
To remove the trigger assembly, depress the trigger with your index finger as if you are using the controller normally.
-
Hold the grey square bracket onside of the controller with your thumb.
-
Keep your fingers in the same place while rotating upwards towards you to remove trigger assembly.
-


In order to remove the other trigger, simply repeat Steps 6 through Step 9 on the right side.
To reassemble your device, follow these instructions in reverse order.
In order to remove the other trigger, simply repeat Steps 6 through Step 9 on the right side.
To reassemble your device, follow these instructions in reverse order.
Annulla: non ho completato questa guida.
Altre 11 persone hanno completato questa guida.
Team

Cal Poly, Team 19-44, Regan Winter 2013 Membro di Cal Poly, Team 19-44, Regan Winter 2013
CPSU-REGAN-W13S19G44
4 Membri
31 Guide realizzate
3Commenti sulla guida
Hallo ich habe da mal eine Frage. Ist es möglich die Empfindlichkeit der Trigger zu beeinflussen ? Leider reagieren sie erst sehr spät da mann den Knopf sehr weit hereindrücken muss.
danke schon mal
Otti