
Nikon Coolpix P4 Flash Bulb Replacement
Introduzione
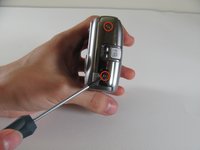
Vai al passo 1In this guide we will take you through replacing a Nikon Coolpix P4 Flash Bulb.
If the flash is not working on your camera, then the flash bulb should be replaced.
Step 30 requires you to unsolder red and black wires. You can use this guide on how to solder and desolder connections.
After you replace it with a new flash bulb, follow these steps in reverse order to reassemble.
Cosa ti serve


-
-
Flip the camera upside down (have the side with the buttons facing away from you)
-
Look for the side with the triangle icon with three lines in it, this is the battery door. Add pressure and slide this door slightly until it clicks and pops open.
-
-
-
Once the door clicks, you can open it to reveal the slots holding the memory card and the battery.
-
Focusing on the larger slot, this holds the battery. Push the orange tab away from the slot, this will eject the old battery if one was previously inside.
-
Once this slot is open, you can place the new battery inside.
-
-
-
-
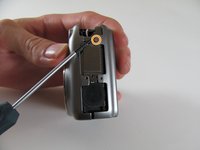
Locate the orange plug on the right side of the lens.
-
Carefully snap the plug out of place.
-
-
-
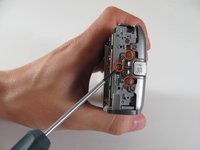
Remove the tab connecting the flash to the motherboard by gently pulling the connector sideways out of its port, away from flash unit.
-
Unsolder red and black wires.
-
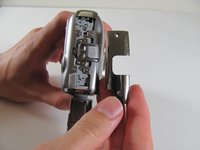
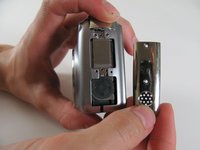
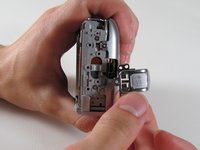
Remove the flash unit.
-


To reassemble your device, follow these instructions in reverse order.
To reassemble your device, follow these instructions in reverse order.
Team

Cal Poly, Team 8-5, Regan Spring 2011 Membro di Cal Poly, Team 8-5, Regan Spring 2011
CPSU-REGAN-S11S8G5
4 Membri
10 Guide realizzate