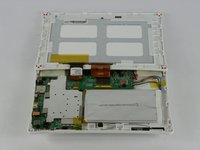
Nabi 2 Screen Replacement
Introduzione
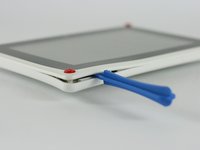
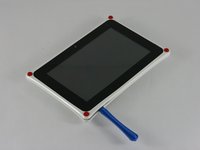
Vai al passo 1Before beginning this guide we recommend following our Nabi 2 back cover removal guide.
This guide will walk you through the steps of replacing a cracked or otherwise non functioning screen on a Nabi 2. As the screen is glued to the front assembly, we recommend replacing the entire display assembly.
Be sure to use caution when releasing the clips that secure the display ribbon cables. Use a plastic spudger and push directly out, do not pry up on the clips, they will break.
Cosa ti serve
Ricambi
Strumenti
Mostra di più…
-
-
-
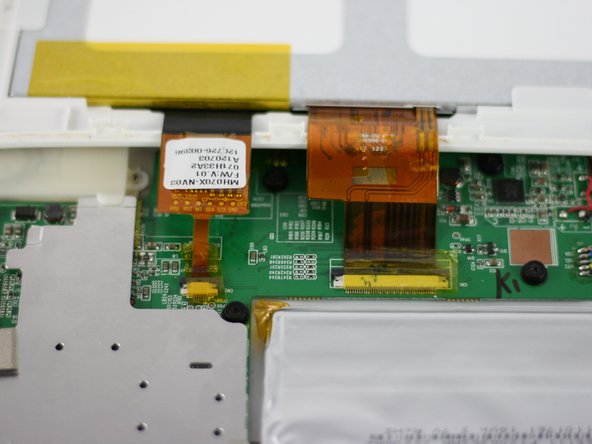
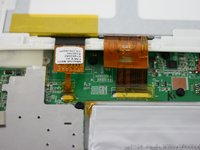
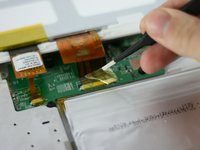
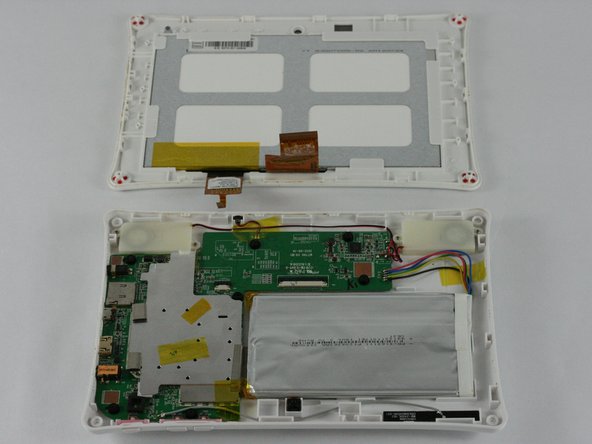
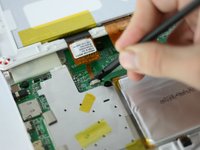
Lay the tablet down flat and remove the yellow tape from the ZIF connector on each side
-
-
-
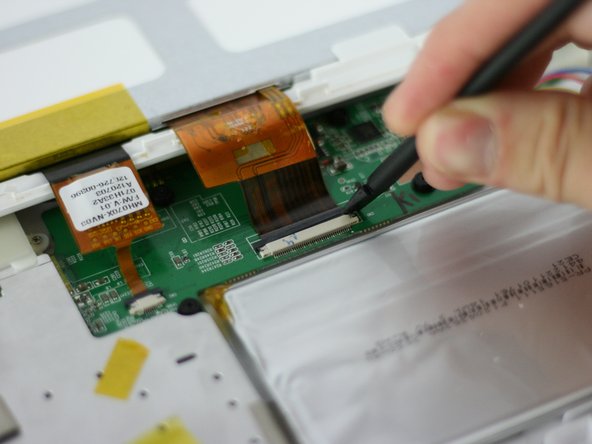
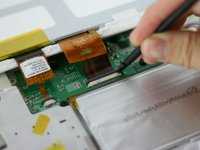
Using a spudger, slide the brown tab forward on each side of the connector
-
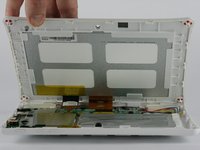
Slide until the connector is completely loose, then separate the screen from the bottom half of the tablet
-
If the screen is not working correctly, you will need to replace the entire display assembly
que aser cuando no le pasa carga a la bateria
Where can I go to get a new screen
-
To reassemble your device, follow these instructions in reverse order.
To reassemble your device, follow these instructions in reverse order.
Annulla: non ho completato questa guida.
Altre 6 persone hanno completato questa guida.
3Commenti sulla guida
Is the LCD glued to the front glass/digitizer?
It Worked Thank U So Much!!!


