
Sostituzione dissipatore MacBook Pro Retina 13" fine 2013

Introduzione
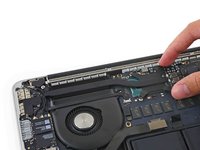
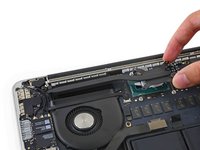
Vai al passo 1Segui questa guida per rimuovere o sostituire il dissipatore.
Non dimenticarti di seguire la nostra guida per l'applicazione della pasta termica dopo aver rimosso il dissipatore.


-
Attrezzo utilizzato in questo passaggio:Magnetic Project Mat$19.95
-
Rimuovi le 10 viti seguenti che fissano il coperchio inferiore al case superiore:
-
Due viti Pentalobe P5 da 2,3 mm
-
Otto viti Pentalobe P5 da 3,0 mm
-
-
-
-
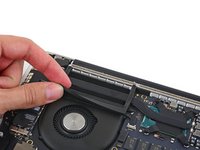
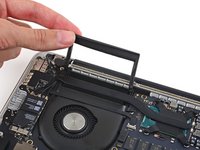
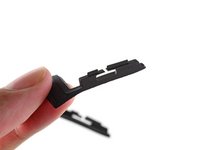
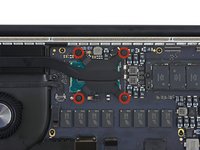
Rimuovi attentamente il supportoammortizzatore in gomma della ventola dal bordo del dissipatore.
-


Per rimontare il dispositivo, segui le istruzioni in ordine inverso.
Per rimontare il dispositivo, segui le istruzioni in ordine inverso.
Annulla: non ho completato questa guida.
Altre 25 persone hanno completato questa guida.
Un ringraziamento speciale a questi traduttori:
100%

Questi traduttori ci stanno aiutando ad aggiustare il mondo! Vuoi partecipare?
Inizia a tradurre ›


2 Commenti
If you are following this guide to replace the thermal paste on the CPU i think you should know that - if you, like i, have decided to remove the black electrical tape that is on the CPU, make sure you are super careful when using Thermal Paste Remover Liquid. Any liquid can easily get under the CPU because there is enough gap from every side.
My Mac lives but now i live with the memory of worryingly wondering whether i killed it while cleaning out the liquid from underneath the CPU without lifting it.
Thanks a lot, used this guide to change thermal paste on my oldie 🙏