
MacBook Pro 13" Retina Display Late 2012 LCD Cable Replacement

Introduzione
Vai al passo 1Use this guide to replace the LCD cable connected inside the hinge of your MacBook Pro Retina Display Assembly.
Cosa ti serve


-
Attrezzo utilizzato in questo passaggio:Magnetic Project Mat$19.95
-
Remove the following ten screws securing the lower case to the upper case:
-
Two 2.3 mm P5 Pentalobe screws
-
Eight 3.0 mm P5 Pentalobe screws
-
-
Attrezzo utilizzato in questo passaggio:Tweezers$4.99
-
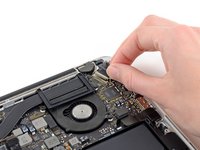
Grasp the Interposer with tweezers.
-
Lift the Interposer off the logic board and remove it.
-
-
-
-
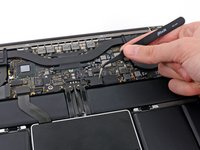
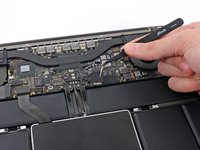
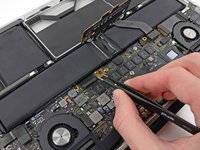
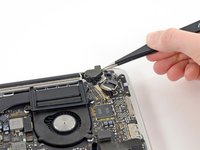
Use the tip of a spudger to push the iSight camera cable connector straight away from its socket on the logic board.
-
-
-
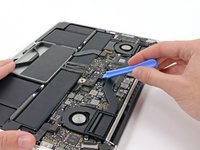
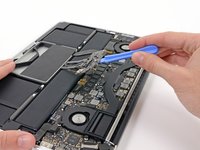
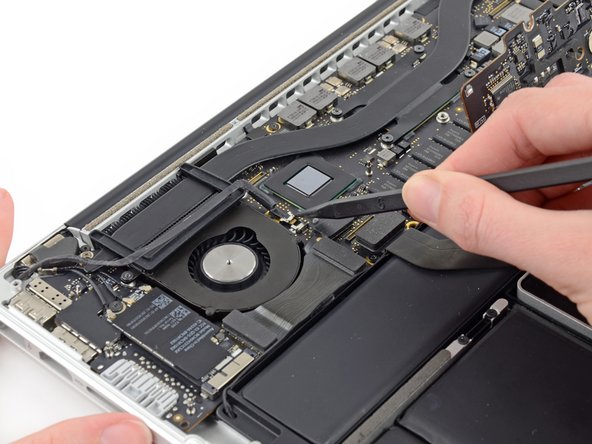
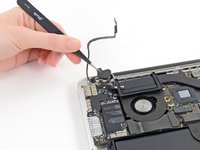
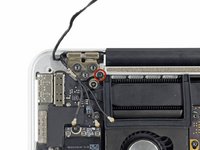
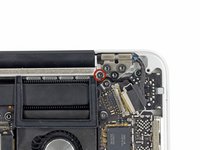
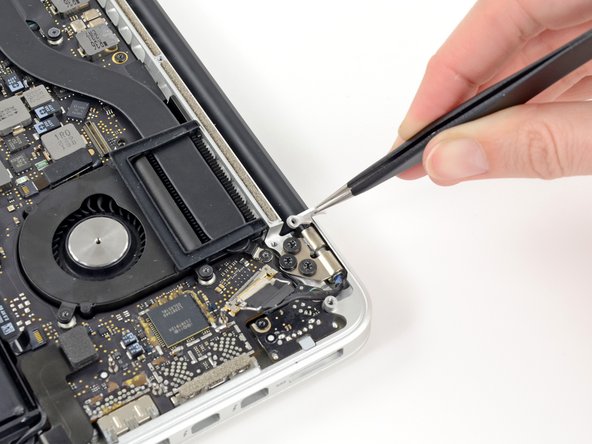
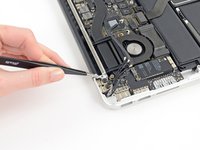
Use the flat end of a spudger to pry and disconnect the three antenna cable connectors from the AirPort board.
-
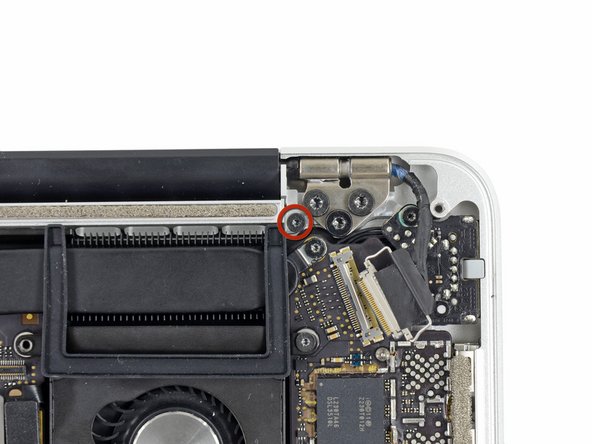
The three cables are coded with black sleeves of different lengths. During reassembly:
-
Connect the long-sleeved cable to the socket closest to the ports.
-
The short-sleeved cable connects next to the screw.
-
The remaining cable has no sleeve, and connects in the last empty socket, next to the fan.
-
-
-
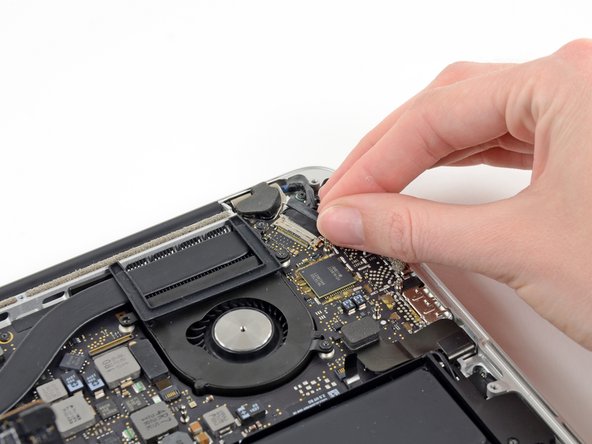
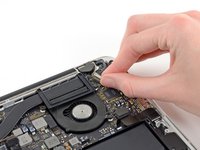
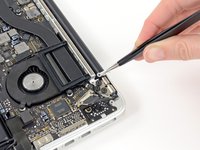
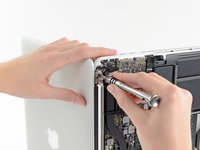
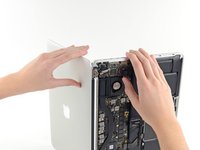
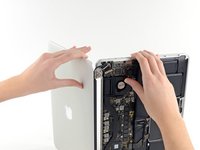
Grab the black pull tab secured to the display data cable lock and rotate it toward the DC-In side of the computer.
-
Pull the display data cable straight out of its socket on the logic board.
-
-
-
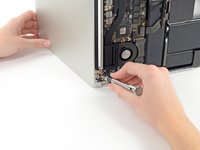
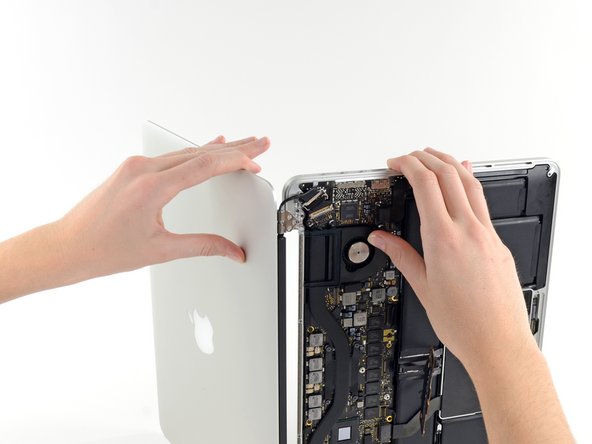
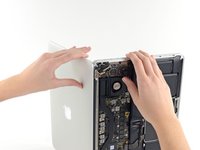
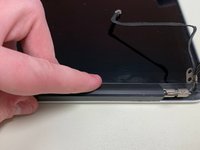
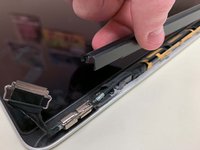
With the display facing towards you and the plastic clutch cover down, grab the clutch cover and slide it all the way to the right, towards the hinge.
-
Lift the plastic cover from the bottom and remove it from the display.
-


To reassemble your device, follow these instructions in reverse order.
To reassemble your device, follow these instructions in reverse order.
Annulla: non ho completato questa guida.
Altre 4 persone hanno completato questa guida.

Team
