
Sostituzione del RAM del Mac mini (PowerPC)
Introduzione
Vai al passo 1Questo apparecchio usa RAM desktop di dimensioni standard.
Cosa ti serve
Ricambi
Strumenti
Mostra di più…
-
-
Spegni il tuo Mac mini, scollega tutti i cavi e capovolgilo.
-
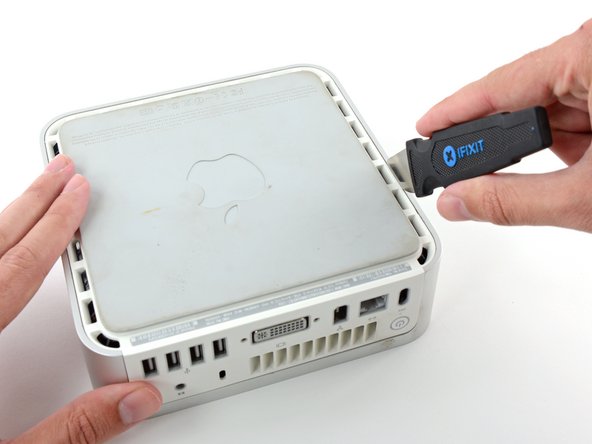
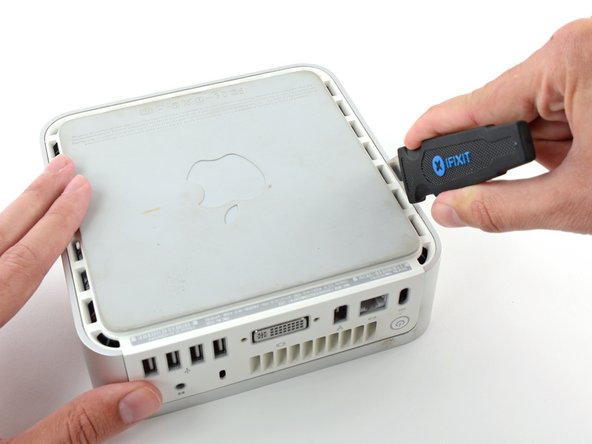
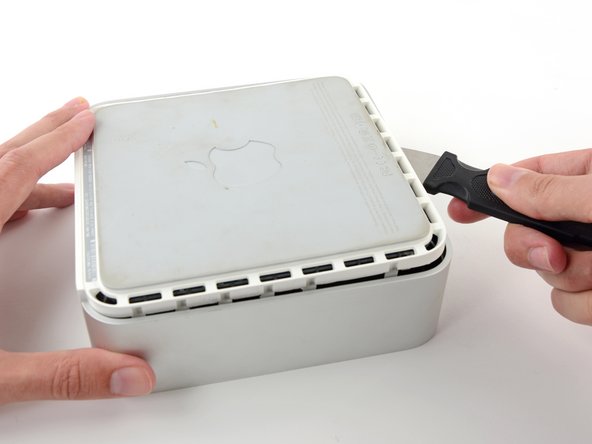
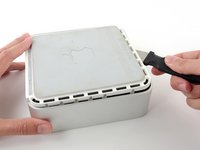
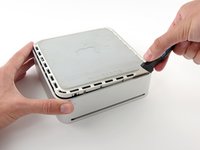
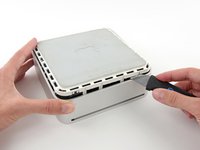
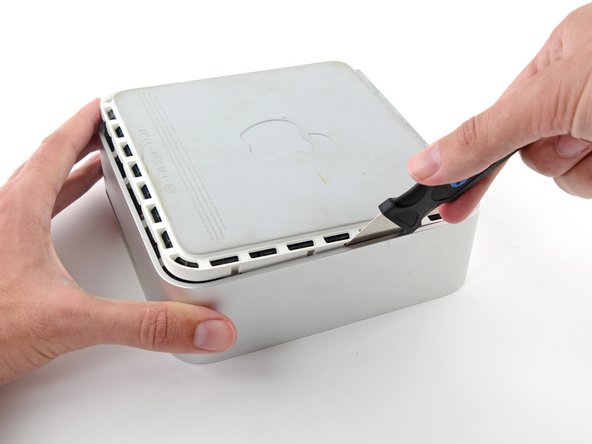
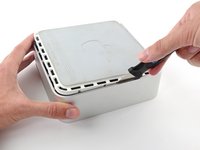
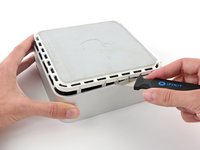
Inserisci il Jimmy nella fessura tra la copertura superiore in alluminio e la copertura inferiore in plastica.
-
Il Jimmy dovrebbe fermarsi a circa 1 cm di profondità.
-
-
-
Piega delicatamente il Jimmy verso l'esterno per allargare un po' la fessura e sollevare leggermente la copertura inferiore.
Patience is your best friend.
Do not insert “jimmy in too far. Marking a line from tip upwards on the tool will prevent too far insertion, possibly breaking tabs or damaging internal components.
To prevent the cover closing back up, small strips of matchbook cover (os equivalent) can be inserted about half inch hold prevent closure.
I think it needs to be made more clear that what you want to be doing is applying upward pressure on the back I/O panel with your HAND while pressing the clips with the jimmy, sort of like tensioning a lock and then setting individual tumblers. (Yeah, I watch LockPickingLawyer.)
The pictures appear to show trying to lift the lower housing using the jimmy, similar to how I've seen people doing things like prying with a putty knife or screwdriver... and that plastic is only going to get more brittle over time.
If you apply the upward pressure with your hand via the back panel and then work your way around the outside edge clip-by-clip, then it's much easier to be gentle with the jimmy because your only goal is to press on each clip enough to release it. All the rest of the force comes from, say, a finger hooked into the edge of the Ethernet port and a thumb pressing on the edge of the top cover.
-
-
-
-
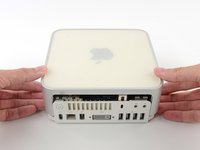
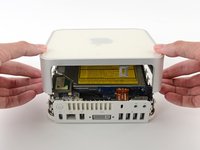
Capovolgi nuovamente il Mac mini e solleva la parte superiore della copertura da quella inferiore.
-
-
-
Prendi la scheda dell'antenna Airport e sollevala dai due perni di plastica che la tengono in posizione. Potresti dover spingere indietro la linguetta di plastica nera che sporge dall'angolo inferiore sinistro della scheda.
-
-
-
Afferra il motore ottico e l'unità di archiviazione di massa in una mano e solleva abbastanza da potervi vedere sotto.
I just put in a 1G RAM chip that just came in the mail from iFixit. And though I followed every step this step (removing the HD, cooling fan, and drive unit) was not needed. I put the chip in, put everything back in place then removed and replaced the RAM with no problems. So it would seem that for a/my PowerPC Mac Mini (I have a 1.33 Ghz processor) it was not a needed step.
BTW, it took about 15 - 20 min even with my experimentation.
Citazione da mbob518:
I just put in a 1G RAM chip that just came in the mail from iFixit. And though I followed every step this step (removing the HD, cooling fan, and drive unit) was not needed. I put the chip in, put everything back in place then removed and replaced the RAM with no problems. So it would seem that for a/my PowerPC Mac Mini (I have a 1.33 Ghz processor) it was not a needed step.
-
-
-
Con la mano libera, tira il cavo Bluetooth verso l'alto dalla scheda Bluetooth e scollega il cavo dell'antenna Airport dal lato destro della scheda Airport.
Same problem here on this one. There seems to be no way to get them off and I can't seem to unscrew this thing. I think this otherwise great guide should be more precise about how to get the antenna cables out of the way :-(
Antenna cables just pop off - straight up.
Must be perfectly aligned when reconnecting as well before you re-seat them.
Small needle nose pliers may be useful or a spudger or flat jewelers screwdriver to pry up on the cable as close to the connector as possible.
-
-
-
Tira indietro le chiusure nere di plastica su entrambe le estremità del chip RAM.
-
Per rimontare il dispositivo segui le istruzioni nell’ordine inverso.
Per rimontare il dispositivo segui le istruzioni nell’ordine inverso.
Annulla: non ho completato questa guida.
Altre 80 persone hanno completato questa guida.
Un ringraziamento speciale a questi traduttori:
100%
Questi traduttori ci stanno aiutando ad aggiustare il mondo! Vuoi partecipare?
Inizia a tradurre ›
Documenti Allegati
Preparati per le riparazioni future
Acquista tutti2Commenti sulla guida
Many thanks for giving me the confidence to do this, and the images make it soooo much easier.
My comment is that on my A1103 with Airport (but without the module above the RAM),I didn't even need to remove the HDD/CD assembly, thus cutting down upgrade time considerably. I was pleased to note that RAM replacement did not require the RAM module to be angled forward/backward as on some main boards,
Agreed. I didn't need to remove the assembly either. The RAM comes straight up.











A spackle knife makes these steps go much faster.
jouniseppanen - Replica
A double sided letter opener or a thin non-serrated butter knife will suffice.
To prenent cosmetic blemishes, place a matchbook cover or similar thin cardboard on the outer perimeter under the “jimmy”.
Mike - Replica
Despite mentioning recommended tools at the top I think it’s really worthwhile making a point about narrow Philips screwdrivers at this point before people start putting the case apart.
Matt D - Replica