Lenovo X1 Carbon Laptop Keyboard Replacement
Introduzione
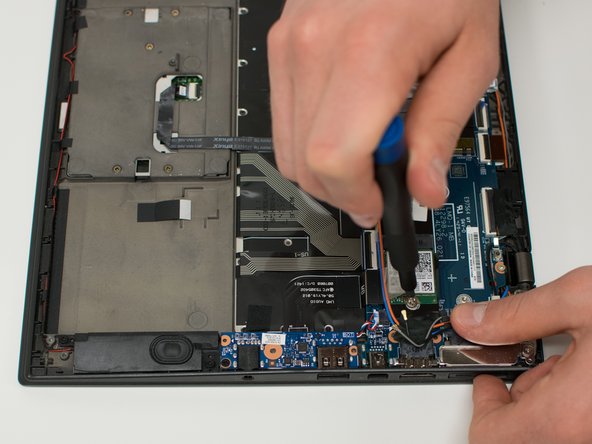
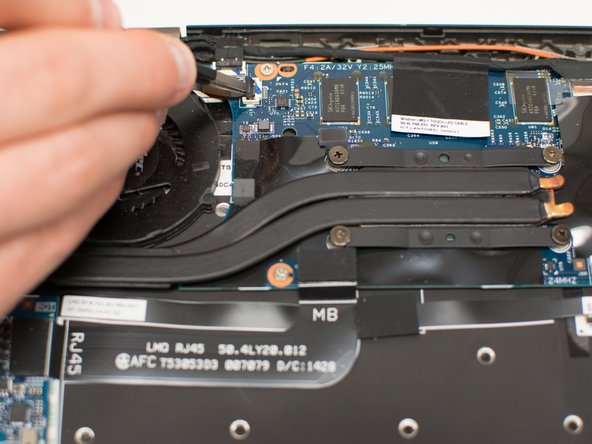
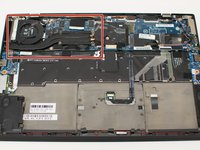
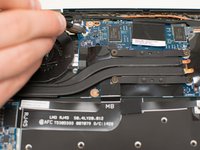
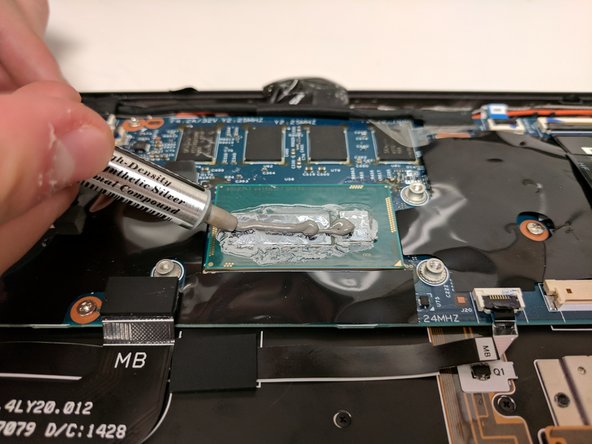
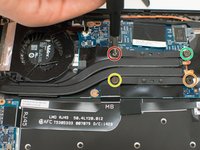
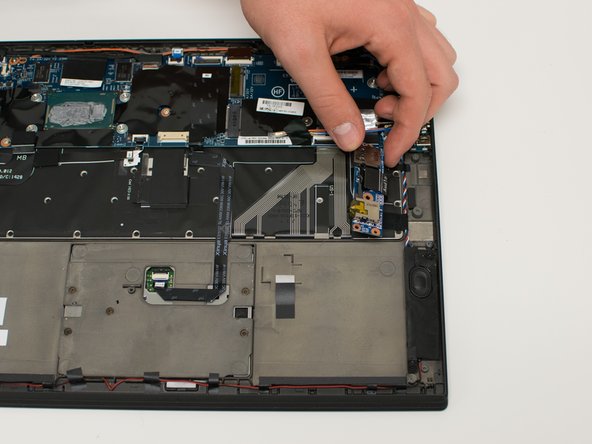
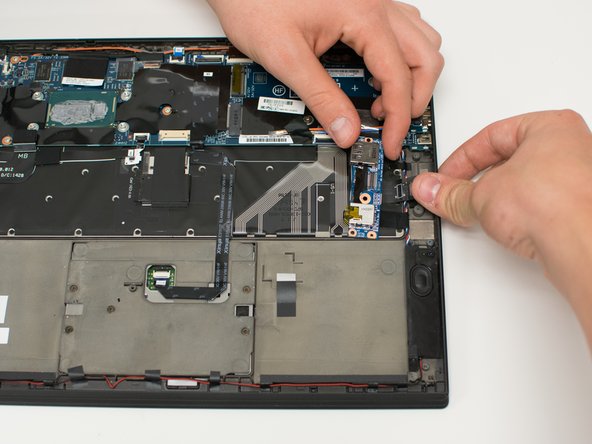
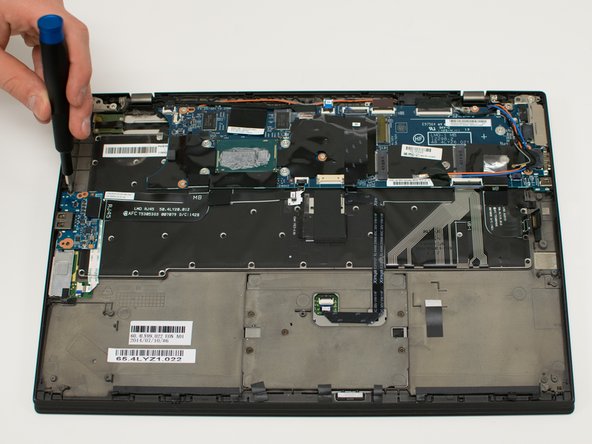
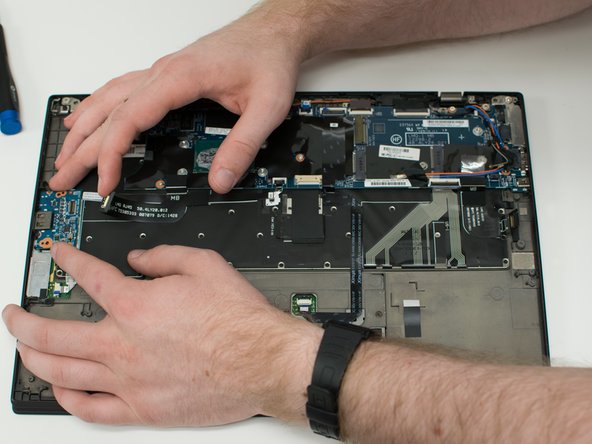
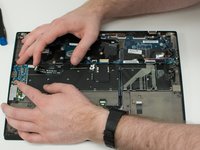
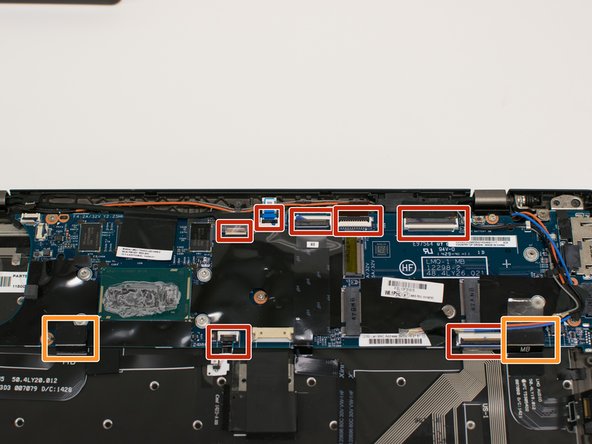
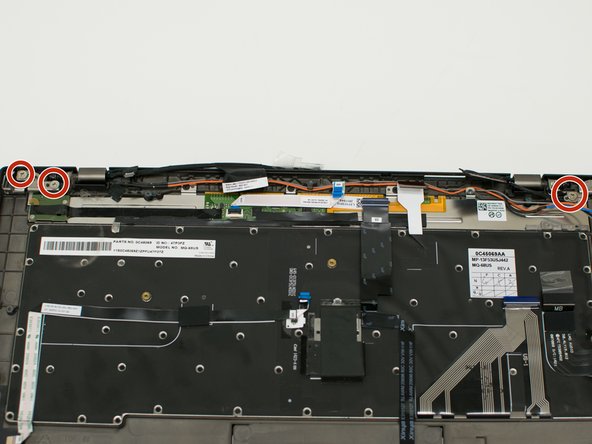
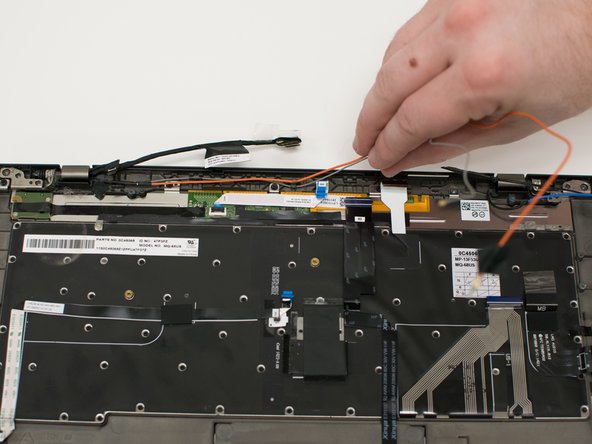
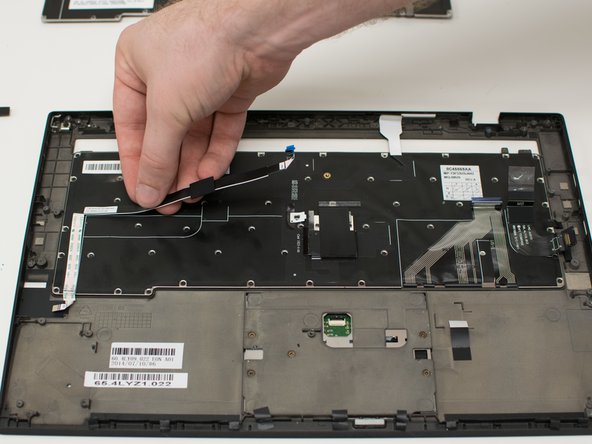
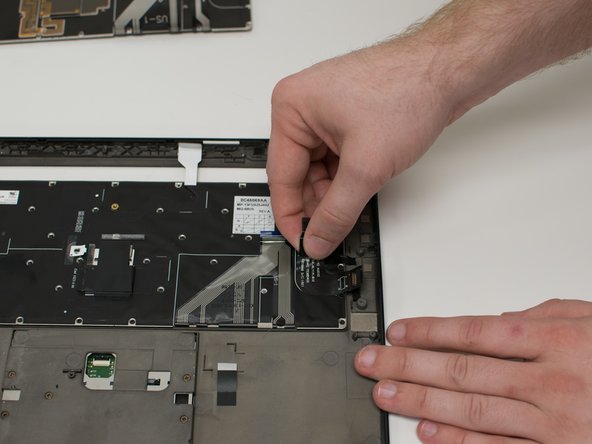
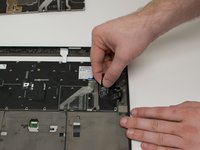
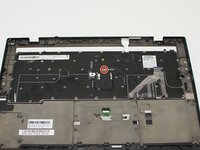
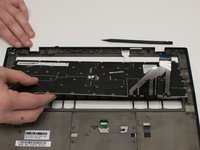
Vai al passo 1This guide outlines how to replace a keyboard on a 2nd generation Lenovo X1 Carbon laptop. These laptops are quite compact, which results in a keyboard replacement being a very involved process. This process includes removing almost every other part of the laptop first.
Cosa ti serve
-
-
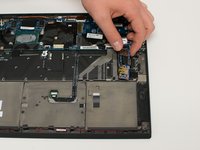
Unplug the bundled cable connector attached to the battery by pulling evenly from each side of the plug.
-
Remove the four 4mm screws from the corners of the battery.
-
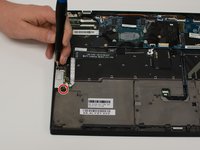
Remove the 2.5mm screw from the center of the battery.
-
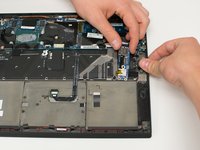
Remove the battery by lifting from the bottom edge and pulling towards the front edge.
-
-
-
-
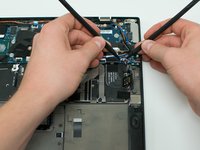
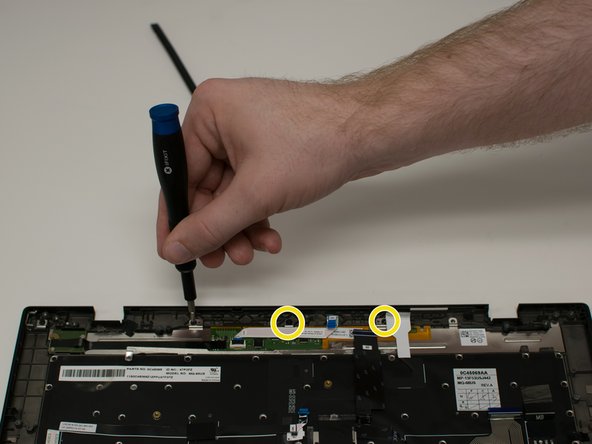
Remove the two 1.7mm screws from the bracket.
-
Pull the guard straight up to remove it.
-
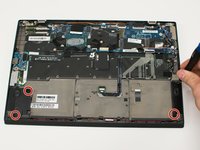
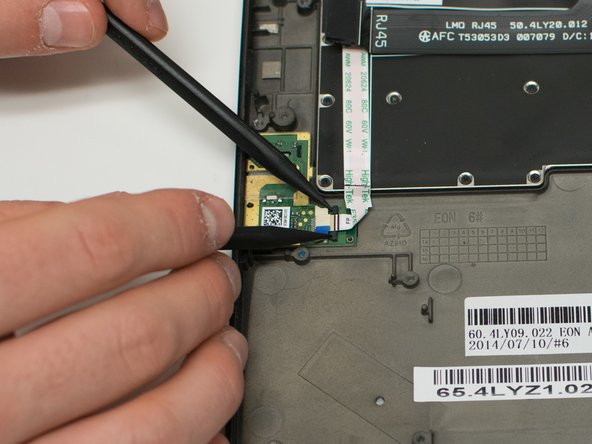
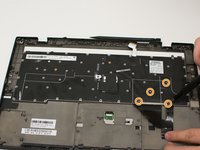
Remove the two 1.7mm screws from the adaptive keys panel.
-
Remove the three 2.5mm screws from the adaptive keys panel.
-
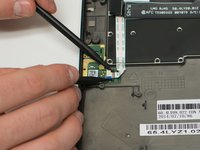
Lift the adaptive keys panel from the rear of the laptop and pull to remove it.
-
To reassemble your device, follow these instructions in reverse order.
To reassemble your device, follow these instructions in reverse order.
Annulla: non ho completato questa guida.
Altre 16 persone hanno completato questa guida.
10 Commenti
This was one heck of a difficult feat, thank you for documenting the process. It took me about one hour to disassemble and two hours to re-assemble.
Excellent guide - many thanks for writing this. It took me about 3 hours in total as well but it’s all done now. Worst part was the 50 tiny screws holding the keyboard in place!
Hey, I did this and have some serious Wi-Fi connection issues now…Ethernet and Wi-Fi are both listed as non-operational although sometimes a network will appear in my available networks to connect to. Any idea what might have gone wrong? I took out the LAN card and reinserted it, no dice.
You got the cables connected to the wrong little circle post on the wifi card. Swap them and it should work! happened to me drove me mad until I tried it.
I do have issues that seem to be the CMOS Battery.
I couldn't see that in your disassembly instructions.
I am looking everywhere for this little issue and I can not find instructions for the CMOS replacement.
Could you enlight a little where to get this information?


