
Lenovo IdeaPad S340-15IWL Camera Replacement
Introduzione
Vai al passo 1Follow this guide to replace the webcam on the Lenovo IdeaPad S340-15IWL laptop.
Issues that may indicate a faulty camera are:
- A blank screen when using the webcam.
- Video or images are not showing.
- Video is blurry or out of focus.
Make sure you refer to the troubleshooting page before beginning replacement as there are many possible reasons as to why your device’s camera is not working. Many of the solutions are simple fixes and can prevent you from having to dismantle your device.
Ensure that there is no food or liquid around when you begin the repair as all of your device’s internal components will be exposed.
Cosa ti serve


-
-
Power off the laptop and place it face-down on a non-scratching surface.
-
Using a Torx T5 screwdriver head, remove all ten 6 mm screws holding the back panel in place.
-
-
-
Disconnect the battery cable by gently pulling it straight out of the connector.
-
Remove the battery from the laptop.
-
-
-
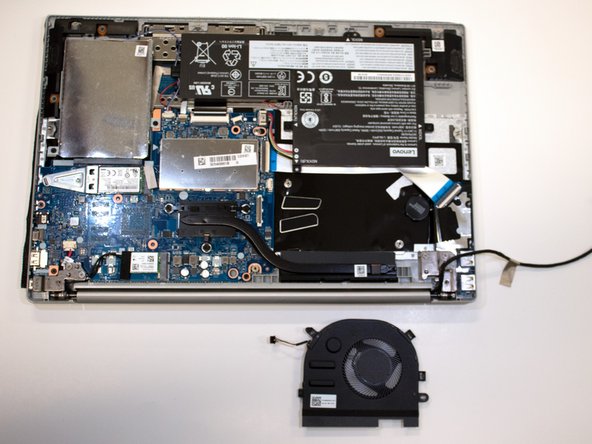
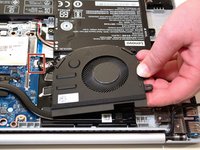
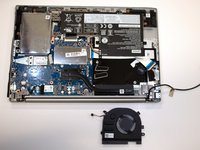
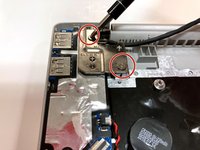
Remove the two 3 mm screws connecting the fan to the casing using a Phillips #0 screwdriver.
-
-
-
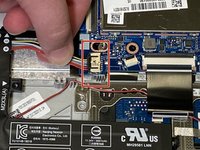
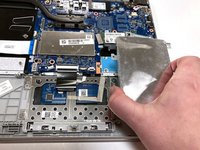
Carefully unwind the black cable that runs between the top of the battery and the bottom of the fan from the grooves along the side of the fan.
-
In order to do so, you will need to pull up the metallic tape that holds the cable in place using either your fingers or a plastic prying tool to lift up the edge.
-
-
-
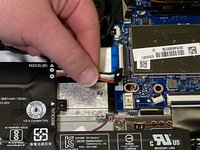
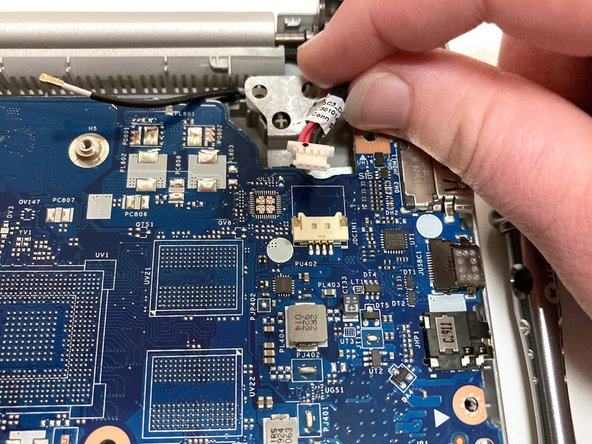
Unplug the wire connecting the speakers to the motherboard.
-
Remove the speakers from each side of the laptop.
-
-
-
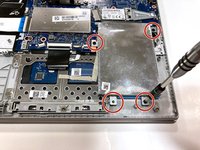
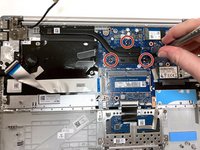
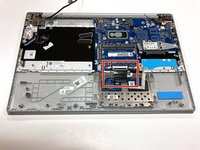
Remove the four 3 mm screws holding the hard drive expansion slot in place using a Phillips #0 screwdriver.
-
-
-
-
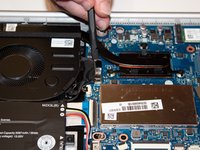
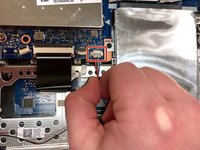
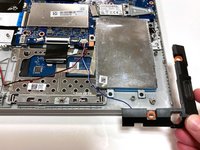
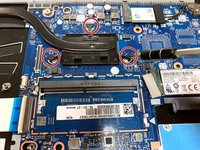
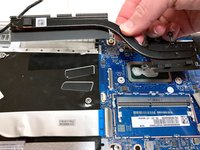
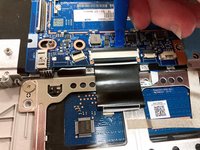
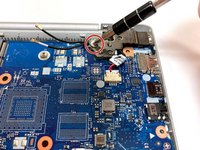
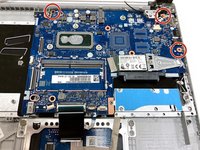
Remove the three 3 mm screws that secure the black heat sink near the top of the computer using a Phillips #0 screwdriver.
-
Lift the heat sink vertically to remove it from the laptop.
-
-
-
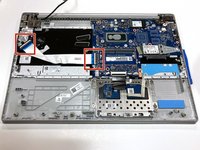
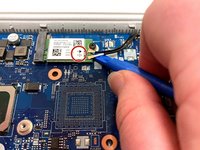
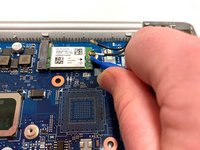
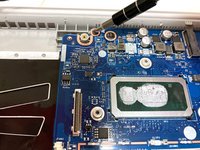
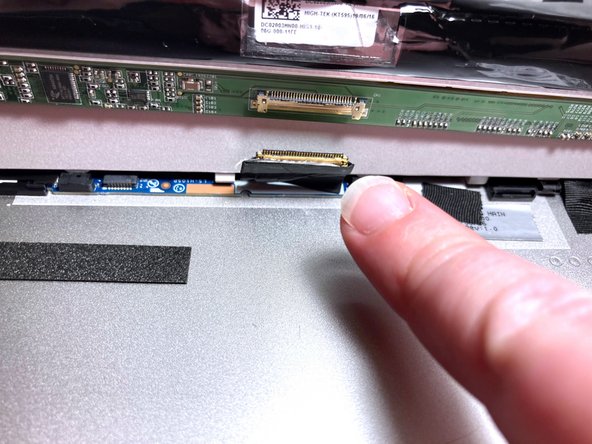
Using an opening tool, carefully flip up the retaining flaps holding the silver video cable in place.
-
Slide the ribbon cable out of each connector.
-
-
-
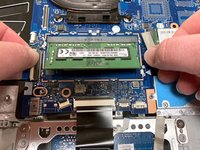
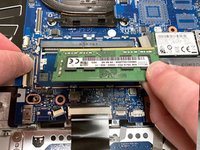
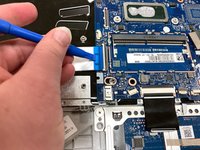
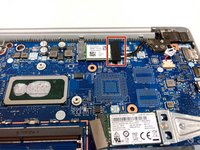
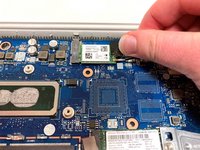
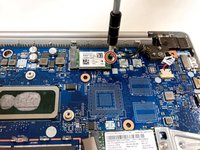
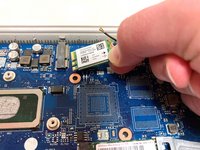
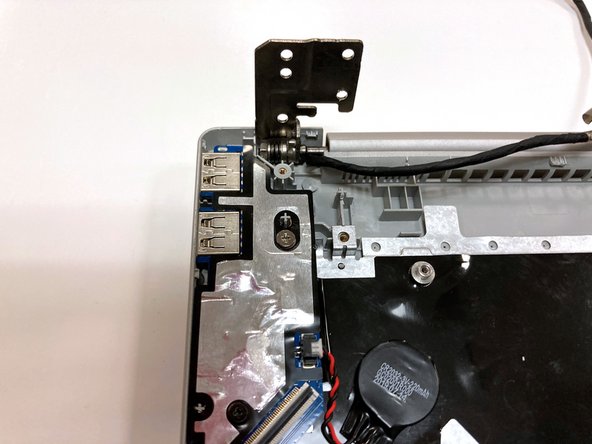
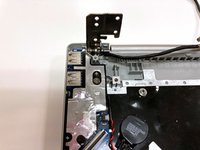
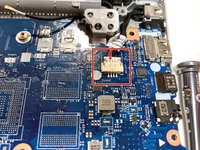
Pull up the black foam adhesive that covers the screw and connectors holding the Wi-Fi card in place.
-
-
-
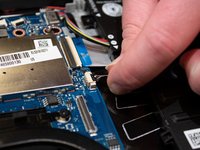
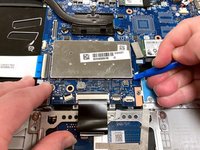
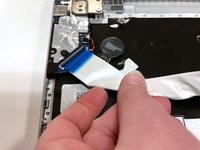
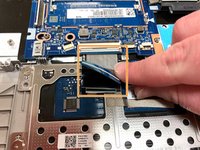
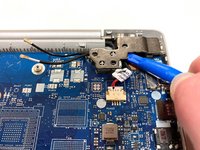
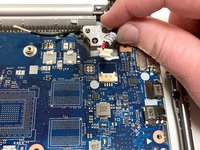
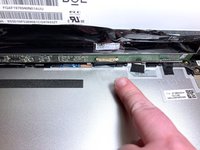
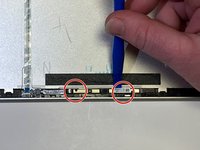
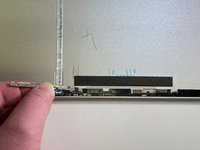
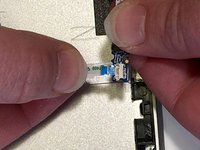
Using an opening tool, flip up the retaining flap that holds the connector to the thin black ribbon cable at the bottom of the motherboard.
-
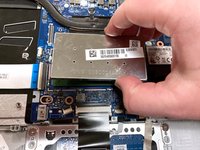
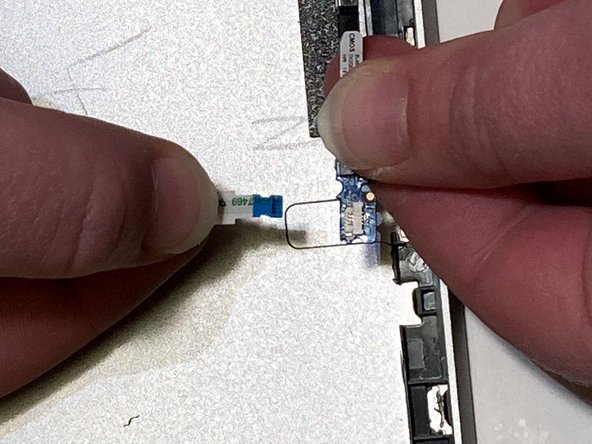
Gently remove the ribbon cable from its connector.
-
The cable is folded over and connected to itself with an adhesive. Be careful to only pull at the top fold of the cable.
-
-
-
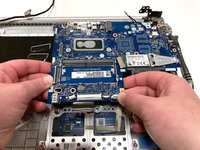
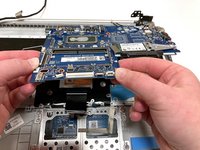
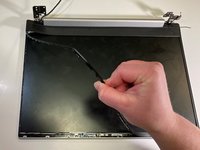
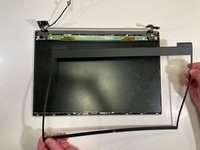
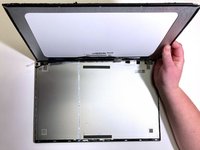
Using an opening tool, carefully pry up and remove the plastic bezel casing surrounding the screen.
-
-
-
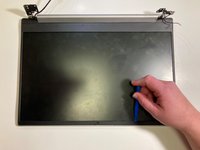
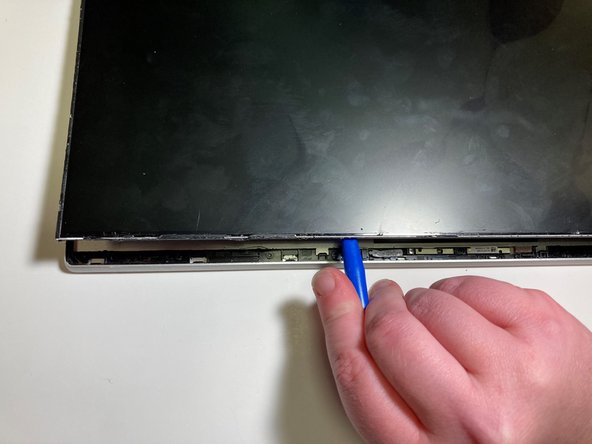
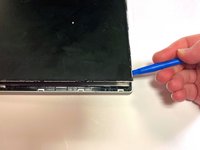
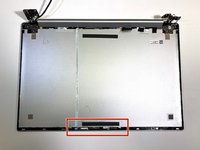
Using an opening tool, gently pop the camera off of the two plastic connection points holding it in place.
-


To reassemble your device, follow these instructions in reverse order.
To reassemble your device, follow these instructions in reverse order.
Annulla: non ho completato questa guida.
Altre 2 persone hanno completato questa guida.
Team

Western Carolina University, Team 1-3, Virtue Fall 2021 Membro di Western Carolina University, Team 1-3, Virtue Fall 2021
WCU-VIRTUE-F21S1G3
4 Membri
9 Guide realizzate