
Lenovo IdeaPad Flex 6-14IKB Wi-Fi Card Replacement

Introduzione
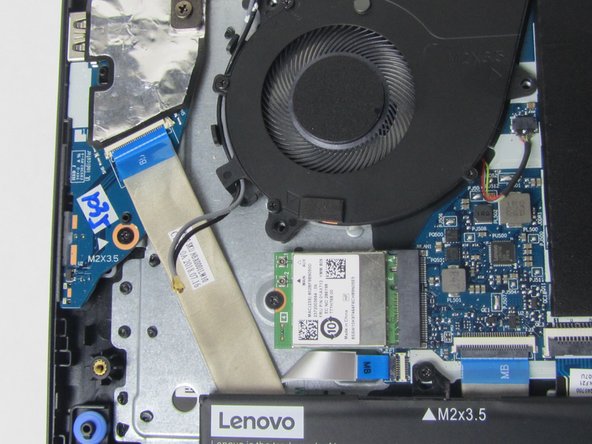
Vai al passo 1This guide will show you how to replace the Wi-Fi card in your Lenovo IdeaPad Flex 6-14IKB. The Wi-Fi card is a vital part of your device as it allows you to connect your device to others in your home or office.
Before starting the replacement, make sure the laptop is fully turned off and unplugged from a power cord.
Cosa ti serve
Strumenti


Mostra di più…
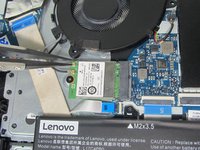
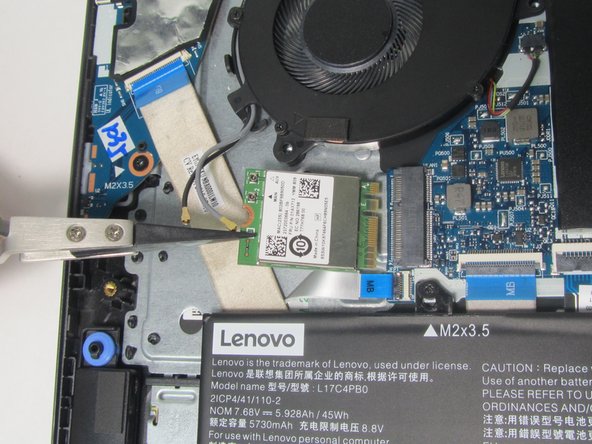
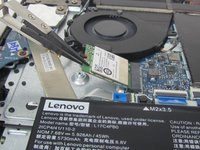
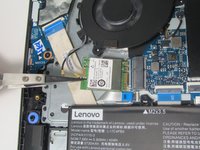
-
-
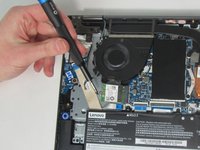
Remove the ten 6.5 mm screws that secure the base cover using a T5 Torx screwdriver.
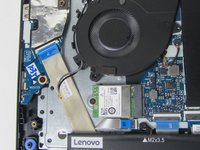
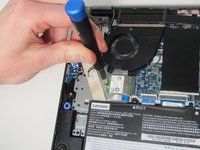
-
-


To reassemble your device, follow these instructions in reverse order.
To reassemble your device, follow these instructions in reverse order.

Team

Illinois Wesleyan University, Team 1-2, Bullock Spring 2022 Membro di Illinois Wesleyan University, Team 1-2, Bullock Spring 2022
IWU-BULLOCK-S22S1G2
4 Membri
7 Guide realizzate